 how-to
How to Darn Socks by Hand: A Beginner's Guide
Table of Contents
- What You'll Need to Darn Socks by Hand
- Choosing the Right Thread to Use for Darning Socks
- How to Darn Socks Without a Darning Egg
- Step-by-Step: How to Darn Socks by Hand
- How to Repair a Thinning Sock Before It Tears
- Common Mistakes to Avoid When Darning
- Making Your Darn Comfortable and Durable
- Frequently Asked Questions
Last Updated: October 9, 2026
What You'll Need to Darn Socks by Hand
Hand darning requires just a few simple tools. You don't need expensive equipment to get started.
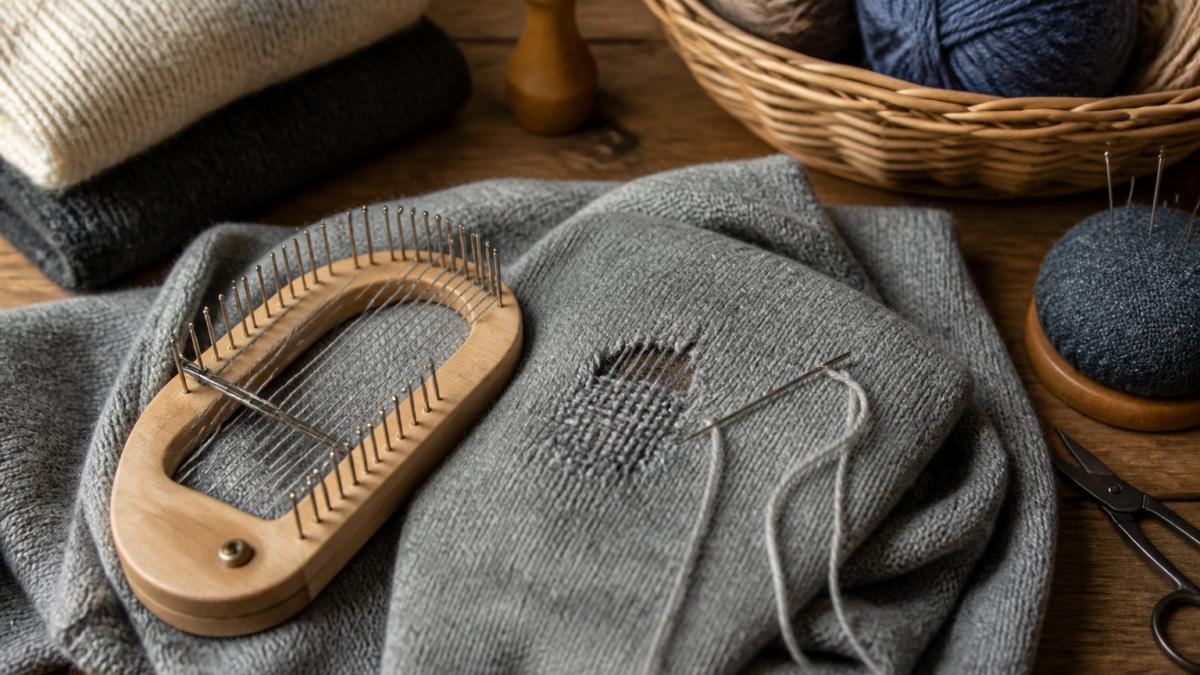
The essentials are straightforward. A darning needle is your main tool, it's larger than a regular sewing needle with an eye big enough for thread. You'll also need thread or yarn that matches your sock's fiber and thickness.
A rounded support object is critical for success. This holds the sock in shape while you work. A traditional darning egg or darning mushroom works best, but a tennis ball, lightbulb, or even a rounded glass works fine. The key is having a smooth, firm surface that stretches the fabric taut.
Beyond that, grab scissors to cut your thread and a rubber band or elastic to secure the sock around your support object. That's truly all you need.
At Funalya, we've designed beginner-friendly darning kits that bundle these essentials together. Our kits include a quality darning needle, multiple thread colors, and practical accessories to make your first repair simple and enjoyable. Many customers tell us they appreciate having everything in one place, no hunting for supplies before you start.
Choosing the Right Thread to Use for Darning Socks
The thread you pick makes a real difference in how your darn looks and feels.
Match your thread to your sock's fiber and weight. If you're repairing a thin cotton or merino sock, use embroidery thread, it's fine and blends smoothly. For thicker wool socks or heavy-duty knits, use yarn that matches the original sock's thickness. Using thread that's too thin on thick socks creates a weak repair. Using thread that's too thick on delicate socks creates bulk and discomfort.
Color matters too, but not for the reason you think. Many beginners worry about matching perfectly. The truth is that visible mending has become fashionable, a contrasting thread color can look intentional and stylish. That said, if you prefer a subtle repair, choose a thread color one shade darker than your sock. Darker thread blends better than lighter shades.
Here's what most guides miss: test your thread on the sock first. Unwind a small length and hold it against the fabric in good light. Does it feel compatible? Does the weight look right? A quick visual check prevents frustration later.
| Thread Type | Best For | Weight | Appearance |
|---|---|---|---|
| Embroidery thread | Thin cotton, delicate socks | Fine | Blends smoothly |
| Yarn (wool or acrylic) | Thick wool, heavy knits | Medium to thick | Visible or blended |
| Silk thread | Luxury or delicate fibers | Fine | Lustrous, subtle |
How to Darn Socks Without a Darning Egg
You absolutely can darn without a traditional darning egg. Many people don't have one, and that's fine.
The goal is simple: stretch the sock hole over a rounded object so the fabric stays taut and even. A tennis ball works surprisingly well. Cut a small slit in the ball, slip the sock over it, and use a rubber band to hold the sock in place. The ball's curve supports the fabric evenly.
A lightbulb is another solid option. The rounded shape is perfect, and the smooth surface prevents snagging. Wrap the sock around it gently and secure with a rubber band. Avoid pressing too hard, you don't need to crush the bulb.
Even a smooth rock, glass, or wooden ball will do the job. The key is having a smooth, firm surface with a gentle curve. Avoid anything with sharp edges or rough texture.
The real advantage of a proper darning egg or mushroom is comfort and stability. They're shaped specifically for this task and feel good in your hand. But if you're testing whether darning is for you before investing, a tennis ball costs almost nothing and works.
Step-by-Step: How to Darn Socks by Hand
Hand darning follows a simple sequence. Once you understand the pattern, the technique becomes natural.
Prepare Your Sock and Set Up
Start by turning your sock inside out. This lets you work on the back side of the fabric, where the stitches won't show as much on the inside of your foot.
Examine the hole carefully. Is it a small puncture, a larger worn area, or a thin spot that's about to tear? The hole's size and shape affect how much foundation work you'll need.
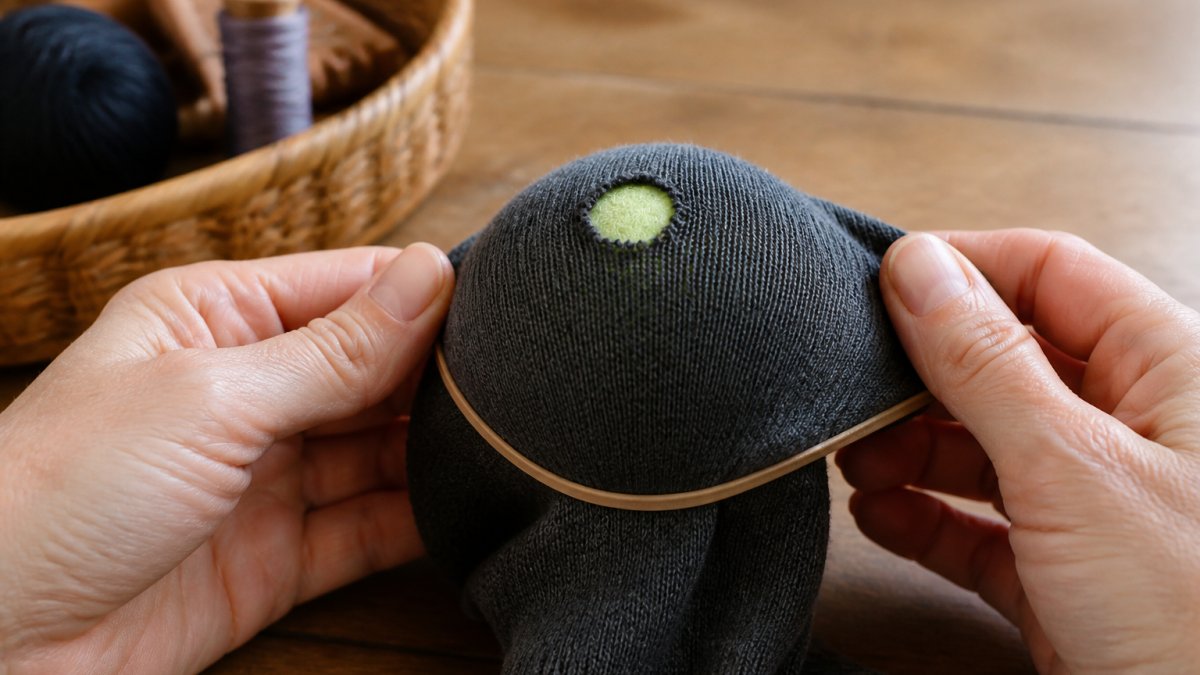
Slip the sock over your support object, your darning egg, tennis ball, or whatever you're using. Pull the fabric taut and secure it with a rubber band. The hole should be centered and stretched smooth. You need to see the edges clearly and work with even tension.
Thread your needle and tie a knot at the end. You're ready to begin.
Create the Foundation Stitches
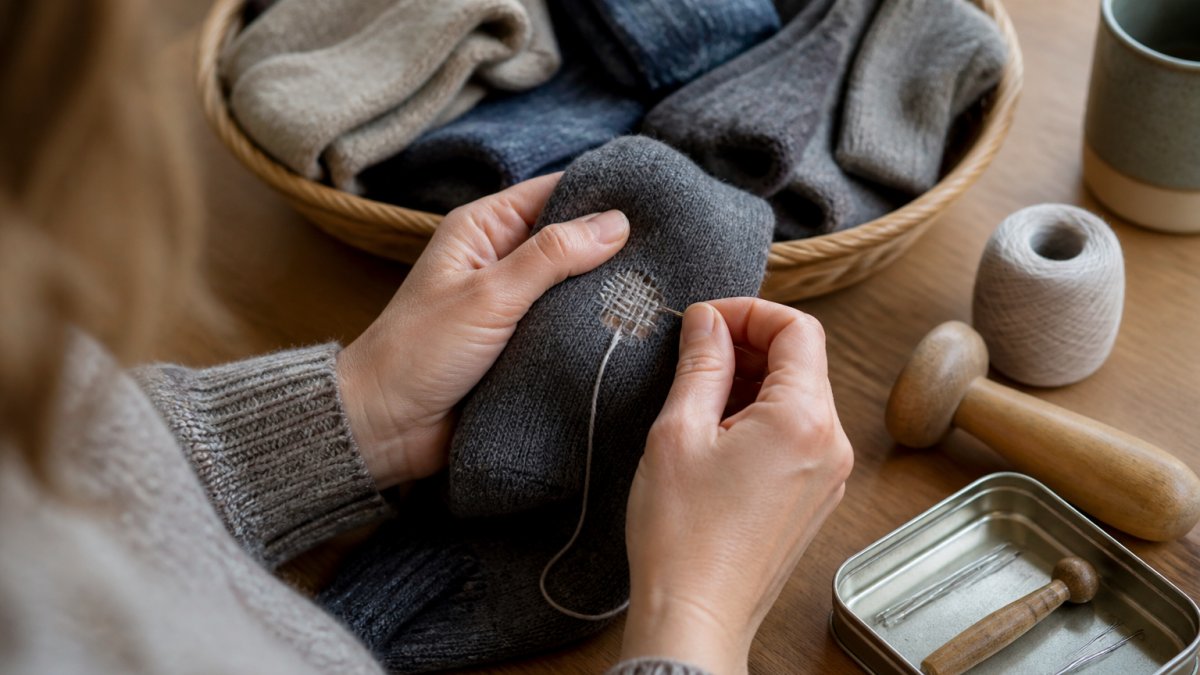
This step builds the base for your weaving. You're creating horizontal stitches that run across the hole.
Start your needle about half an inch beyond one edge of the hole. Push the needle through the fabric and pull it across the hole horizontally. Bring the needle back through the sock on the other side, about half an inch past the hole's edge.
Work your way down, creating parallel horizontal lines. Each stitch should be close to the previous one, roughly the width of your thread apart. You're building a grid of foundation stitches that will support your weaving.
Create enough rows to cover the entire hole. If it's a large hole, you might need 8-12 rows. Small holes need fewer.
Weave the Darn
Now you switch direction and weave vertically through your foundation stitches. This is where the repair becomes strong.
Bring your needle up through the fabric at one edge. Weave it over and under your horizontal stitches, moving across the hole. When you reach the other side, bring the needle back through the fabric.
Move down slightly and weave back across, alternating your over-under pattern. If your first pass went over-under-over, your return pass goes under-over-under. This over-under weave creates the interlocking pattern that holds everything together.
Continue until you've woven across the entire hole. The weaving should feel snug but not tight. You're creating a new fabric, not pulling the sock apart.
Secure and Finish
Once your weaving is complete, bring your needle to the back of the sock. Make several small stitches in the same spot to anchor your thread securely.
Trim the thread close to the fabric. Turn the sock right-side out and inspect your work. The darn should feel smooth and integrated with the surrounding fabric.
Run your hand over it. Does it feel bumpy or uncomfortable? A small amount of texture is normal, but your darn shouldn't create a pressure point. If it does, you may have woven too tightly or used thread that's too thick.
How to Repair a Thinning Sock Before It Tears
Catching a sock before it develops a hole saves time and creates a better repair.
A thinning area is fabric that's worn thin but hasn't torn yet. These spots appear lighter in color and feel fragile. They're common on heels, toes, and high-wear areas.
The technique is similar to patching a hole, but you're reinforcing rather than filling. Create your foundation stitches across the entire thinning area, not just around a hole. Cover the whole worn section with horizontal stitches.
Then weave vertically as you would for a hole. You're adding a layer of strength to fabric that's already compromised. This reinforcement prevents the thinning area from developing into a hole.
The advantage is clear: a preventive darn on a thinning sock takes less time and looks more integrated than repairing a hole. You catch the problem early.
Common Mistakes to Avoid When Darning
Most darning mistakes come from rushing or misunderstanding the technique.
Pulling too tight is the biggest culprit. Beginners often assume tighter stitches mean stronger repairs. The opposite is true. Pulling tight puckers the sock, creates discomfort, and can actually weaken the fabric by stressing it unevenly. Aim for firm, even tension instead.
Using thread that's too thick creates bulk and discomfort. The darn becomes a lump inside your shoe. Match your thread weight to your sock's thickness. When in doubt, go thinner.
Skipping foundation stitches leaves gaps in your weaving. Your darn might look complete but won't be strong. Take time to create solid horizontal rows before you start weaving vertically.
Not stretching the sock evenly causes your darn to pucker or sit at an angle. Secure your sock firmly over your support object and make sure the hole is centered and flat.
Working with dull needles makes the process frustrating. A sharp needle pierces fabric cleanly. A dull needle catches and drags. Use a fresh needle or sharpen yours before starting.
Making Your Darn Comfortable and Durable
A successful darn is one you actually wear without noticing it.
Comfort starts with thread choice and tension. Use thread that matches your sock's fiber and weight. Keep your stitches firm but relaxed.
Durability depends on your weaving pattern. A tight over-under weave is stronger than loose stitches. But tight doesn't mean pulled, it means close together and consistent.
Care after darning matters too. Hand wash your darned socks in cool water with gentle detergent. Avoid the washing machine for the first few wears while the repair settles. Air dry them flat.
Many customers tell us they're surprised by how well a properly darned sock lasts. That's the whole point, keeping your favorite socks in rotation instead of replacing them.
Funalya's approach to repair is built on this idea. We provide the tools to make darning accessible. Our kits include quality needles and thread selections designed to work with common sock types.
Hand darning is one of the most rewarding clothing repairs you can learn. It's not difficult, it doesn't require expensive tools, and the satisfaction of wearing a sock you've fixed yourself is real.
Frequently Asked Questions
Is it worth it to darn socks?
Yes, darning extends the life of socks you already own and reduces textile waste. A single repair costs far less than replacing a pair of socks, and the process becomes faster with practice. For environmentally conscious people and those on a budget, darning is a practical way to keep favorite socks in rotation longer. Many find the skill rewarding and satisfying once they complete their first successful darn.
What kind of thread is used for darning socks?
Use embroidery thread or yarn that matches your sock's fiber content and weight. For wool socks, wool yarn or embroidery thread works best. For cotton or synthetic blends, cotton embroidery thread is ideal. Choose thread thick enough to cover the hole efficiently but not so thick it creates uncomfortable bulk. The thread should blend with your sock's color for less visible mending, or contrast intentionally if you prefer visible mending as a design element.
Can you darn socks without a darning egg?
Yes. Common household alternatives include a tennis ball, lightbulb, or rounded object that fits inside the sock and provides support. The key is having a smooth, firm surface to stretch the fabric over while you stitch. A tennis ball works particularly well because it's easy to grip and provides good tension. Whatever you use, the goal is to keep the hole stretched flat and stable so your stitches lie evenly.
How do you darn a sock so the repair feels comfortable?
Keep your darn flat and avoid building up excess thread bulk. Use thin, even stitches rather than thick knots. Ensure your foundation stitches go slightly beyond the edge of the hole so the repair has a reinforced border. After finishing, gently stretch the sock to test the repair, it should flex with the fabric, not feel stiff. If the darn feels lumpy, you may have used thread that's too thick or made stitches too tight; adjust for your next repair by loosening tension slightly.