 how-to
Darning Techniques for Wool Sweaters: A Beginner's Guide
Table of Contents
- Why Darning Your Wool Sweater Matters
- Essential Tools and Materials for Darning
- Preparing Your Sweater for Repair
- How to Mend a Hole in a Wool Sweater
- Mastering the Sweater Darning Stitch
- Troubleshooting Common Darning Mistakes
- Caring for Your Darned Sweater
- Frequently Asked Questions
Last Updated: October 10, 2026
Why Darning Your Wool Sweater Matters
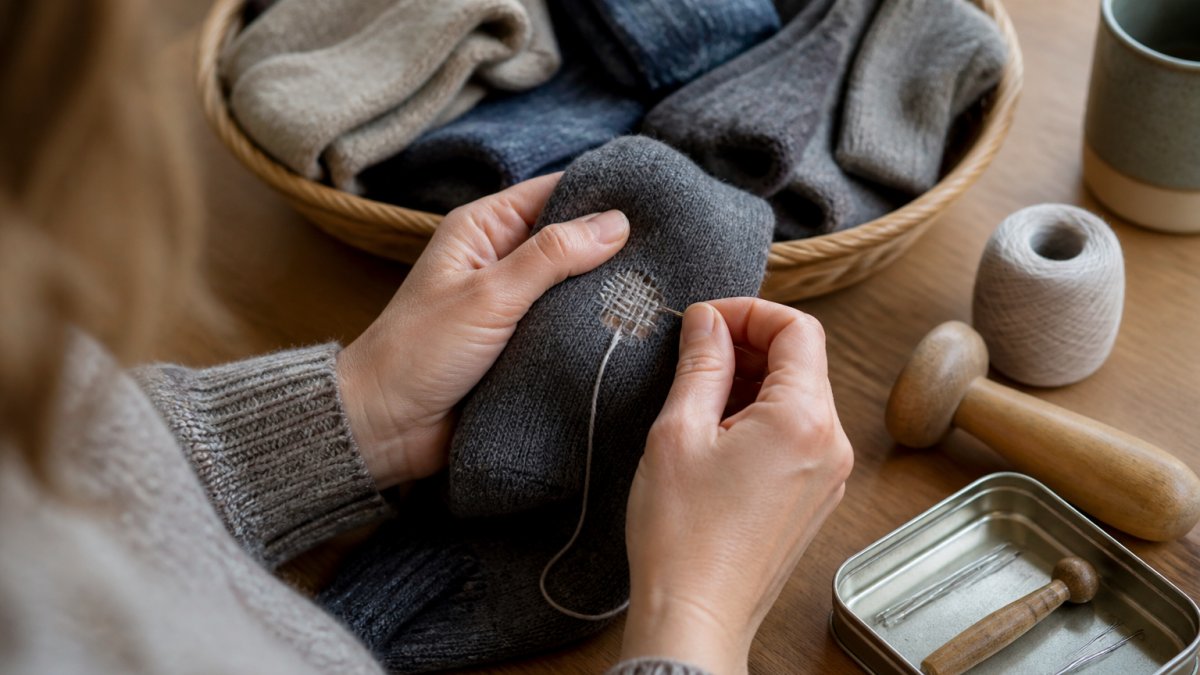
Darning techniques for wool sweaters are essential for anyone committed to sustainable fashion. A hole doesn't mean the garment is finished, with the right approach, you can restore it and keep it in rotation for years.
At Funalya, we believe repairing your clothing is one of the most practical ways to reduce textile waste. Wool sweaters are worth saving because they're durable, insulating, and often beloved pieces that fit just right.
The good news: darning techniques for wool sweaters aren't complicated. You need patience, the right tools, and a clear understanding of the steps, from choosing materials to finishing a repair that holds up to regular wear.
Essential Tools and Materials for Darning
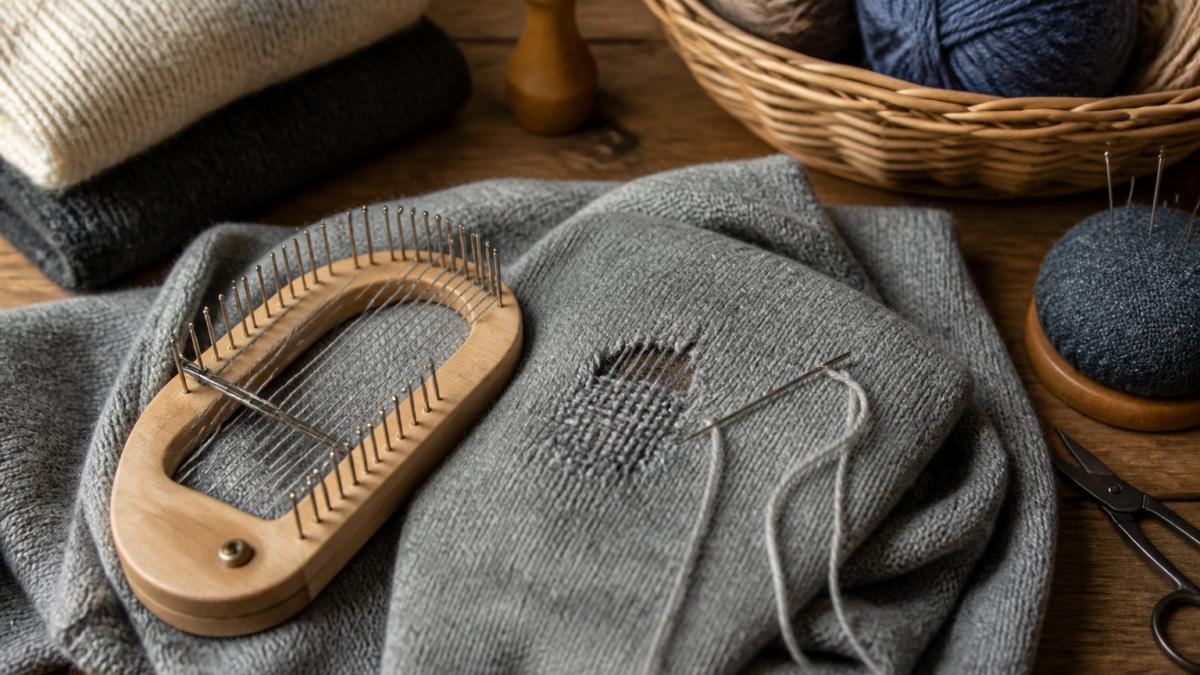
Before you start, gather what you need. Having the right supplies makes the process smoother and your results better.
You'll need:
- A darning needle (blunt-tipped, size 18-22)
- Darning yarn or embroidery thread that matches your sweater's fiber and weight
- A darning mushroom, egg, or similar rounded support object
- Small scissors
- Rubber bands or elastic (to secure the sweater)
Quality matters: a cheap needle bends easily, mismatched yarn creates uncomfortable bulk, and a proper support object prevents puckering as you work.
Choosing a Darning Mushroom for Sweaters
A darning mushroom is a wooden or plastic tool shaped like a mushroom head on a handle. Placed under the hole, it supports the fabric, prevents sagging, and helps you maintain even tension.
For wool sweaters, choose a mushroom that fits the hole size comfortably, too small and the fabric bunches, too large and tight areas become hard to work. Most darning kits include standard sizes that cover common holes.
Alternatives work in a pinch: a lightbulb, tennis ball, or smooth stone. What matters is that it's smooth, rounded, and firm enough to support your stitching without denting.
Selecting Wool Darning Yarn
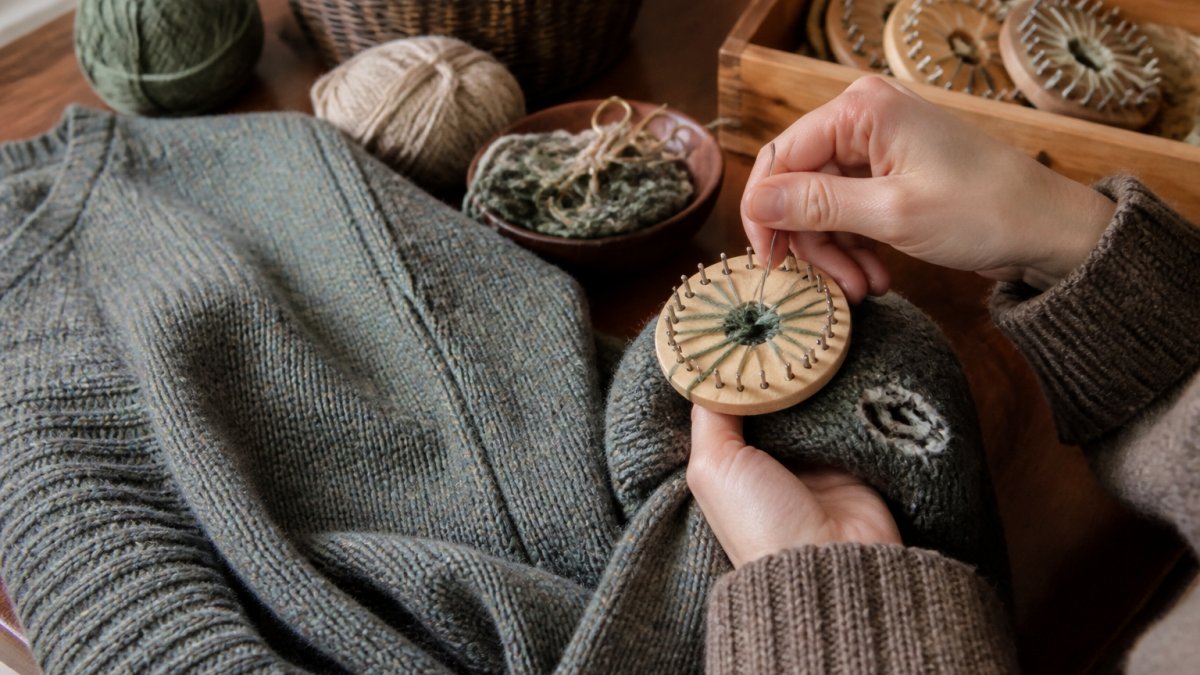
Yarn choice directly affects how your repair looks and feels. Match your sweater's fiber type and thickness: merino for merino, thicker yarn for chunky knits. Thin yarn on thick fabric looks out of place; thick yarn on delicate fabric creates uncomfortable bulk.
Color matters too: an exact match blends in, while a contrasting color creates visible mending, intentional and increasingly popular in sustainable fashion. Both work; choose your preference.
Test your yarn first: unwind a small length, hold it against the sweater, and check it under natural and indoor light. A good match disappears into the fabric; a visible mending choice should feel deliberate.
Preparing Your Sweater for Repair
A well-prepared sweater is easier to work on and produces better results.
Steps to prepare:
- Turn the sweater inside out
- Locate the hole and inspect it for damage beyond the obvious hole
- Stretch the area around the hole gently to see its true size
- Place the darning mushroom under the hole from the inside
- Use rubber bands to secure the sweater around the mushroom handle
Turning the sweater inside out gives you a clear view of the damage and lets you work from the back, where imperfections matter less. Stretching the fabric shows whether the hole is isolated or part of a larger thinning area, large worn sections need different treatment than small punctures.
Securing the sweater firmly prevents shifting as you work, loose fabric leads to uneven stitching and puckering. Getting this step right saves frustration later.
How to Mend a Hole in a Wool Sweater
This is the core technique. Once you understand the woven darn, you can adapt it to almost any hole, match your approach to the damage you actually have rather than running one rigid method.
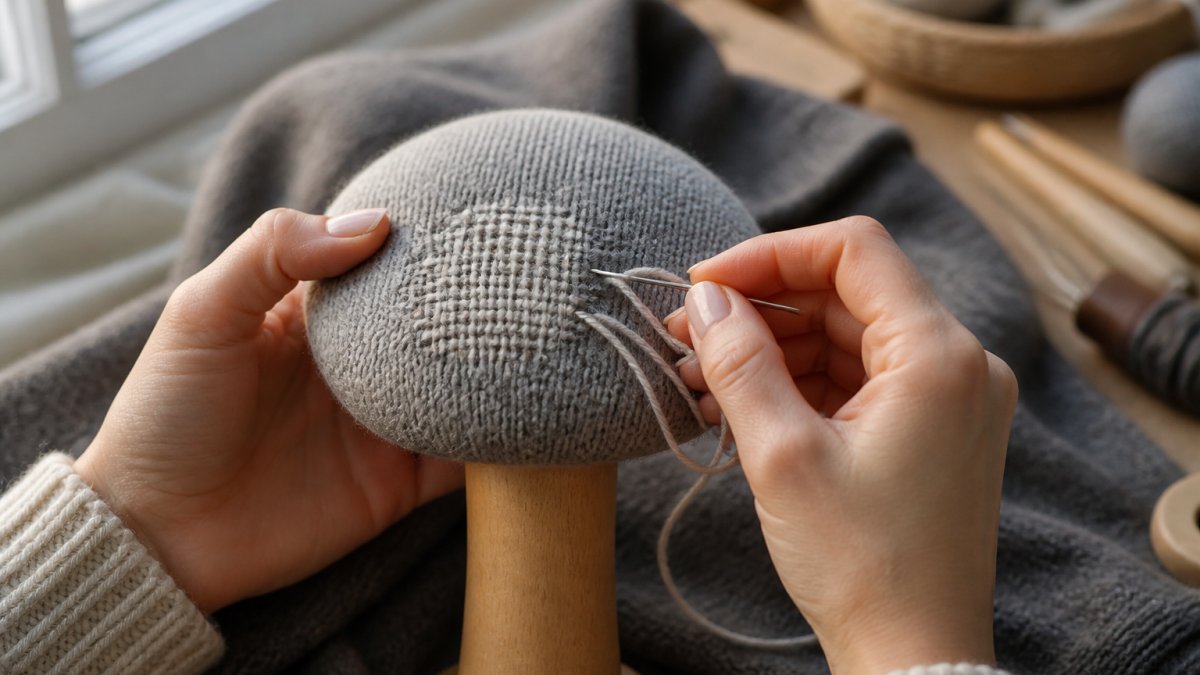
Match the Method to the Damage
Before you thread a needle, look closely at what you're repairing. Wool sweaters fail in four common ways, each needing a slightly different approach.
Small hole (under a pea, edges intact). These close fastest with a simple woven darn: six to eight horizontal foundation stitches and one or two vertical passes. Keep it compact, overbuilding creates a stiff lump.
Large hole (bigger than a coin, or an irregular tear). You need a denser scaffold: 12-20 horizontal stitches spaced 3-4 mm apart, then weave in both directions until bridged.
Thinning fabric (no hole yet, but light shows through). The best time to intervene. Skip the weaving and run a single layer of parallel stitches across the thin zone, following the knit direction.
Frayed or ragged edges. Don't stitch into loose, unraveling fibers, they'll pull out and the repair will fail. Trim only clearly detached fibers, then anchor foundation stitches in solid fabric at least 6-10 mm back from the frayed edge.
Preserve the Sweater's Stretch
Wool sweaters are knit, so the fabric stretches and recovers. A darn that ignores this will feel tight and pucker the surrounding knit.
Two habits protect stretch:
- Work with the fabric relaxed, not pulled taut. The darning mushroom should support the fabric, not stretch it. If you can see the knit stitches distorted around the mushroom, you've stretched too far.
- Match your stitch direction to the knit. On a stockinette sweater, the knit columns run vertically. Aligning your foundation stitches with those columns lets the repair move with the garment instead of fighting it.
A useful test: after finishing, gently stretch the repaired area sideways. A good darn flexes and returns; a bad one feels rigid and pulls the surrounding fabric out of shape.
Threading and Starting Your Repair
Thread your needle with about 18 inches of yarn. Longer lengths tangle and fray; shorter ones mean more knots and bulk on the back.
Tie a small knot at the end. Start stitching about a quarter inch beyond the hole's edge, or further back on frayed edges. Push the needle through from the inside, pulling the knot snug against the fabric on the back side where it won't show.
Make two or three small stitches in the same spot to secure the thread, then move toward the hole, you're creating the foundation that will support your weaving.
Creating the Foundation and Grid
The foundation is horizontal stitches spanning the hole, running parallel to create the base of your repair.
Start on one side and stitch horizontally across to the other, roughly 3-4 mm apart for medium-weight wool. Each stitch should pass through intact fabric on both sides, bridging the gap.
Make 8-12 horizontal stitches for a typical hole, scaling with the damage, parallel lines like the rungs of a ladder.
This grid is the scaffold for your weaving, the most important step, since everything depends on it being solid and evenly spaced.
Completing the Over-Under Weave
Now you weave vertically through your horizontal stitches. This is where the repair becomes visible and intentional.
Thread a fresh length if yours is getting short. Start at the top and weave over the first horizontal stitch, under the second, over the third, continuing the over-under pattern all the way down.
At the bottom, move one stitch right and weave back up, reversing the pattern, under where you went over, over where you went under. This creates the classic woven darn: strong and visually interesting.
Keep tension even: too tight puckers the fabric, too loose creates gaps. Aim for tension matching how the sweater naturally sits.
Finishing the Darn Cleanly
When the hole is covered, run your needle to the back and weave the tail under several existing stitches, never knot on the front. Knots create bumps that press into the skin and work loose in the wash; weaving the tail in distributes the hold and keeps the repair flat.
Trim the tail to about 5 mm so it doesn't pull free, then gently stretch and press the repaired area to settle the stitches.
Mastering the Sweater Darning Stitch
The sweater darning stitch combines foundation work with weaving. Understanding it helps you troubleshoot and adapt to different hole shapes.
Its strength comes from interlocking threads: horizontal stitches anchor the repair to solid fabric on both sides, while vertical stitches lock them in place, creating a woven structure nearly as strong as knit fabric.
Different hole shapes need adjustments: a small puncture might need 4-6 horizontal stitches and a simple weave, a large worn area 15-20 stitches and multiple passes. Elbow holes, where friction thins fabric, benefit from extra weaving.
Match stitch density to fabric weight: thin, delicate sweaters need closer stitches, chunky knits wider spacing. When in doubt, go closer, extra stitches add strength without visible bulk.
Troubleshooting Common Darning Mistakes
Knowing how to diagnose and fix problems keeps you from starting over, and helps your repair survive the first wash, where most darning failures show up.
Puckering fabric. Tension is too tight, loosen your grip and pull less forcefully.
Gaps in the weave. You're skipping stitches or weaving inconsistently.
Yarn showing through on the front. Weaving isn't tight enough, add vertical passes or snug existing stitches.
Knots visible on the front. You're starting or ending stitches in the wrong place, all knots and tails belong on the back.
Repair feels stiff. The yarn is too thick or you've built up too much bulk.
Loose ends working free. The most common reason a darn fails after a few weeks: knots slip, or tails weren't woven under enough stitches.
Edges fraying around the repair. Your foundation stitches were anchored too close to the damaged zone.
Repair looks lumpy from the front. Bulk comes from three sources: yarn that's too thick, too many overlapping passes, or knots on the front.
Caring for Your Darned Sweater
A repair is only as good as the care that follows it.
Wash darned sweaters gently in cool water with wool-specific detergent, avoiding agitation. Hand washing is ideal, but many survive gentle machine cycles on delicate settings.
Dry flat on a clean towel, never hang a wet darned sweater, since the water's weight stresses the repair. Dry completely before wearing.
Store darned sweaters folded rather than hanging, hanging creates tension over time, while folding distributes weight evenly and keeps the repair stable.
Inspect repairs periodically. If the weaving loosens, gently pull the threads to tighten it, catching small problems early prevents large ones.
Learning darning techniques for wool sweaters transforms how you relate to your clothing. Instead of discarding a sweater with a hole, you restore it and wear it with pride, a meditative, practical, deeply sustainable process.
Funalya's darning kits include everything you need: quality needles, yarn in multiple colors, and a sturdy mushroom.
Frequently Asked Questions
How do you darn a hole in a wool sweater?
Stretch the sweater over a darning mushroom or rounded support. Thread a darning needle with yarn matching your sweater's fiber and color. Start stitches beyond the hole's edge, creating horizontal foundation stitches across the worn area. Then weave vertical stitches over and under the horizontal threads to close the gap. Secure the thread on the underside when finished. The key is maintaining consistent tension to avoid puckering.
What yarn should you use to darn a wool sweater?
Choose wool darning yarn that matches your sweater's fiber content and weight. Merino wool, lambswool, or wool blends work well for most repairs. Match the yarn thickness to your sweater's knit, thicker yarn for chunky knits, finer yarn for delicate fabrics. Color matching is important for invisible mending, but visible mending with contrasting yarn is also a valid aesthetic choice. Test the yarn on a hidden area first to ensure it won't damage the surrounding fabric.
Can you darn a sweater without a darning mushroom?
Yes. A darning mushroom provides ideal support, but alternatives work too. Use a tennis ball, lightbulb, or any smooth, rounded object that fits inside the hole. The goal is to stretch the fabric evenly and prevent puckering while you stitch. Whatever you choose should be firm enough to support your stitching tension without distorting the surrounding knit. A rounded object is essential, flat surfaces make even tension difficult.
Is it worth darning a wool sweater instead of replacing it?
Darning extends the life of a favorite sweater significantly, especially when caught early. A small hole costs minutes to repair; a new quality sweater costs considerably more and requires resources to produce. For environmentally conscious wardrobes, darning reduces textile waste. Visible mending also adds character and craftsmanship to your clothing collection.