 how-to
Beginner Visible Mending Instructions: A Step-by-Step Guide
Table of Contents
- What Is Visible Mending and Why It Matters
- Essential Visible Mending Tools and Materials to Get Started
- Preparing Your Garment and Work Space
- How to Darn a Sweater by Hand: The Complete Technique
- How to Patch Clothes by Hand: Methods and Best Practices
- Darning vs Patching: Choosing the Right Method for Your Damage
- Common Beginner Mistakes and How to Avoid Them
- Caring for Your Mended Garments to Ensure Durability
- Frequently Asked Questions
Last Updated: October 18, 2026
What Is Visible Mending and Why It Matters
Visible mending instructions teach you how to repair clothing damage in a way that shows the repair as a design choice rather than hiding it.
The practice matters because it directly extends the life of your favorite pieces. When you learn visible mending, you stop replacing clothes and start maintaining them. A sweater with a hole in the elbow doesn't need to go to waste.
Visible mending also reconnects you with the clothes you own. The process is slow, intentional, and meditative. You sit with a garment, thread a needle, and spend time making it whole again. That time investment creates attachment.
At Funalya, we've designed beginner-friendly tools that make this repair process approachable for anyone.
Essential Visible Mending Tools and Materials to Get Started
You don't need much to begin. A basic toolkit includes a needle, thread, scissors, and something to hold your fabric steady while you work. The right materials make the process easier and produce better results.
Needles and thread:
- Use needles sized for your fabric (smaller for delicate knitwear, larger for denim)
- Mending thread is thicker and stronger than regular sewing thread
- Choose thread colors that match your garment or contrast intentionally for visible style
Fabric support:
- A mending hoop holds fabric taut so your stitches stay even
- A glass bowl or small cup works if you don't have a hoop
- Proper support prevents puckering and makes stitching easier
Cutting and prep tools:
- Small, sharp scissors cut thread cleanly
- Tweezers help remove loose fibers before you start mending
- A small brush clears away fuzz
Optional but helpful:
- A thimble protects your finger when pushing the needle through thick fabric
- A needle threader makes threading easier if you have vision challenges
- Fabric glue stabilizes patches before stitching
Many beginners worry they'll need expensive supplies. The truth is simpler. A quality mending kit from Funalya includes everything you need in one place, designed specifically for visible mending. You get needles, thread in multiple colors, a hoop, and clear instructions. No guessing what to buy or hunting through a craft store.
Preparing Your Garment and Work Space
Before you start stitching, prepare both your garment and your workspace. This step prevents mistakes and makes the actual mending faster.
Inspect the damage:
- Look at the hole or worn area closely
- Trim any loose fibers or fraying edges with scissors
- Decide if the damage calls for darning (weaving new thread) or patching (sewing fabric over the hole)
Clean the area:
- Wash and dry the garment if it's dirty
- Let it dry completely before you begin
- A clean surface helps you see the damage clearly
Set up your workspace:
- Find a well-lit area where you can sit comfortably
- Use a table or lap desk to keep your work stable
- Have all your tools within arm's reach
Secure the fabric:
- Place the damaged area in your mending hoop or over a support bowl
- Tighten the hoop so the fabric is taut but not stretched
- The fabric should feel firm when you press on it
A common beginner mistake is rushing this prep work. You think you'll save time by skipping it. Instead, you end up with uneven stitches, puckered fabric, or having to restart. Spend five minutes preparing properly and your actual mending goes twice as fast.
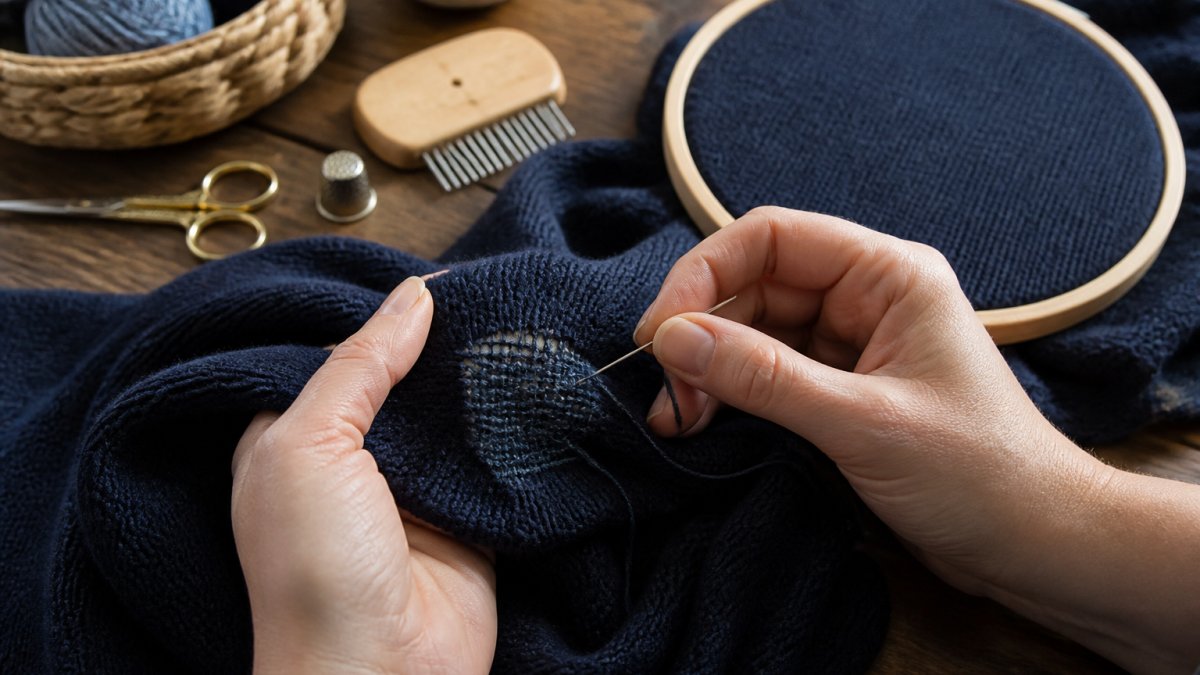
How to Darn a Sweater by Hand: The Complete Technique
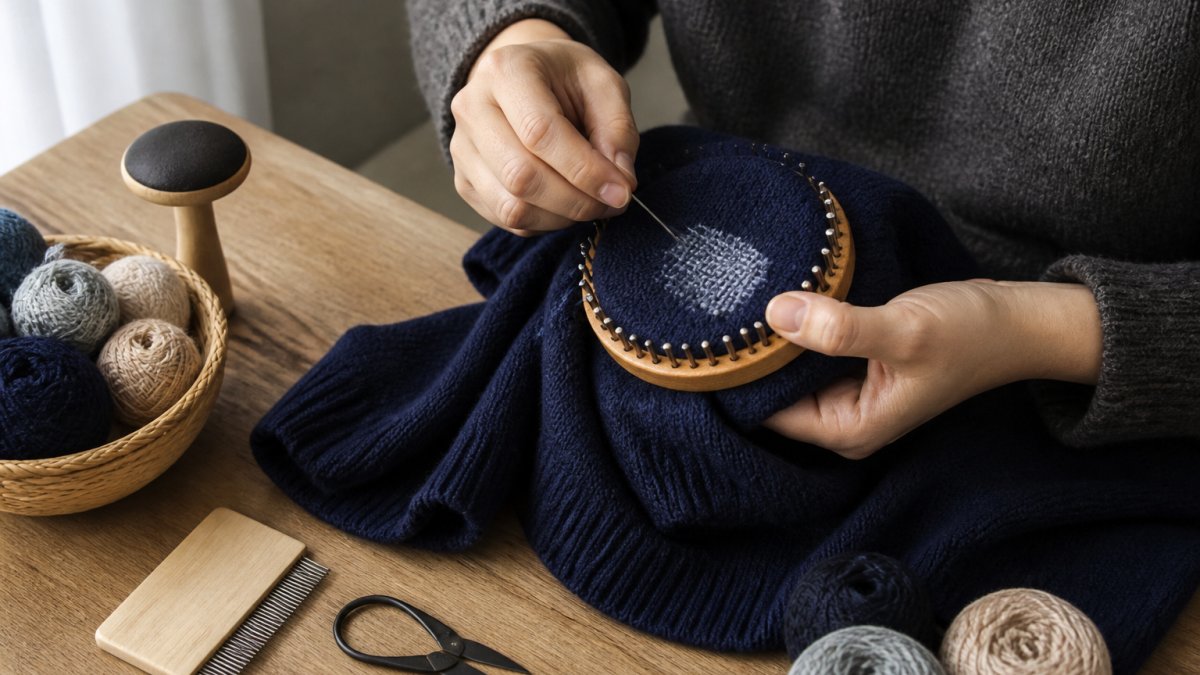
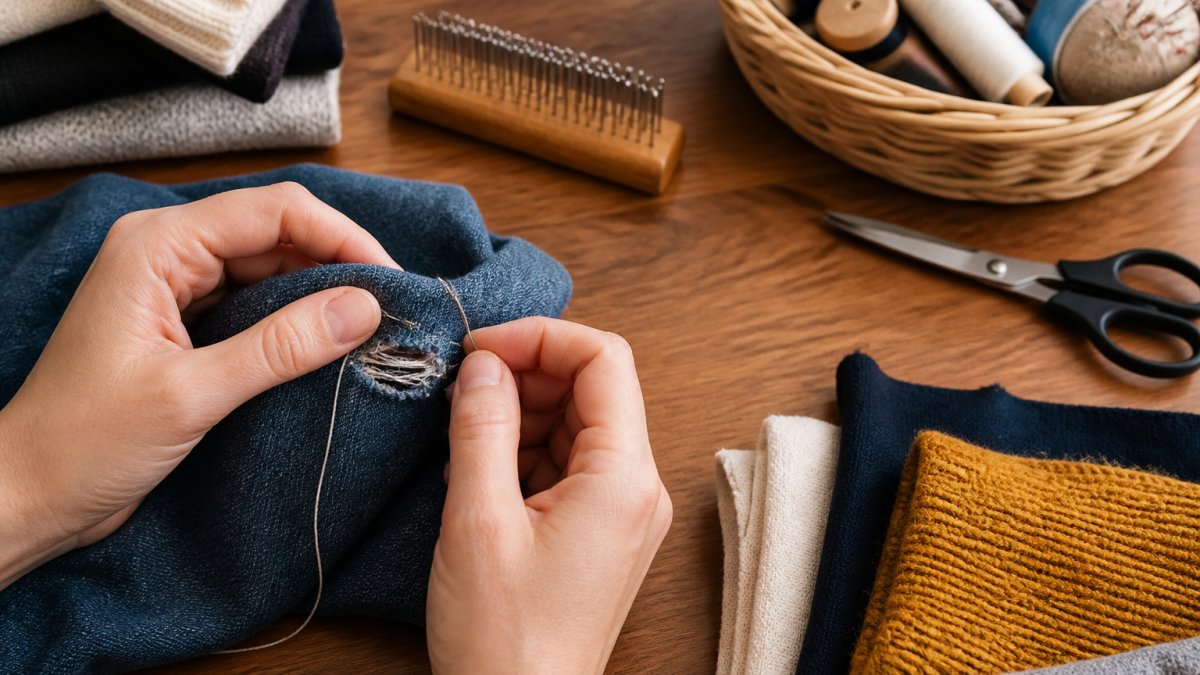
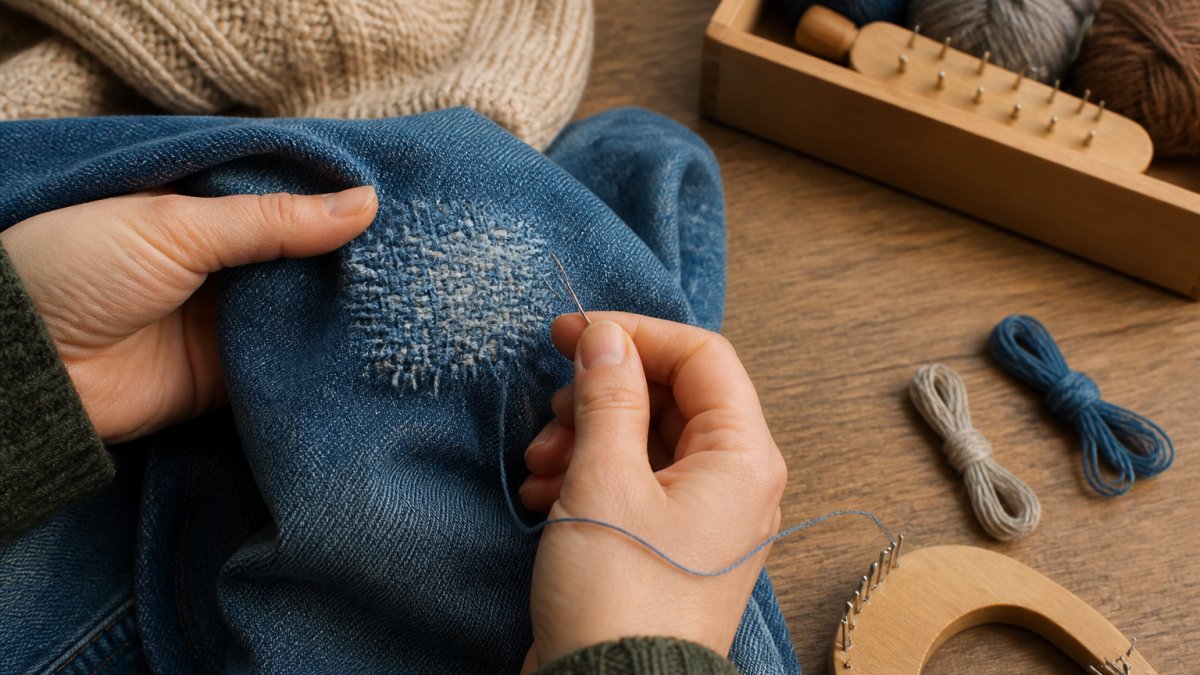
Darning is the most common visible mending method for holes in knitwear. Instead of covering the hole with a patch, you weave new thread through the existing fabric to close it. The result is a repair that blends with the original garment while remaining visible.
Setting Up Your Darn
Start by securing your sweater in a mending hoop with the hole centered. The fabric should be stretched gently but not pulled tight. Thread your needle with mending thread about 18 inches long. Knot one end.
Insert your needle from the wrong side of the fabric (the inside of the sweater) about a quarter inch away from the hole. Push it through to the right side.
Bring the needle back through to the wrong side about a quarter inch on the other side of the hole. You're creating a frame around the damaged area. Make four to six passes like this, moving around the hole. These anchor stitches hold everything in place while you work.
The Weaving Process
Now you're ready to weave. Bring your needle up through the fabric on one side of the hole. Instead of stitching into the sweater, you'll weave your thread through the existing stitches that form the edge of the hole.
Work in rows. Go across the hole horizontally, weaving your thread under and over the existing stitches. When you reach the other side, anchor your thread with a small stitch in solid fabric.
Keep your stitches close together. Tight weaving creates a durable repair. Loose weaving leaves gaps that can tear again.
This process takes patience. A hole the size of a quarter might take 20 to 30 minutes. Larger holes take longer. The time investment is part of what makes visible mending meaningful.
How to Patch Clothes by Hand: Methods and Best Practices
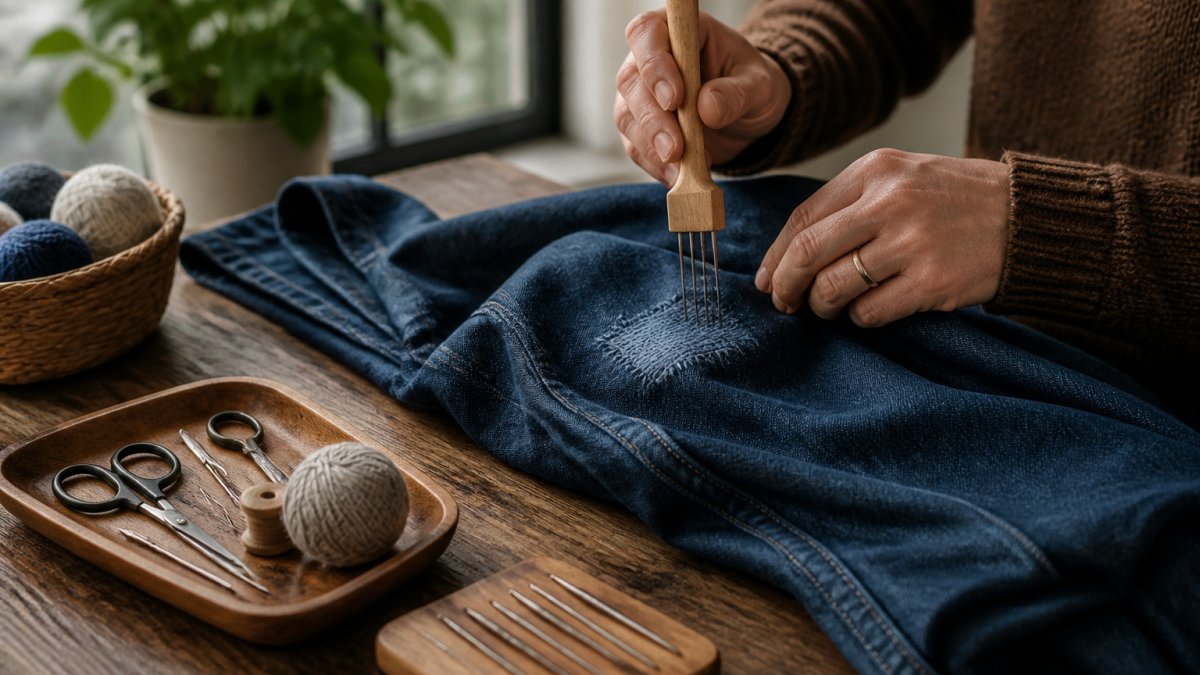
Patching works best for larger holes or damage on sturdy fabrics like denim and canvas. You sew fabric over the hole to reinforce it. Two main stitching methods work well for beginners.
Whipstitching a Patch
Cut a patch from fabric slightly larger than the hole. Place it over the damage on the right side of the garment (the side people see). This makes the repair intentionally visible.
Thread your needle and knot the end. Bring the needle up through the patch and garment layers from underneath. Push it back down just a few threads away, creating a small stitch. The needle should catch the edge of the patch and the garment underneath.
Work your way around the entire perimeter of the patch. Keep stitches small and close together. Space them about an eighth inch apart. This tight spacing prevents the patch from peeling away.
Whipstitching is forgiving for beginners. Even uneven stitches look intentional and add to the visible mending aesthetic.
Running Stitch for Reinforcement
The running stitch is simpler than whipstitching. Thread your needle and knot the end. Push the needle through all layers of fabric (patch plus garment). Come back up a quarter inch away. Push down again a quarter inch further.
Create a line of stitches around the entire patch edge. Then add a second line inside the first, about a quarter inch closer to the center. This double-line reinforcement makes the repair much more durable.
Running stitch works especially well on denim because the thick fabric holds stitches securely. The visible lines of stitching become part of the design.
Darning vs Patching: Choosing the Right Method for Your Damage
The type of damage you're repairing determines which method works best. Understanding this choice prevents wasted effort and frustration.
Use darning for:
- Small holes (smaller than a quarter)
- Thin areas where fabric is worn but not yet torn
- Delicate fabrics like merino wool or fine cotton
- Damage on visible areas where you want a subtle repair
Darning works because it fills the hole with new thread woven through existing stitches. The repair stays within the original fabric structure. This works well for knitwear because sweaters are made of interlocking loops that darning can weave through.
Use patching for:
- Large holes (larger than a quarter)
- Damage on sturdy fabrics like denim, canvas, or heavy cotton
- Multiple small holes close together
- Areas that get heavy wear (pockets, thighs, elbows)
Patching adds a new layer of fabric over the damage. This extra layer provides reinforcement. On durable fabrics, a well-sewn patch lasts as long as the original garment.
A common beginner mistake is trying to darn a hole that's too large. You end up with loose weaving that doesn't hold. If your hole is bigger than your mending hoop opening, patch it instead. You'll finish faster and the repair will last longer.
Common Beginner Mistakes and How to Avoid Them
Learning visible mending means making mistakes. The good news is that most mistakes are fixable, and each one teaches you something useful.
Mistake: Stitches too loose Loose stitches create weak repairs that fail quickly. The tension in your thread matters.
Mistake: Starting and ending poorly A knot at the end of your thread can slip through fabric or create a bulge.
Mistake: Skipping the prep work Loose fibers, dirt, or unprepared fabric leads to messy repairs.
Mistake: Threading too long a length A thread longer than 18 inches tangles and knots as you work.
Mistake: Choosing the wrong stitch for the fabric Delicate fabrics need gentle stitches close together.
Mistake: Rushing the first attempt Your first repair won't be perfect. That's normal.
Caring for Your Mended Garments to Ensure Durability
A well-executed repair lasts years if you care for it properly. These simple practices keep your mended clothes in rotation.
Washing and drying:
- Wash mended items in cold water on a gentle cycle
- Dry flat rather than in the dryer when possible
- The heat and tumbling of a dryer can stress repair stitches
Handling and storage:
- Fold mended items carefully rather than hanging them
- Store in a drawer or shelf away from direct sunlight
- Sunlight fades both the garment and the mending thread over time
Inspecting regularly:
- Check your repairs every few months
- Look for loose stitches or threads pulling away
- Tighten any loose stitches immediately before they spread
Reinforcing high-stress areas:
- If a mended area starts to show stress, reinforce it
- Add extra stitches or a second patch layer
- Early reinforcement prevents a repair from failing completely
The durability of your repair depends on how well you executed it and how gently you treat the garment afterward. A sweater with a carefully darned hole can last another five years with proper care. That's five more years of wearing something you love instead of buying a replacement.
Learning visible mending instructions transforms how you relate to your wardrobe. You'll repair your first hole, then your second, and soon mending becomes part of how you maintain the clothes you love. The Ellen MacArthur Foundation's research on textile waste shows that extending garment life by just nine months reduces environmental impact by 20-30%.
Frequently Asked Questions
What is visible mending and why should I learn it?
Visible mending is the practice of repairing clothing holes, tears, and worn areas using hand-sewing techniques where the repair is intentionally visible rather than hidden. It extends garment life, reduces textile waste, and gives your clothes a second life. Visible mending transforms a worn piece into something with character and history, while saving money on replacements. It's especially valuable for pieces you wear frequently, like sweaters and denim.
Do I need special visible mending tools to get started, or will any sewing kit work?
While a basic sewing kit can work, dedicated visible mending tools are designed specifically for garment repair and make the process simpler for beginners. Specialized kits include darning needles sized for different fabrics, mending thread in multiple colors, and tools like speed looms or mending hoops that stabilize your work. These tools reduce frustration and improve results, especially when learning techniques like darning and patching. Funalya's kits include everything a beginner needs in one package.
How do I decide between darning and patching when repairing a hole?
Choose darning for small holes and thin, worn areas in knitted fabrics like sweaters, where you weave thread across the damage to recreate the fabric structure. Use patching for larger tears, rips in woven fabrics like denim, or damage near seams. Darning works best on tight-knit materials where the hole is roughly the size of a coin or smaller. Patching is more durable for high-stress areas and visible damage on sturdy fabrics. For uncertain cases, patching is the safer beginner choice.
Will my mended repair hold up through washing and wearing?
Yes, if done correctly. Durability depends on stitch tension, thread quality, and fabric type. Use small, consistent stitches and mending thread designed for garment repair rather than general-purpose thread. After mending, hand-wash your garment in cool water and lay it flat to dry to minimize stress on the repair. Avoid heavy agitation or high heat. Most hand-sewn visible mends last as long as the surrounding fabric when cared for properly, making them a worthwhile investment in extending garment life.