 how-to
Clothing Repair at Home: Extend Garment Life and Skip Replacement
Last Updated: October 30, 2026
Quick Summary
Clothing repair at home means fixing small holes, thin spots and loose seams yourself before a garment is discarded. Basic darning, reinforcing thinning fabric and a simple beginner kit cover most jobs, letting you extend a favorite piece's life and avoid buying replacements too early.
- Check the damage first, since the type of damage decides which repair method to use.
- Darning weaves new thread across a hole and works well on socks, sweaters and knitwear.
- Reinforce thin areas like elbows, knees and seats before they tear completely.
- Match thread to the garment and keep stitch tension even to avoid puckering.
- Practice your first repair on an old sock or a garment you were already about to discard.
Table of Contents
- Why Repairing Clothes Beats Replacing Them Too Early
- How to Repair Clothes at Home: The Basic Workflow
- How to Darn Clothes Step by Step
- How to Reinforce Thinning Fabric Before It Tears
- Choosing a Clothing Repair Kit for Beginners
- Repairing Knitwear, Denim and Delicate Fabrics Differently
- Start Your First Repair on a Garment You Already Own
- Frequently Asked Questions
Why Repairing Clothes Beats Replacing Them Too Early
At Funalya, we see the same pattern again and again: a sweater gets a small hole, it goes into the drawer, and a new one gets bought instead. Clothing repair is one of the simplest ways to break that cycle. A small fix today can keep a favorite piece in rotation for years.
Research published on PubMed Central found that 55% of US participants never or rarely repaired their clothes Zhang et al., Extending the Lifetime of Clothing through Repair and Repurposing, 2022. That gap is a real opportunity. Most people already own clothes worth saving.
Repair also has an environmental side. One Planet Network reports an estimate of roughly 10 to 20 kg of CO2 and 2,000 litres of water conserved per repaired garment One Planet Network clothing repair guidance. The estimate does not state its year or method, so treat it as a rough guide rather than a precise figure.
Repairing can also help you avoid the cost of replacing garments early, since fixing what you already own is often more economical than buying new.
How to Repair Clothes at Home: The Basic Workflow
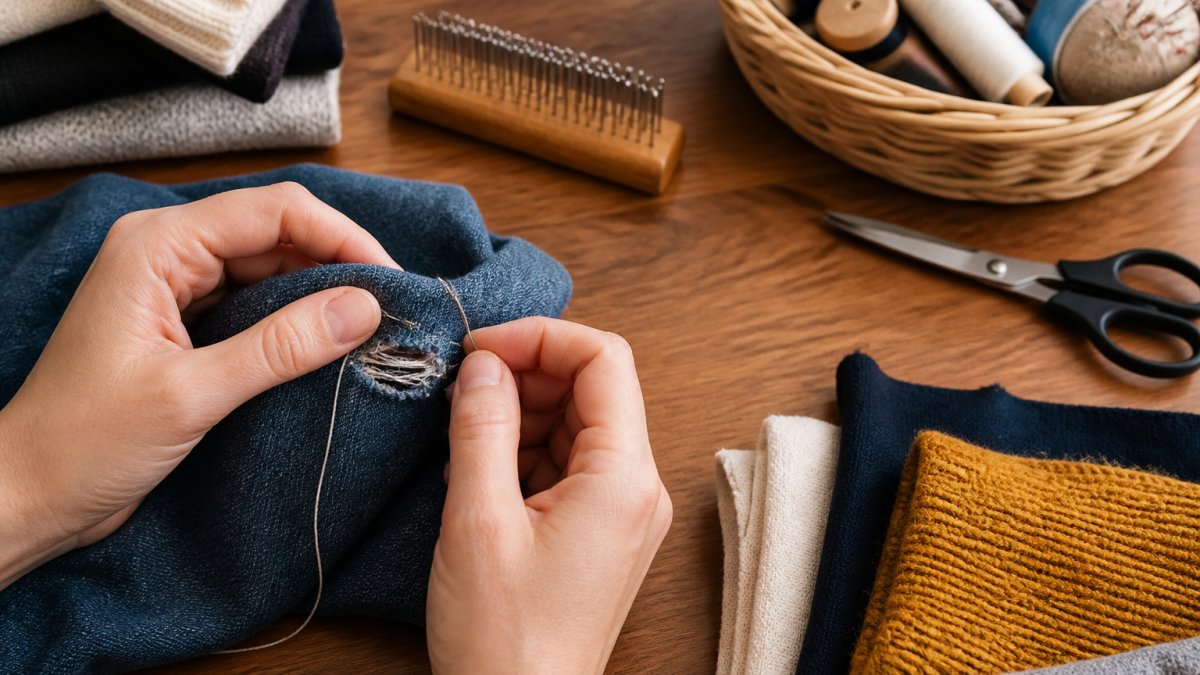
Every clothing repair follows the same basic steps, no matter the fabric. Start by checking the damage. Is it a small hole, a thin spot, a seam split, or a missing button? The type of damage decides the method.
Next, gather a few basic supplies. A darning egg or mushroom, a sharp needle, matching thread, and small scissors cover most jobs. Clean the garment first, since dirt makes stitches harder to hide.
Then work in this order:
- Look over the whole area and mark the weak spots.
- Choose the method that fits the damage.
- Work slowly and keep stitches small and even.
- Check the finished repair by wearing or gently stretching the fabric.
Good preparation makes the work faster. Keep your kit in one place so you can start a repair the moment you notice a problem.
How to Darn Clothes Step by Step
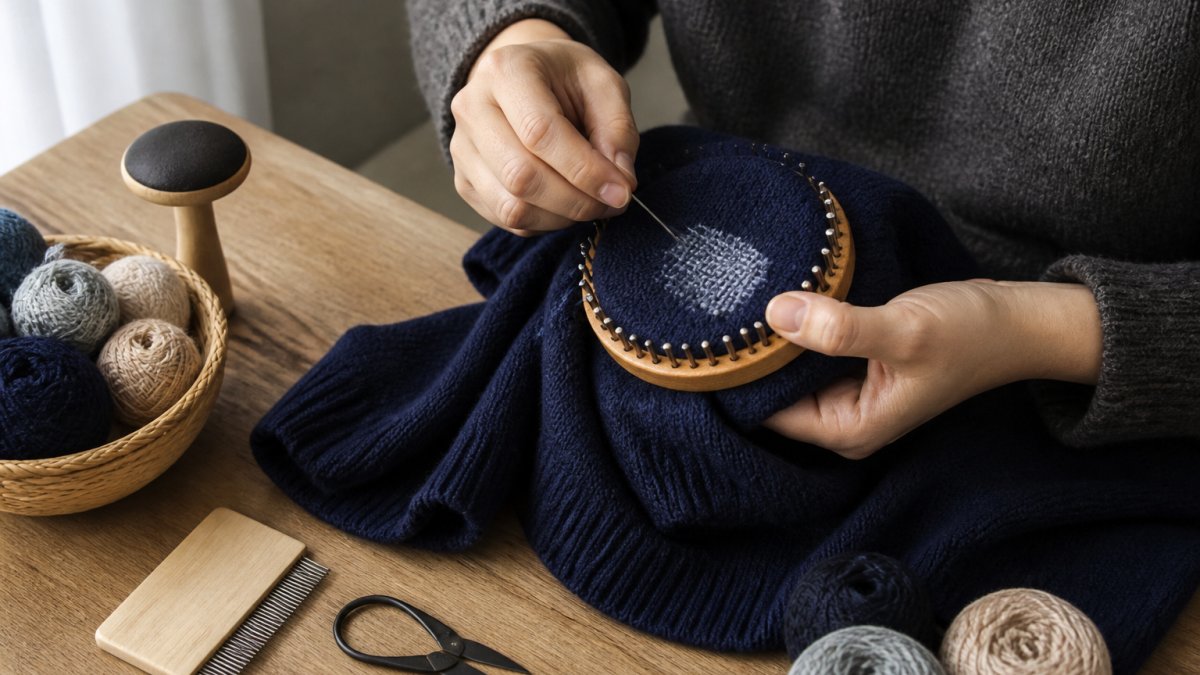
Darning rebuilds a hole by weaving new thread across it. It works well on socks, sweaters, and knitwear. Here is the basic method:
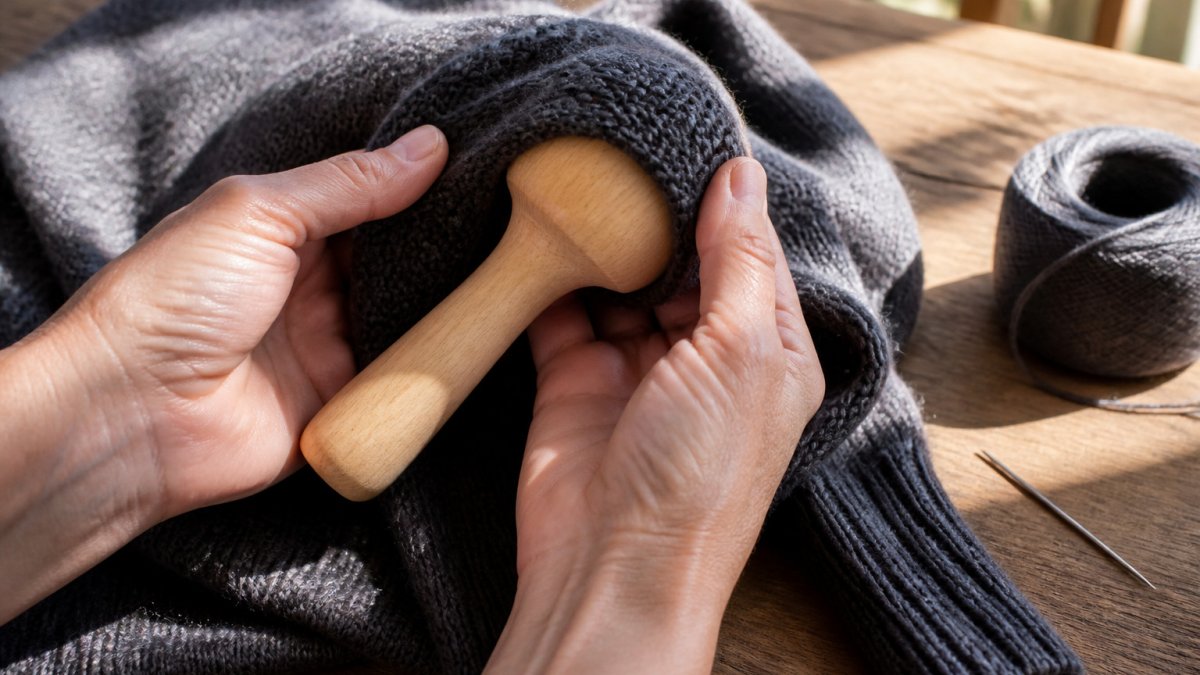
- Place a darning egg inside the garment, under the hole.
- Stretch the fabric gently over the egg so the damaged area lies flat.
- Thread your needle with yarn that matches the garment.
- Stitch straight lines across the hole, leaving a small border of sound fabric on each side.
- Turn the piece and stitch lines the other way, weaving over and under the first set.
- Finish by tying off the thread on the inside of the garment.
Keep tension even. Pulling too tight puckers the fabric, and loose stitches can slip. Practice on an old sock first if you are new to darning.
The steps below summarise the basic darning method described in this section.
| Step | What to do | Note |
|---|---|---|
| 1 | Place a darning egg under the hole | Supports the fabric |
| 2 | Stretch fabric gently over the egg | Lies flat |
| 3 | Thread needle with matching yarn | Match the garment |
| 4 | Stitch straight lines across the hole | Leave a border of sound fabric |
| 5 | Stitch the other direction, weaving | Over and under first set |
| 6 | Tie off thread on the inside | Keeps repair secure |
How to Reinforce Thinning Fabric Before It Tears
Thin spots usually appear at the elbows, knees, and seat of trousers. Reinforcing them early is far easier than repairing a full hole later.
Start by turning the garment inside out. Cover the thinning area with a small patch of matching or lightweight fabric, then stitch around its edges with small, close stitches. For knitwear, a few rows of loose stitches across the weak area can add support without changing the look.
Watch out: if the fabric is already very fragile, avoid pulling it tight while you stitch. Stretching weak threads can make the tear spread.
Reinforcing works best before the fabric gives way completely. Check frequently used garments every few wears and fix thin spots as soon as you see them.
Choosing a Clothing Repair Kit for Beginners
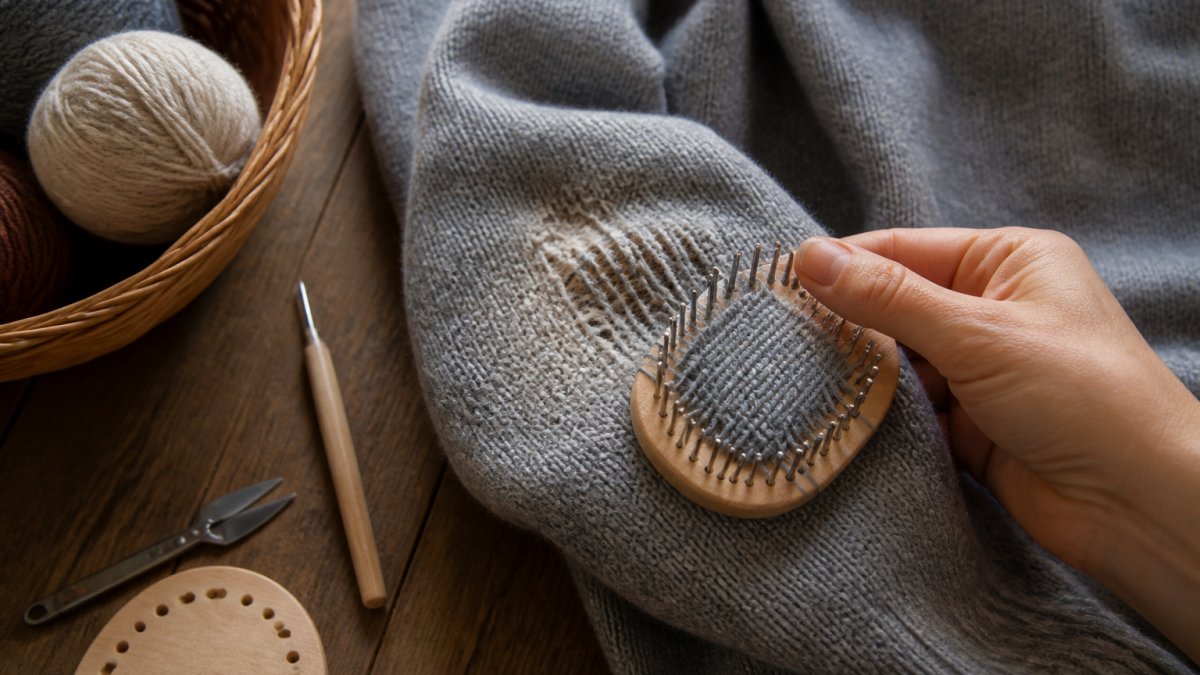
A good beginner kit should include the basics: a darning tool, a range of needles, several thread colors, and simple instructions. Look for a kit that handles both small holes and larger worn sections.
Funalya offers beginner-friendly repair tools, including darning kits and speed looms, along with useful accessories for visible mending and worn or thinning areas. Pricing depends on the kit and quantity, so check our website for current prices.
Customer feedback has mentioned that the kits are sturdy and come with plenty of colors. One reviewer said that even imperfect first repairs were enjoyable enough to keep practicing. These are individual experiences, not guarantees.
Before buying any kit, compare what is included, how many colors you get, and whether it suits the fabrics you wear most.
Repairing Knitwear, Denim and Delicate Fabrics Differently
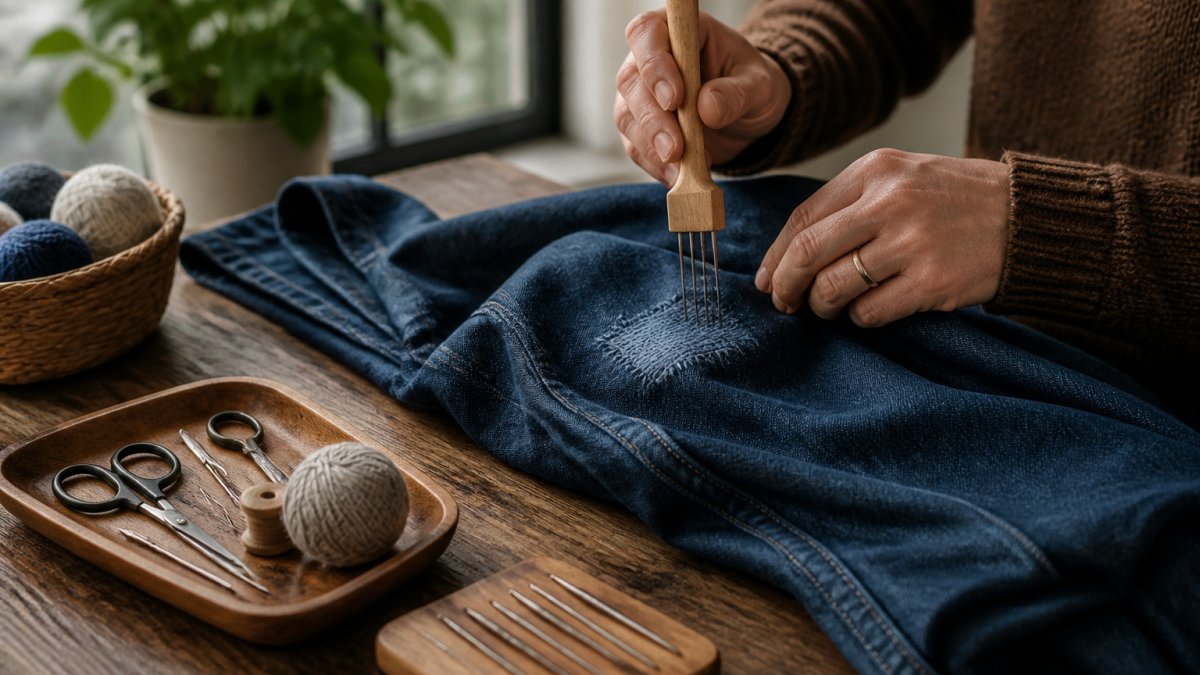
Each fabric needs its own approach. Knitwear stretches, so darn with a little slack and avoid pulling stitches tight. Denim is thick and heavy, so use a stronger needle and a sturdier thread. Delicate fabrics like silk or fine cotton tear easily, so use the smallest stitches you can manage and avoid heavy tension.
Some fabrics suit visible mending, where the repair becomes a deliberate design feature. Others need invisible repairs that blend into the original color and texture. Decide which look you want before you start.
Test your method on a scrap of the same fabric whenever you can. A quick test prevents a small mistake from becoming a bigger one.
Start Your First Repair on a Garment You Already Own
The best time to learn clothing repair is now. Pick one worn item you were about to throw away, such as a sock with a small hole or a sweater with a loose thread. Use it as practice.
Start small. Fix one hole, then check your work. Each repair builds skill and confidence. Over time, you will spot problems earlier and fix them faster.
Funalya's darning kits and speed looms are designed for beginners who want to keep their favorite clothes in use. Visit our website to explore the range and pick the tools that fit your repairs.
Frequently Asked Questions
What are the easiest clothing repairs to do at home?
Sewing on loose buttons, closing small seam splits, and patching small holes are the easiest repairs for beginners. They need only a needle, thread and a few minutes. Hems and small tears on woven fabric are also simple. Start with a garment you wear often but do not mind practicing on, so mistakes carry no cost. Each completed repair builds the hand skills needed for darning and reinforcement work later.
How can I repair a small tear in clothing?
Lay the fabric flat and trim any loose threads. Stitch the two edges together with small, even stitches, pulling the thread just snug enough to close the gap without puckering. For a hole, work a darning stitch across it, weaving thread over and under the existing fibres. Reinforcing the back with a small fabric patch stops the repair from stretching again. Practise on scrap fabric first if you are unsure of tension.
How do you reinforce thinning fabric?
Thinning areas, such as elbows, knees and the seat of trousers, wear first. Reinforce them by stitching a lightweight patch or a line of close running stitches on the inside, so the new thread supports the worn fibres without showing heavily on the outside. Visible mending with contrasting thread is another option if you want the repair to be a feature. Reinforcing early, before a hole forms, usually needs far less work than repairing a full tear later.
What sewing supplies do beginners need for clothing repairs?
A basic kit needs a range of sharp and blunt needles, strong polyester or cotton thread in several colours, sharp scissors, pins, a thimble, and a darning egg or mushroom for holding knitwear taut. Add a seam ripper and a small piece of fusible interfacing for patching. Funalya's darning kits and speed looms include useful accessories, which can suit beginners who prefer not to assemble a kit piece by piece.