 how-to
Can You Darn Clothes Without a Sewing Machine?
Last Updated: November 1, 2026
Quick Summary
Yes, you can darn clothes without a sewing machine using just a needle, thread, and a little patience to close holes and reinforce worn fabric. Hand darning rebuilds missing threads so the repair stays flat and flexible, and anyone can learn the skill.
- Turn the garment inside out and trim loose threads before you start stitching.
- A darning needle, darning egg, and embroidery thread make hand repairs easier.
- Slide a darning egg into a sock so the worn area sits flat and firm.
- Keep stitches loose on stretchy knits so the fabric still stretches.
- Fabric glue needs at least 1/4 inch of overlap and a full 24-hour cure before washing.
Table of Contents
- Yes, You Can Darn Clothes Without a Sewing Machine
- How to Fix a Small Hole in Fabric by Hand
- Hand Darning Tools That Make Repairs Easier
- How to Darn Socks by Hand: A Step-by-Step Walkthrough
- Darning vs Patching Clothes: Which Repair Fits Your Damage?
- No-Sew Repair Methods: Fabric Glue, Iron-On Patches, and When to Use Them
- Common Mistakes That Weaken a Hand Darn
- Choosing Your First Darning Kit
- Frequently Asked Questions
Yes, You Can Darn Clothes Without a Sewing Machine
You can absolutely darn clothes without a sewing machine. A needle, thread, and a little patience are all you need to close holes and reinforce worn fabric. Hand repair is a skill anyone can learn.
The real question is which method fits your damage, fabric, and time. Below, we'll show you how to fix a small hole, how to darn socks, and when a patch or fabric glue makes more sense than stitching.
How to Fix a Small Hole in Fabric by Hand
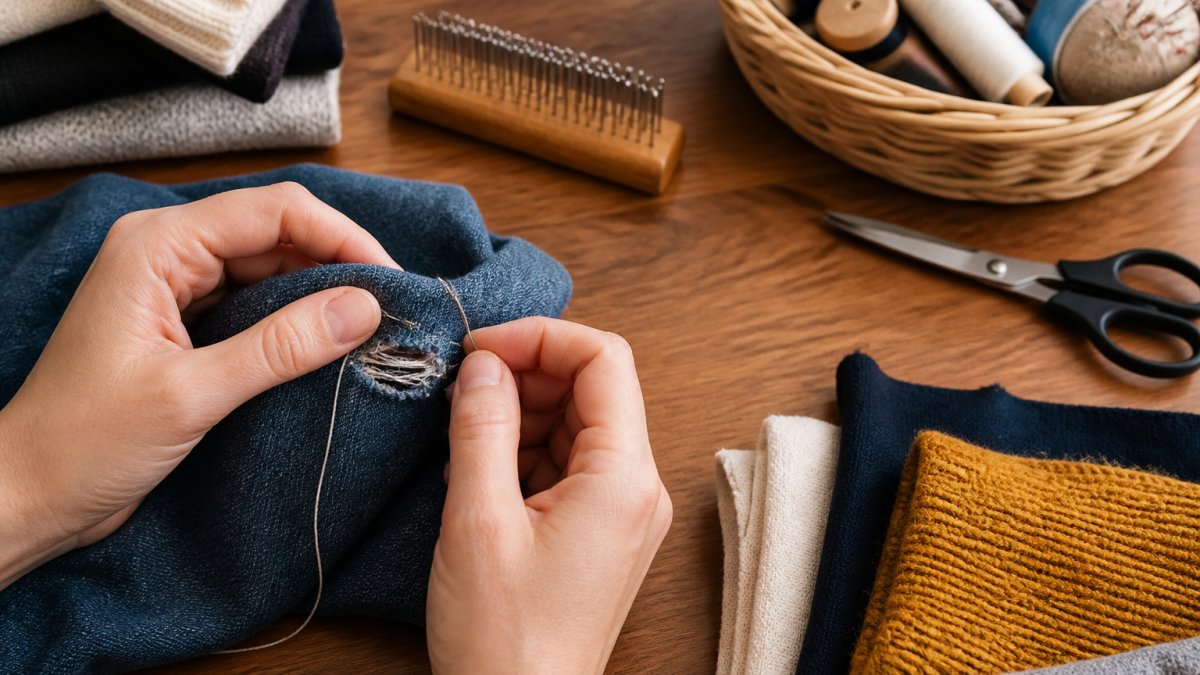
A small hole in woven fabric is the easiest repair to learn. The goal is to rebuild the missing threads so the fabric holds together.
Start with these steps:
- Turn the garment inside out. This keeps your stitches neat on the outside.
- Trim loose threads. Snip frayed edges so they don't tangle your needle.
- Thread your needle with a single strand of matching thread. Knot the end.
- Anchor the thread just outside the hole, then work short stitches back and forth across the gap.
- Weave the other direction. Cross your first stitches with a second set to lock the patch in place.
- Finish with a small knot on the inside, then trim.
For a focused walkthrough, see our guide on how to darn a hole.
Watch out: pulling stitches too tight puckers the fabric and creates a weak, lumpy patch. Keep tension relaxed, just enough to close the gap.
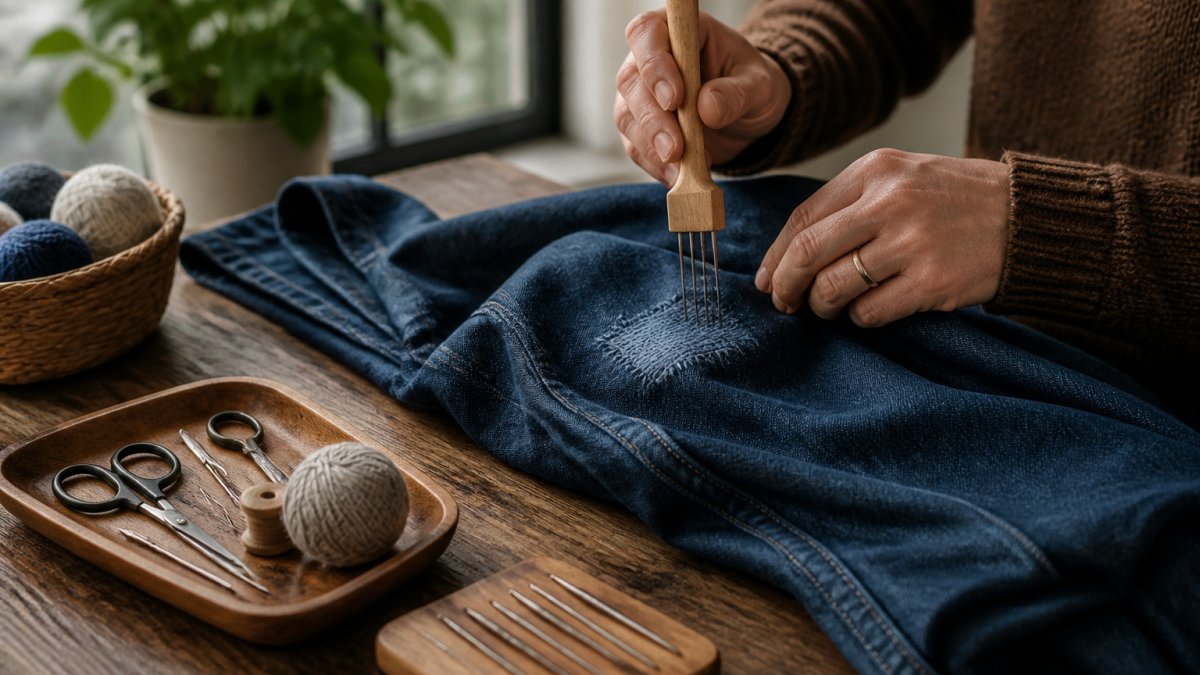
Hand Darning Tools That Make Repairs Easier
The right tools turn a fiddly repair into a calm one. A few basics make a real difference.
- A darning needle: a blunt-tipped needle with a large eye, easier to thread and less likely to split fabric threads.
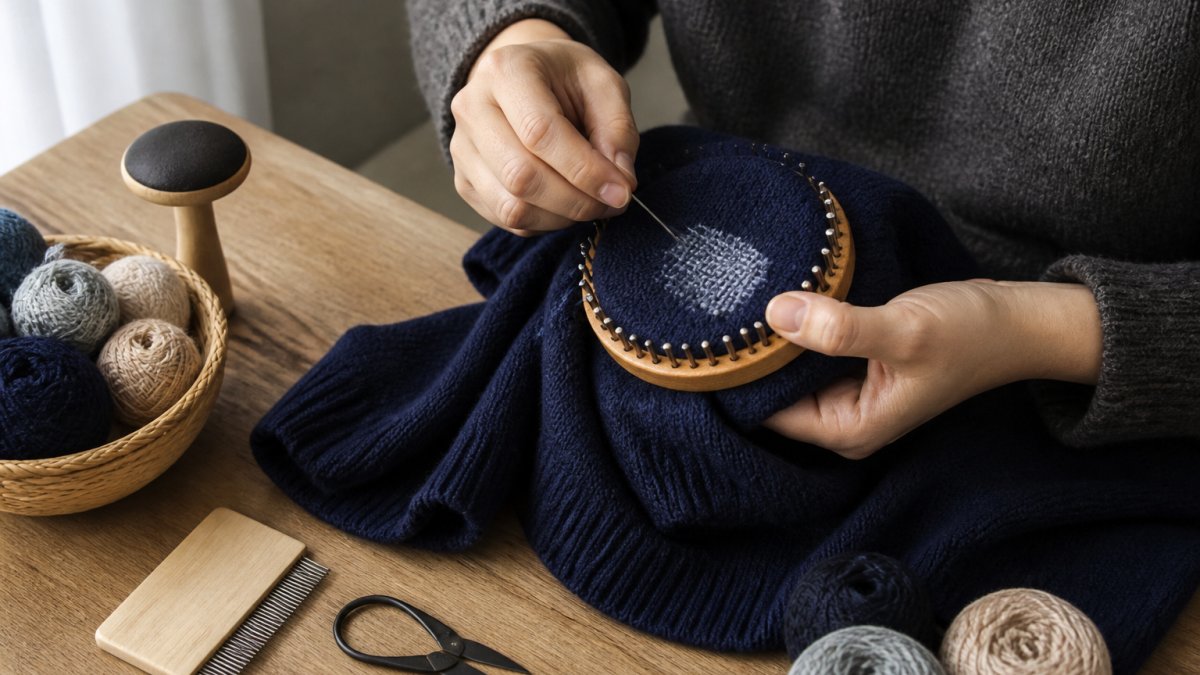
- A darning egg or mushroom: a smooth, rounded form you slide inside the garment to hold the fabric taut while you work.
- An embroidery hoop: keeps small or stretchy areas steady.
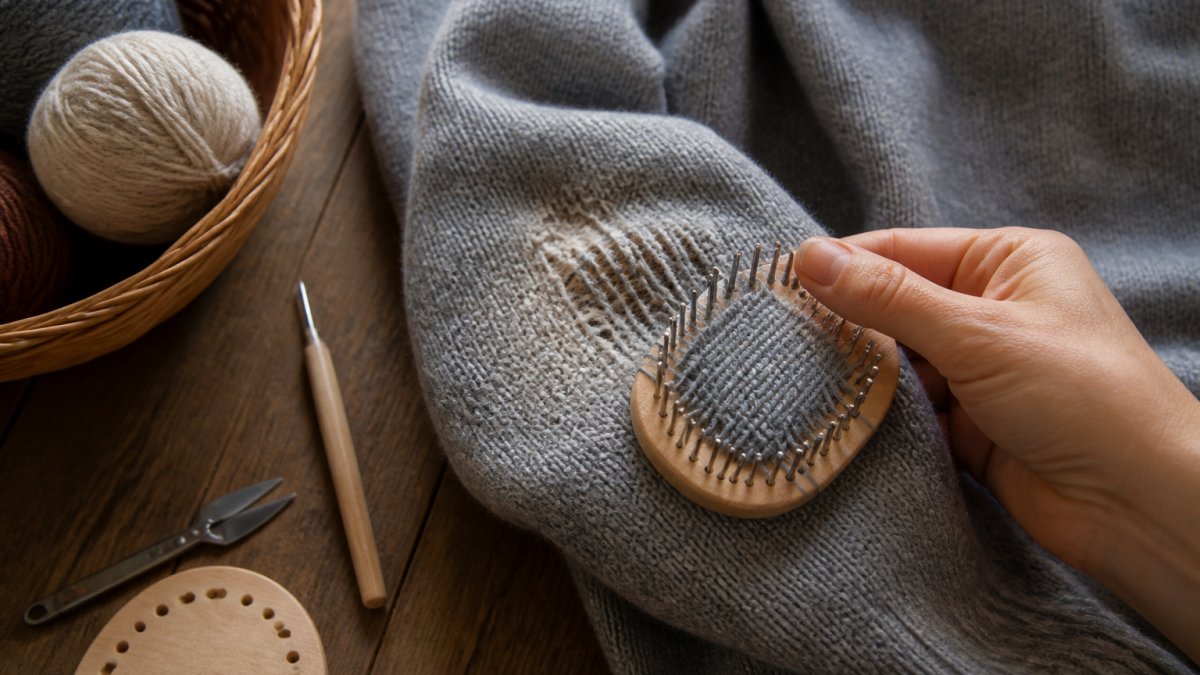
A darning loom holds your work under tension and can help you build even, grid-like stitches. If you're new to looms, our beginner's guide on how to use a darning loom walks through setup and first stitches.
Holding fabric taut makes a repair easier to work through to the end.
How to Darn Socks by Hand: A Step-by-Step Walkthrough
Socks are the classic darning project, and the heel is where they usually fail first. The method below rebuilds a worn heel or toe with a woven patch that flexes with the sock.
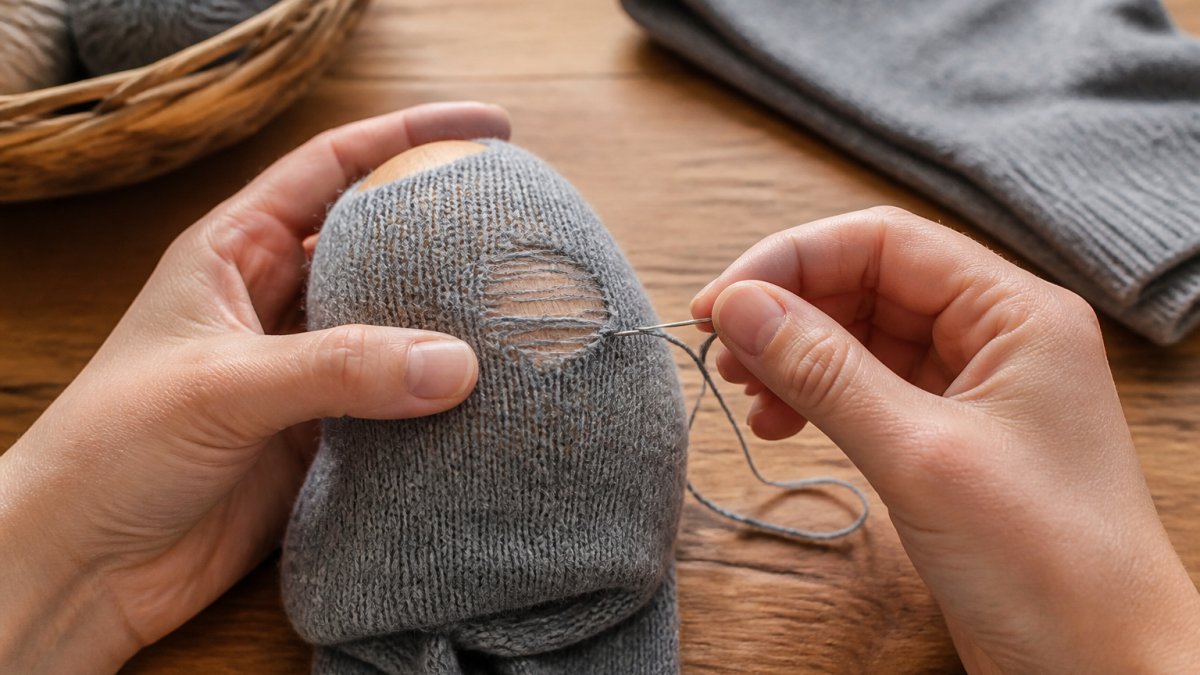
- Slide a darning egg into the sock so the worn area sits flat and firm.
- Thread a darning needle with yarn or embroidery thread close to the sock's color.
- Anchor just outside the worn patch and run a series of parallel stitches across the thin area, going past the edges onto solid knit.
- Turn and weave a second set of stitches at right angles, over and under the first, like a tiny woven grid.
- Keep the weave loose enough that the sock still stretches.
- Knot on the inside and trim. Turn the sock right side out and check the flex.
For a fuller beginner's walkthrough, read our guide on how to darn socks by hand.
Watch out: darning a stretchy knit too tightly turns a soft sock into a stiff, unwearable patch. Leave a little give in every stitch.
Darning vs Patching Clothes: Which Repair Fits Your Damage?
Use this section as a checklist before you thread a needle.
The core distinction
Darning rebuilds worn or missing threads by weaving new thread through the existing fabric. It keeps the repair flat and flexible and is ideal when the fabric is thinning but not gone. Patching covers the damage with a separate piece of material, either sewn on or ironed on. It is better when the hole is large, the edges are ragged, or the fabric is completely missing.
Decision guide by damage type
| Damage | Best first choice | Why | Watch out for |
|---|---|---|---|
| Small hole in woven fabric (shirt, trousers) | Hand darning | Rebuilds the weave, stays flat | Keep tension relaxed to avoid puckering |
| Thinning heel or toe in a sock | Darning | Reinforces before a hole forms | Leave stretch in the weave |
| Worn elbow or knee | Darning or sewn patch | Darning blends in; patch adds strength | High-flex areas need flexible stitches |
| Large rip or clean tear | Sewn patch | Covers more area than darning can | Match patch weight to garment |
| Ripped jeans at the knee | Sewn patch or decorative darning | Depends on size and the look you want | Heavy denim needs a strong needle |
| Hole in stretchy knitwear | Loose darning | Keeps the fabric flexible | Tight darning kills stretch |
| Split seam | Hand stitch | Fast and holds the seam closed | Backstitch for strength |
| Hole in waterproof or coated fabric | Patch (follow manufacturer guidance) | Preserves the coating | Heat can damage coatings; test first |
Decision guide by fabric type
- Denim and canvas: both darning and patching work well. Darning blends in; a patch adds durability. Use a heavy-duty needle and thread.
- Cotton and linen wovens: darning is usually the neatest fix for small holes; patches work for larger damage.
- Knits (jersey, socks, sweaters): darning with a loose weave is the better choice because it preserves stretch. Patches can restrict movement unless they are stretch patches.
Decision guide by garment location
- Elbows, knees, and seat: high-flex, high-wear zones. Darning with a slightly loose weave or a sewn patch with flexible stitching holds up best.
- Heels and toes of socks: darning is the standard repair; a patch would stiffen the sock.
- Seams and hems: hand stitching is faster and stronger than darning or patching.
Durability and washability
If the garment will be washed often and worn hard, favour stitching. For low-wear areas or a quick fix, a patch or fabric glue can be appropriate. Always follow the garment's care label and any patch or adhesive instructions.
When to stop repairing
Very large tears, badly frayed edges, fabric that is thin across a wide area, and high-stress zones may be beyond a simple hand repair. In those cases a tailor, a professional repair service, or replacement may be more practical. A good rule: if the damage is larger than the area you can comfortably hold taut in a hoop or on a darning egg, consider a patch or professional help.
For a deeper look at the fundamentals, see our beginner's guide to darning.
No-Sew Repair Methods: Fabric Glue, Iron-On Patches, and When to Use Them
No-sew repairs are real repairs, not just placeholders. But they behave differently from stitching, and the difference shows up after a few washes.
How fabric glue actually holds
Fabric glue forms a flexible polymer bond between fabric surfaces. It does not rebuild threads the way darning does. That means it is strongest in shear (side-to-side pull) and weakest in peel (lifting at an edge).
- Glue needs overlap. Spread adhesive at least 1/4 inch (about 6 mm) beyond the damaged edge onto clean, intact fabric. A butt-joined tear with no overlap will peel.
- Glue needs pressure and time. Most fabric adhesives call for firm pressure for 30-60 seconds, then a full cure of 24 hours before washing. Skipping the cure is the most common reason a glued repair fails on the first wash.
How iron-on patches actually hold
Iron-on patches carry a heat-activated adhesive backing. The iron melts the adhesive so it flows into the fabric surface, then it re-solidifies as it cools. The bond is only as good as the heat transfer, so three variables matter:
- Temperature: follow the patch manufacturer's setting. Too cool and the adhesive never flows; too hot and you can scorch the garment or melt synthetic fibers.
- Pressure: press firmly for the full time stated on the patch, usually 10-30 seconds per area. A light pass with the iron is not enough.
- Cover cloth: always iron through a pressing cloth or a thin cotton towel. Direct contact can leave adhesive residue on your iron soleplate.
Durability and laundering: what to expect
A well-applied iron-on patch on denim or canvas can survive many wash cycles, while fabric glue on a high-flex area like a knee or heel often starts to lift within a handful of washes. Neither matches a hand-stitched or darned repair for longevity on stretchy or high-friction fabric. To get the most from a no-sew repair:
- Wash inside out on a gentle cycle to reduce abrasion on the repair.
- Avoid high heat in the dryer. Heat softens many adhesives; air-drying or low heat extends the repair's life.
- Re-activate iron-on patches with a quick press through a cover cloth if an edge starts to lift.
Safety and fabric-care basics
Before you choose a no-sew method, read the garment's fiber-content and care label. The Federal Trade Commission's guidance on textile labeling explains what those labels tell you about fiber content and care. As a rule of thumb:
- Natural wovens (cotton, linen, denim): iron-on patches and fabric glue both work well; heat is usually tolerated.
- Stretchy knits (jersey, socks, athletic wear): adhesives stiffen the fabric and reduce stretch, so hand stitching or darning is usually the better choice.
- Delicate or coated fabrics (silk, nylon, waterproof shells): heat and solvents can cause damage; test first or choose hand sewing.
When no-sew is the right call
Choose fabric glue or an iron-on patch when the damage is on a non-stretch fabric, the area is low-flex, you need a fast fix, or you cannot hand-sew for physical reasons. Choose hand darning or stitching when the fabric stretches, the repair sits on a high-wear zone, or you want the repair to survive many washes.
Common Mistakes That Weaken a Hand Darn
Most weak repairs trace back to a handful of avoidable errors. Fix these and your darning will last far longer.
- Stitching too tight. Overtight thread puckers fabric and snaps under strain.
- Skipping the anchor. Starting without securing the thread lets the whole patch pull loose.
- Using the wrong thread. Standard thread is too weak for worn areas; use embroidery thread or yarn.
Trimming loose threads and holding the fabric taut before you start helps the repair hold. See our guide on darning for beginners.
Choosing Your First Darning Kit
A good starter kit removes the guesswork. Look for one that includes the essentials so you're not hunting for a missing tool mid-repair.
Check for these items:
- A darning needle or two with large eyes
- A darning egg or loom to hold fabric taut
- Embroidery thread in a few colors
Funalya's darning kits and speed looms are beginner-friendly tools that make garment repair approachable. As one customer put it, "Useful and functional.
If you're weighing options before you buy, see our clothing repair kit buyer's guide. For current pricing, check our product pages.
Frequently Asked Questions
Can you darn clothes without a sewing machine?
Yes. Hand darning uses a needle and thread to rebuild worn fabric, and it works on socks, sweaters, denim, and knits without any machine. Threads Magazine notes that machine mending suits non-stretch wovens and linear tears under 2 inches, but hand darning covers stretch knits, curved wear areas, and delicate garments a machine would struggle with. A darning egg or speed loom holds the fabric taut while you weave, which is the main skill to learn.
What hand darning tools do I actually need to start?
The basics are a hand sewing needle, embroidery thread or matching yarn, and something to hold the fabric taut, such as a darning egg, embroidery hoop, or speed loom. Small scissors and a thimble help but are optional. Kits bundle these together, which matters if you have never threaded a needle before. Look for a kit that includes multiple thread colors so you can match knits and denim rather than settling for one shade.
Is darning or patching better for a hole in my clothes?
Darning rebuilds the missing fabric by weaving new threads through the worn area, so it blends into knits and keeps the garment flexible. Patching covers the hole with a separate piece of fabric, which suits large rips, heavy denim, and areas that need extra reinforcement. For small holes in socks and sweaters, darning is usually the better fit. For a knee blowout in jeans, a patch holds up longer.
Does fabric glue hold as well as hand sewing?
Fabric glue bonds quickly and needs no skill, but it stiffens the fabric and can fail after repeated washing, especially on stretch knits. Hand stitching and darning move with the garment and survive laundering far better. Use fabric adhesive for hems, quick fixes on non-stretch fabric, or repairs where a needle is not an option. For anything you plan to wear and wash weekly, a needle and thread is the more durable choice.
Darning by hand is a skill that pays you back every time a favorite sweater or sock gets a second life. The tools are simple, the learning curve is short, and the payoff is clothing that stays in rotation instead of the bin. Funalya makes that first step easier with beginner-friendly darning kits, speed looms, and the accessories you need for both small holes and larger worn sections. Get started with Funalya and keep your cherished garments going for years.