 how-to
5 Methods to Repair Thinning Sweater Elbows Before They Tear
Last Updated: October 26, 2026
Quick Summary
To repair thinning sweater elbows, reinforce the weakened area with a support grid or internal patch before fibers break, or darn by hand using matching yarn in horizontal and vertical rows. Catching thinning fabric early and taking action gives you months or even years of extra wear compared to patching after a hole appears.
- Hand darning takes 30-60 minutes and requires matching yarn, a darning needle, and a darning mushroom or wooden spoon.
- An internal support patch is the fastest reinforcement method, taking 15-30 minutes and adding minimal bulk under the sleeve.
- Match your repair method to fiber type: wool responds well to darning, while cotton and synthetics need looser stitches to stay flexible.
- Rotate sweaters and wear each no more than two or three days per week to prevent future elbow wear.
- Proper garment care can extend clothing lifespan by 50 percent or more according to the American Textile Manufacturers Institute.
Table of Contents
- Why Thinning Elbows Matter: Catching Wear Early
- Assessing Your Sweater's Elbow Damage
- How to Darn a Sweater by Hand
- Sweater Elbow Patches: Adding Reinforcement with Style
- Darning Tools for Sweater Repair and How to Use Them
- How to Reinforce Thinning Knit Fabric Before It Tears
- Preventing Future Elbow Wear and Maintaining Your Repair
- Frequently Asked Questions
Why Thinning Elbows Matter: Catching Wear Early
Elbow wear is one of the most common reasons people retire perfectly good sweaters. Daily friction against desks, armrests, and tables thins the fibers until a hole suddenly appears.
We've seen countless customers rescue sweaters they thought were done for. The difference often comes down to one decision: act before the damage becomes irreversible.
Replacing a quality sweater costs far more than repairing it, and every garment kept in rotation is one fewer piece consuming resources.
Assessing Your Sweater's Elbow Damage
Before you pick a repair method, know what you're working with, not all thinning is the same.
Hold your sweater up to natural light and examine both elbows. Are the fibers intact but thinner than the rest of the sleeve?
Here's what you're looking for:
- Slight thinning: The area looks worn but fibers hold together. Light doesn't pass through.
- Advanced thinning: You can see light through the fabric. Fibers are weak but not broken.
- Small hole: A hole smaller than a dime. The surrounding fabric is still strong.
- Large hole or damage: Multiple holes, or thinning across a wide area of the elbow.
Run your fingers over the damage. Fiber type matters: wool responds well to darning, while delicate synthetics may need a gentler approach.
Also check overall condition: if only the elbows are thinning, a targeted repair makes sense; if the whole sweater is worn, prioritize reinforcement.
How to Darn a Sweater by Hand
Darning is the gold standard for invisible knitwear repair, but most tutorials show it for a hole. For a thinning elbow, you're not closing a gap, you're adding a supportive grid over weakened fibers before they break, which changes your needle, yarn, and tension.
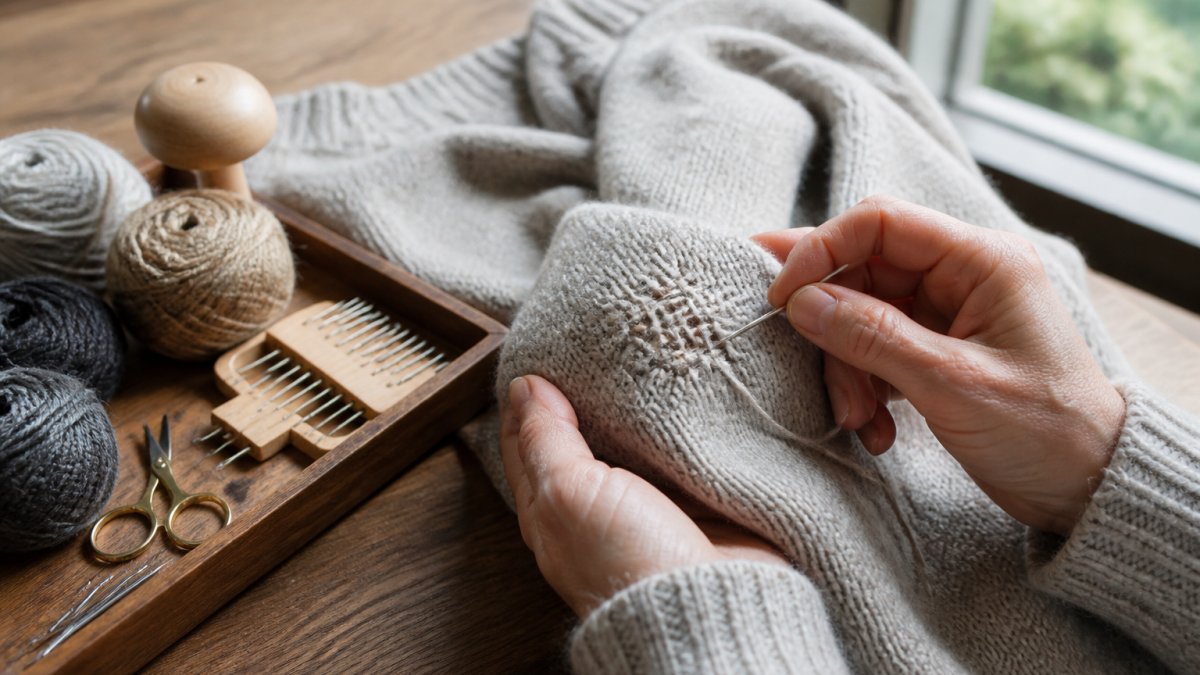
Match the darning method to your knit and fiber
Use this quick guide before you thread a needle:
- Fine-gauge merino or cashmere: Use a fine darning needle and a single ply of matching yarn. Work small, loose stitches. Over-tensioning fine gauge causes puckering that never blocks out.
- Chunky wool or lambswool: A larger darning needle and a full strand of matching-weight yarn work best. You can afford slightly firmer tension because the knit structure is more forgiving.
- Cotton or cotton-blend knits: These fibers have less elasticity, so darn with a slight slack in each stitch. If you pull tight, the repair will feel stiff against the elbow.
- Acrylic and synthetic knits: Synthetic yarn does not felt or bloom the way wool does, so the darn will not blend as seamlessly. Choose a matching color and keep stitches shallow so the repair stays flexible.
- Ribbed or cable-knit elbows: Follow the dominant stitch direction rather than forcing a square grid. On ribbing, weave with the ribs, not across them, or the repair will fight the fabric's natural stretch.
Unsure which fiber you have? Check the care label or burn a tiny snip from an inside seam: wool smells like hair and leaves ash, synthetics melt into a bead.
Step-by-step darning for a thinning elbow
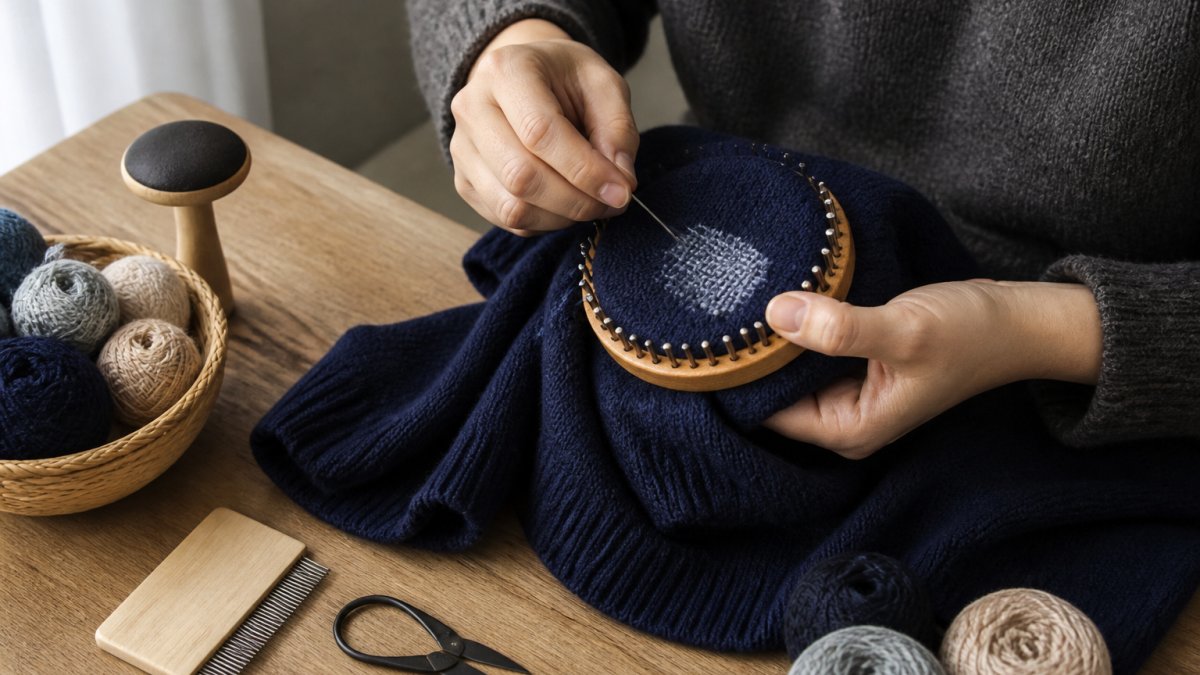
Gather a darning needle, matching yarn, small scissors, and a darning mushroom or egg (a smooth wooden spoon works too).
Step 1: Secure the fabric. Place the darning tool inside the sweater so the elbow sits on top, stretching the fabric slightly and giving you a firm surface.
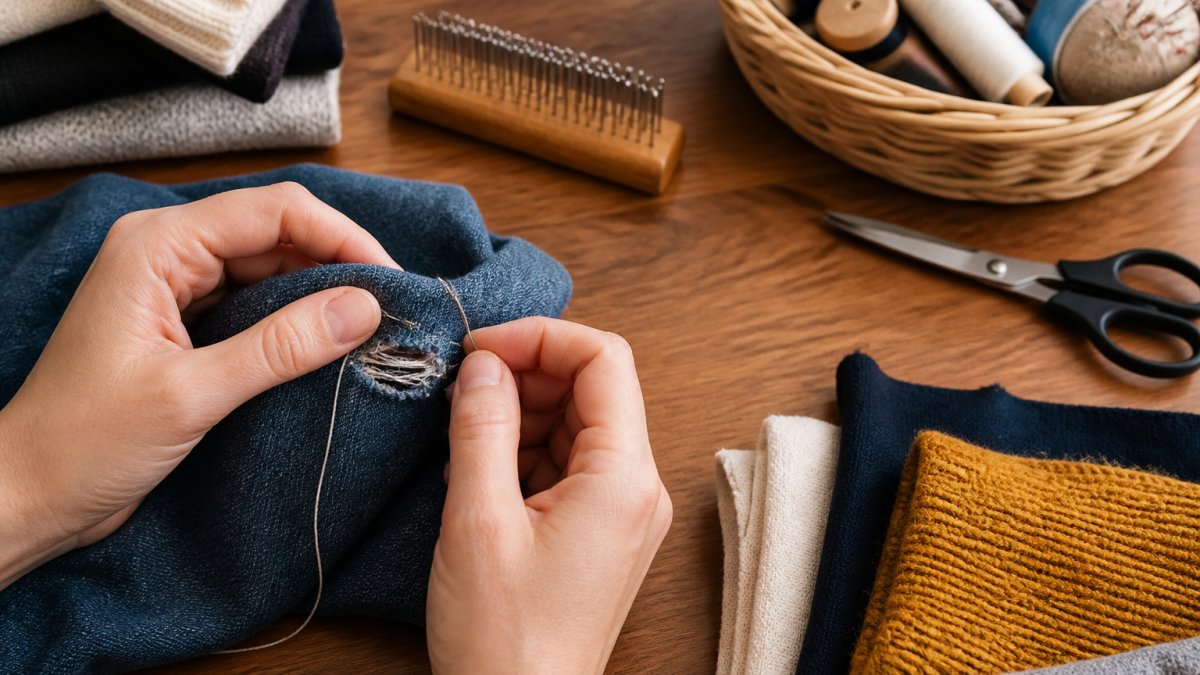
Step 2: Thread your needle. Cut a length of yarn about two feet long. Thread it through your darning needle and knot the end so it will not slip through the fabric.
Step 3: Weave the base rows. Start just outside the thinned area, not at its center.
Step 4: Weave perpendicular rows. Once the area is covered horizontally, repeat vertically, weaving under and over the horizontal threads.
For detailed wool-specific techniques, how to darn a sweater by hand provides step-by-step guidance tailored to different yarn types.
Sweater Elbow Patches: Adding Reinforcement with Style
Choose patch fabric similar in weight to your sweater, flannel, corduroy, or another knit.
Position the patch on the inside first for an invisible repair.
For visible mending, place the patch on the outside and use contrasting thread for decorative stitching, a popular look in sustainable fashion communities that turns a repair into a design feature.
For comprehensive guidance on patch placement and stitching, sweater elbow patches walks you through the full process.
Darning Tools for Sweater Repair and How to Use Them
The right tools make repair work faster and more enjoyable. You don't need much, but quality matters.
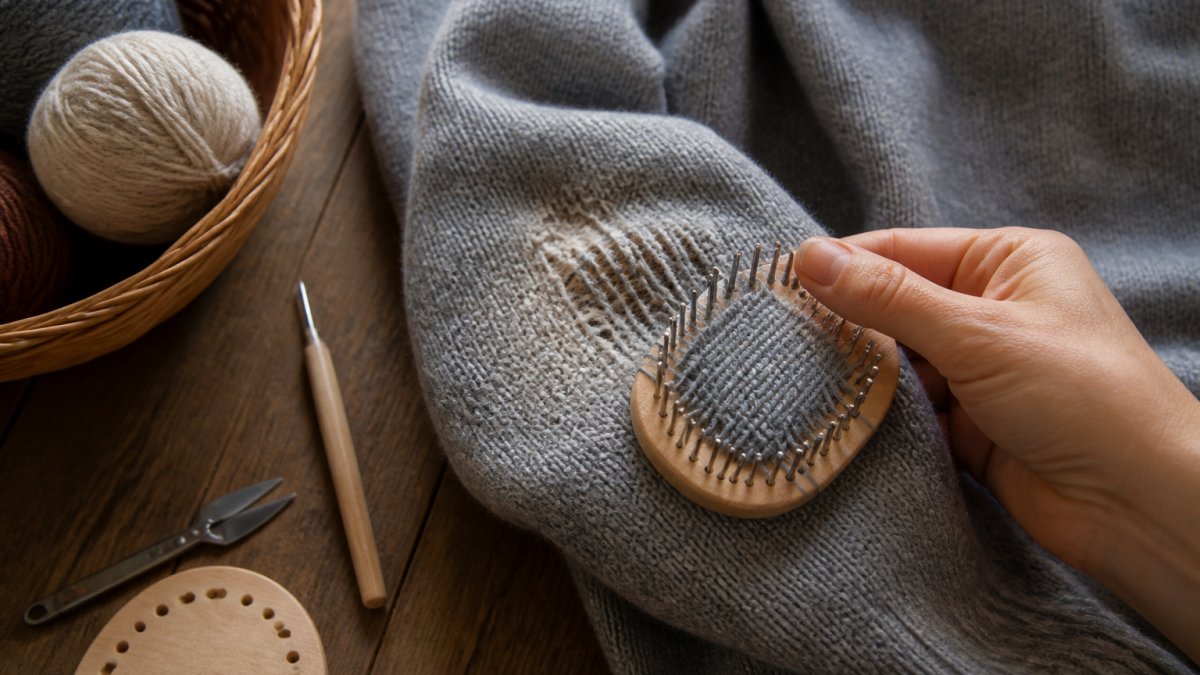
A darning mushroom or egg holds fabric taut, preventing puckering and making stitches consistent, worth the small investment.
Yarn should match your sweater's color, fiber, and weight as closely as possible.
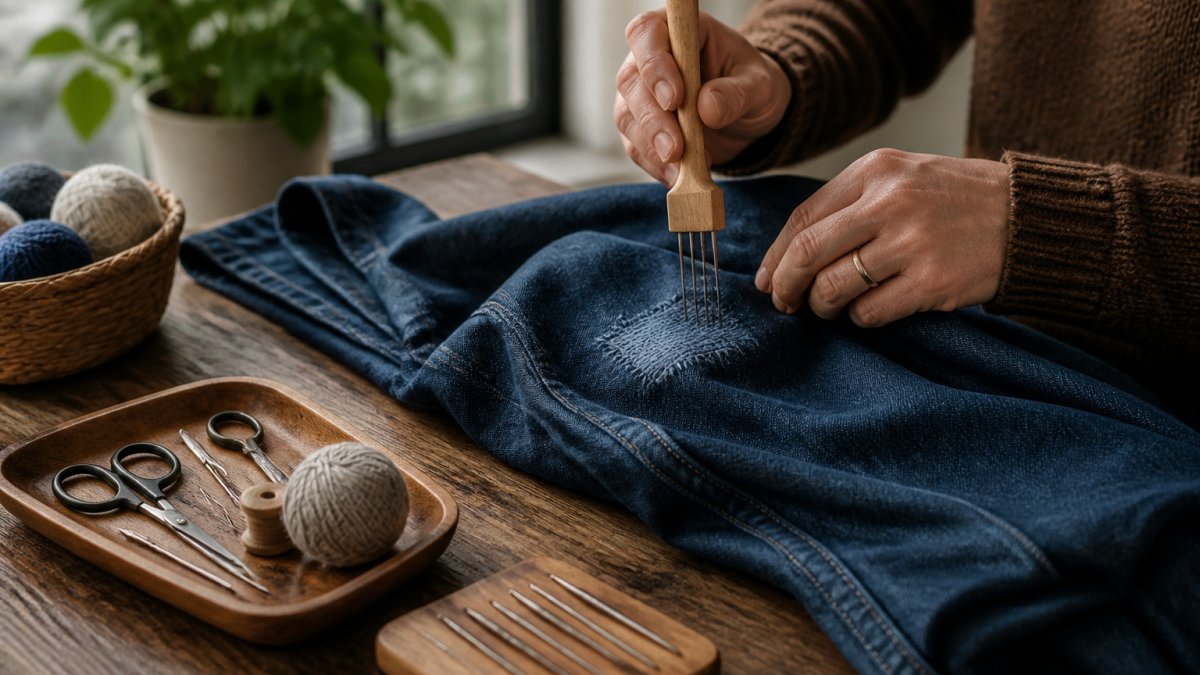
A small pair of scissors keeps your workspace organized; dedicated embroidery scissors last for years.
Thimbles protect your fingers during repetitive stitching. They're optional but helpful if you have sensitive fingertips.
How to Reinforce Thinning Knit Fabric Before It Tears
Most guides teach you how to fix a hole. This section covers the step almost no one does: stabilizing a thinning elbow while the fibers are still intact. Done right, reinforcement adds months or years of wear and is faster and less visible than a post-hole repair. Done wrong, it adds bulk, puckers the sleeve, or creates a new friction point.
First, decide whether to reinforce or darn
Use this rule of thumb:
- Slight thinning, fibers intact, no light through the fabric: Reinforce. A light internal patch or a single-direction support grid is enough.
- Advanced thinning, light visible through the fabric, fibers weak but unbroken: Reinforce with a denser grid or a lightweight internal patch. This is the last stage before a hole.
- Small hole or broken fibers: Skip reinforcement and darn or patch. Reinforcement over broken fibers will not hold.
If both elbows are thinning, reinforce both at once, uneven reinforcement creates an imbalance in how the sleeves drape and wear.
Method 1: The internal support patch
The fastest reinforcement and the least visible from the outside.
- Choose patch fabric. Use a lightweight knit or fine woven fabric similar in weight to your sweater, an old cotton T-shirt for cotton sweaters, a lightweight wool scrap for wool. Avoid heavy flannel or denim, which add bulk and stiffness.
- Cut the patch. Make it slightly larger than the thinned area, with at least one inch of overlap onto healthy fabric on every side. Rounded corners reduce peeling.
- Pin it inside. Turn the sweater inside out and pin the patch to the inside of the elbow, covering the thinned zone.
- Stitch with a loose running stitch. Sew around the perimeter and across the center with a loose running stitch. Do not pull tight. The patch should support the thin fibers without compressing them.
- Check the outside. Turn the sweater right-side out and flex the elbow. If you see puckering, loosen the stitches.
Method 2: The single-direction support grid
This is a lighter reinforcement for slight thinning where you want almost no added bulk.
- Thread a matching darning needle with yarn that matches the sweater's color and weight.
- Work parallel stitches across the thinned area in the direction of the knit, spacing them about a quarter inch apart.
- Keep the stitches shallow. Catch only the top layer of fibers, not the full thickness of the fabric.
- Do not weave a cross-grid unless the thinning is advanced. A single direction is enough for early-stage wear and stays flatter under the sleeve.
Match reinforcement to fiber and knit type
- Wool and wool blends: Wool fibers have natural crimp and scale, so a light support grid blends well and can even felt slightly with wear, locking the repair in place.
- Cotton knits: Cotton has less elasticity. Use a patch rather than a grid if the thinning is broad, because a grid on cotton can feel stiff.
- Fine-gauge knits: Use a fine needle and lightweight patch fabric. Bulk is the main risk here.
- Chunky knits: You can use a slightly heavier patch or yarn, but keep the stitch tension loose so the elbow still flexes.
- Synthetics: These fibers do not felt, so the reinforcement will not blend as seamlessly. Prioritize color match and keep the patch thin.
Work in good light and cover the whole zone
Natural daylight helps you see exactly where reinforcement is needed. Cover the entire thinned zone, not just the worst spot, since friction spreads across the whole elbow contact area. Mark the perimeter with tailor's chalk first.
For step-by-step instructions on reinforcement techniques, reinforce worn fabric provides detailed guidance for different knit types and damage levels.
Preventing Future Elbow Wear and Maintaining Your Repair
Once you've invested time in repairing your sweater, protect it with a few simple habits.
Inspect regularly. Once a month, check your favorite sweaters for new soft spots. Catching problems early means faster, easier repairs.
Research from the American Textile Manufacturers Institute shows that proper garment care can extend clothing lifespan by 50 percent or more.
Sweater repair doesn't require special skills or expensive tools.
Funalya's beginner-friendly repair tools make starting simple. View Our Products to find everything you need to repair thinning sweater elbows and extend the life of your favorite pieces.
| Repair Method | Best For | Time Required | Difficulty |
|---|---|---|---|
| Hand darning | Small holes, thinning fabric | 30-60 minutes | Intermediate |
| Elbow patch (internal) | Large damage, reinforcement | 20-40 minutes | Beginner |
| Elbow patch (visible) | Style statement, large holes | 30-50 minutes | Beginner |
| Early reinforcement | Preventing future damage | 15-30 minutes | Beginner |
Frequently Asked Questions
Can I repair thinning sweater elbows without sewing experience?
Yes. Hand-darning and patching require no prior experience, only basic stitching skills that take 30 minutes to learn. Many beginners worry they'll damage their sweater, but the fabric is already thinning; a simple repair stops further wear. Start with a visible mending patch if you're nervous, then progress to darning. Beginner-friendly kits include step-by-step guidance and all materials needed.
How do I darn a sweater elbow by hand?
Thread a needle with yarn that matches your sweater's fiber and color. Secure the thread at the edge of the thinned area with small stitches. Weave the needle horizontally across the damage, then weave vertically back over those rows, creating a grid pattern. This interlocks the knit structure and reinforces the weakened fabric. Keep tension consistent so the repair sits flat. Hand-darning works best on small to medium thinning areas before holes form.
What's the difference between darning and patching a worn sweater elbow?
Darning weaves new yarn into existing stitches to reinforce thinning fabric invisibly. Patching places material over the damage, visible or hidden depending on your method. Choose darning for early-stage thinning to prevent holes; use patches when a hole already exists or darning isn't feasible. Elbow patches add durability and style, while darning is faster for minor wear. Many people combine both methods for maximum protection.
How do I choose between different repair methods for my sweater?
Consider fabric type, damage size, and your skill level. Fine knitwear and wool respond well to hand-darning. Thicker knits or larger worn areas suit elbow patches or speed-loom repairs. If thinning is caught early, darning prevents holes entirely. If a hole exists, patch it. Visible mending (embroidered patches) works for fashion-forward repairs. Start with the method matching your comfort level, beginner kits guide you through each approach with clear steps.