 how-to
How to Use a Darning Kit as a Beginner
Last Updated: November 4, 2026
Quick Summary
Yes, beginners can use darning kits successfully. Start with a small hole on a soft knit like a cardigan or sock, since the loom or mushroom holds the fabric taut and handles the hardest spacing work. Expect two or three attempts before it feels natural.
- Pick a hole about the size of a coin for your first repair.
- Choose soft knitwear like cardigans or socks as your first project.
- A darning loom sets the warp spacing, so you mainly keep tension steady.
- Practice on a scrap before repairing a favorite garment.
- Expect two or three attempts before the technique feels natural.
Table of Contents
- Can Beginners Use Darning Kits Successfully?
- What Is a Darning Loom and How Does It Work?
- Clothing Repair Kit Essentials for First-Timers
- How to Use a Darning Loom Step by Step
- Matching Fabric Types: Denim, Knitwear and Thin Cotton
- Common Beginner Mistakes and How to Fix Them
- Your First Repair: Choosing a Project and Starting Today
- Frequently Asked Questions
Funalya designs darning kits and speed looms for people who have never mended anything before, and that's the question most new buyers ask first. Can beginners use darning kits successfully, or will they just ruin a favorite sweater? The short answer is yes, with a little patience.
Most hesitation comes from one worry: that visible mending requires skills only tailors have. It doesn't. A darning kit breaks the job into small, repeatable motions, and the tool does much of the spacing work for you. Funalya's kits are designed to be beginner-friendly, so you can focus on learning the rhythm.
Can Beginners Use Darning Kits Successfully?
Yes. Beginners can use darning kits successfully when they start with a small hole on a forgiving fabric. The loom or mushroom holds the fabric taut, which removes the hardest part of darning for new menders.
A common mistake is choosing a large, complicated hole for the first try. Start small and expect the first attempt to look a little uneven. That is normal, and it improves fast.
- Pick a hole about the size of a coin
- Use a soft knit like a cardigan or sock
- Practice on a scrap before the real garment
- Expect two or three attempts before it feels natural
What Is a Darning Loom and How Does It Work?
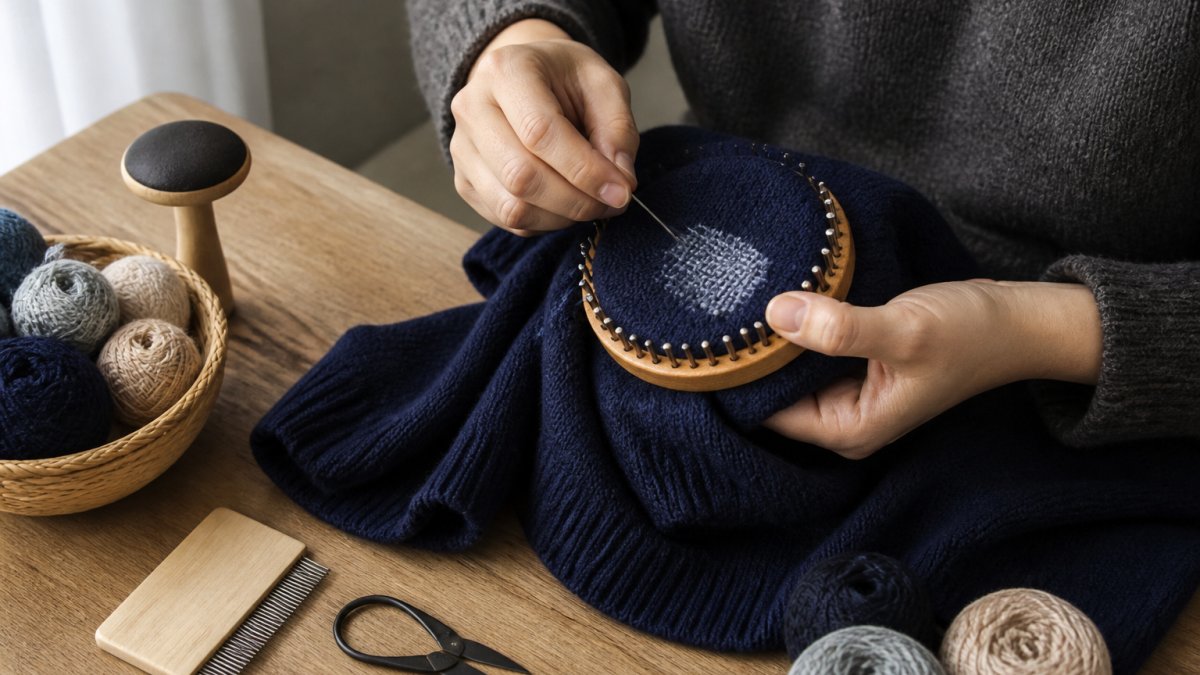
A darning loom is a small frame with evenly spaced hooks or pins that hold the warp threads for a repair. You stretch thread across the frame, then weave a second thread through it to fill the gap. The result is a woven patch that sits inside the hole instead of over it.
Here's the key point for beginners: the loom sets the spacing, so your job is mostly to keep the tension steady. Funalya's kits include useful accessories to support your repair.
Clothing Repair Kit Essentials for First-Timers
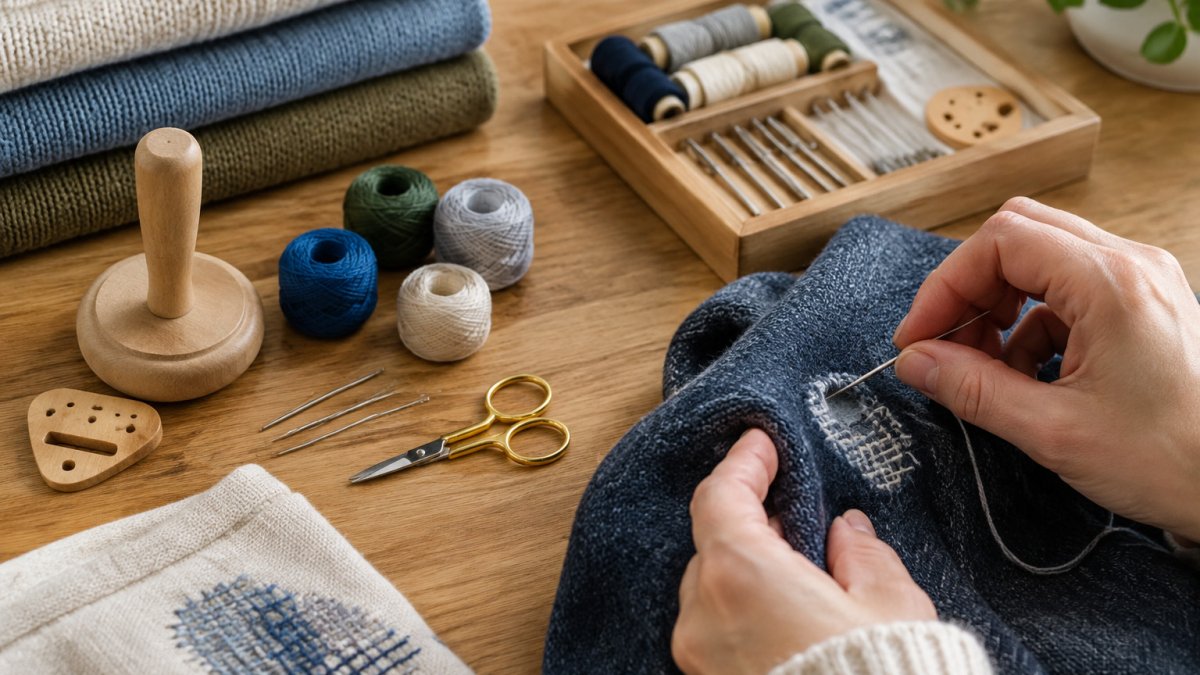
A clothing repair kit should cover four things: a frame or mushroom, needles with a blunt tip, matching yarn, and scissors. Funalya's darning kits and speed looms are designed to be approachable for first-time menders.
- Frame or darning mushroom: keeps the fabric stable
- Blunt tapestry needle: passes through knit without splitting yarn
- Matching or contrasting yarn: the color choice decides how visible the repair is
- Small scissors: trims loose ends cleanly
How to Use a Darning Loom Step by Step
Learning how to use a darning loom comes down to two stages: setting up the warp threads, then weaving the weft. Work slowly through the first project, and the second one will go much faster.
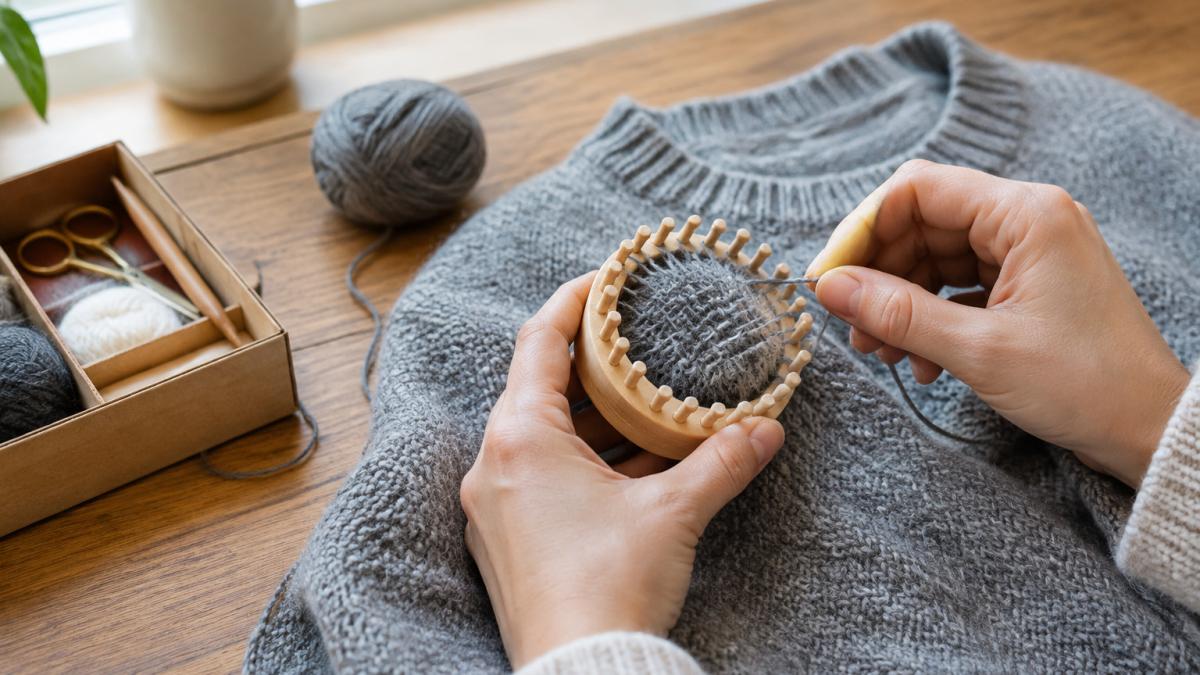
Setting Up the Warp Threads
Set up the warp threads by stretching yarn across the loom in one direction, hooking it onto each peg so the tension stays even. Keep every strand the same tightness. Loose threads create gaps, and overly tight ones pucker the fabric.
Hold the fabric in the loom so the hole sits in the middle of the frame. Then check that the warp threads cover the full hole with a little overlap on each side.
Weaving the Weft and Locking the Repair
Weave the weft by passing yarn over and under the warp threads, alternating each row. Pack each row gently against the one before, then lock the edges by sewing the final row into the surrounding knit.
Watch out: if you pull the weft too hard, the patch will cinch and distort the garment around it. Leave the yarn slightly loose and let the weave settle.
Matching Fabric Types: Denim, Knitwear and Thin Cotton
Fabric type changes how a darning kit behaves, so match your technique to the material before you thread a needle. The table below is the quick-reference version; the notes after it explain the mechanism behind each row.
| Fabric | Beginner-friendly? | Needle & yarn | Key adjustment |
|---|---|---|---|
| Knitwear, sweaters, socks | Yes, best first project | Blunt tapestry needle, fingering-to-sport weight yarn | Let the weave sit slightly loose; knits stretch |
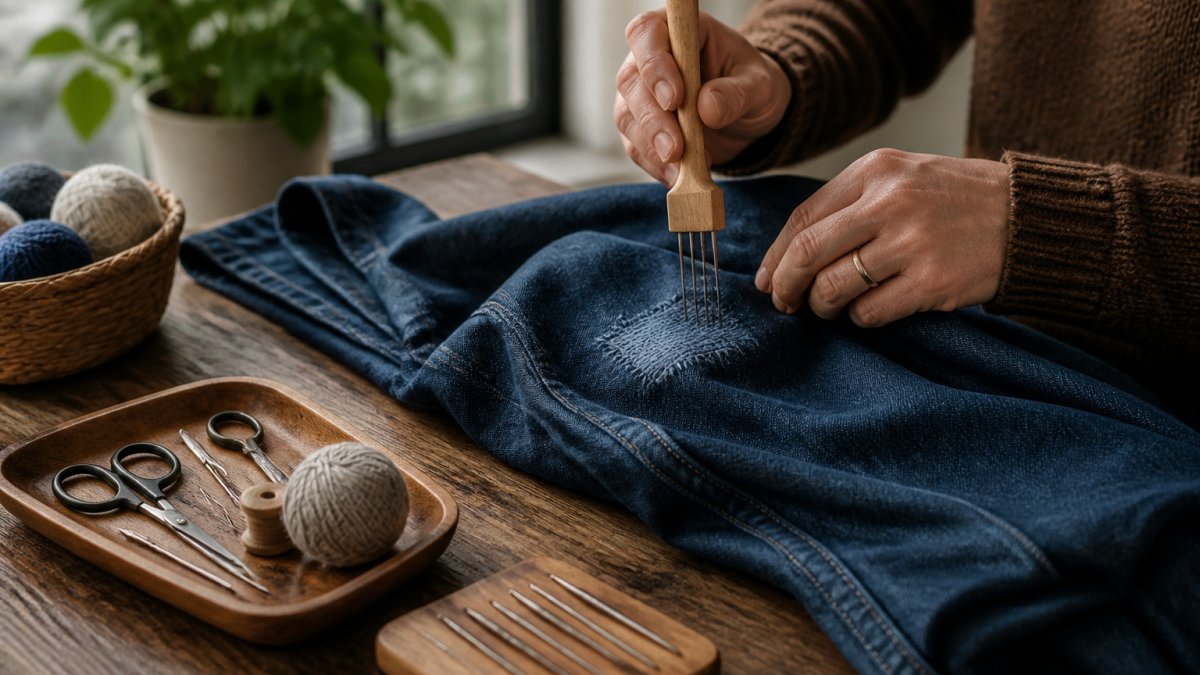
| Denim and canvas | Yes, with a stronger frame | Sharper needle, heavier cotton or linen thread | Space warp threads wider; pack weft firmly |
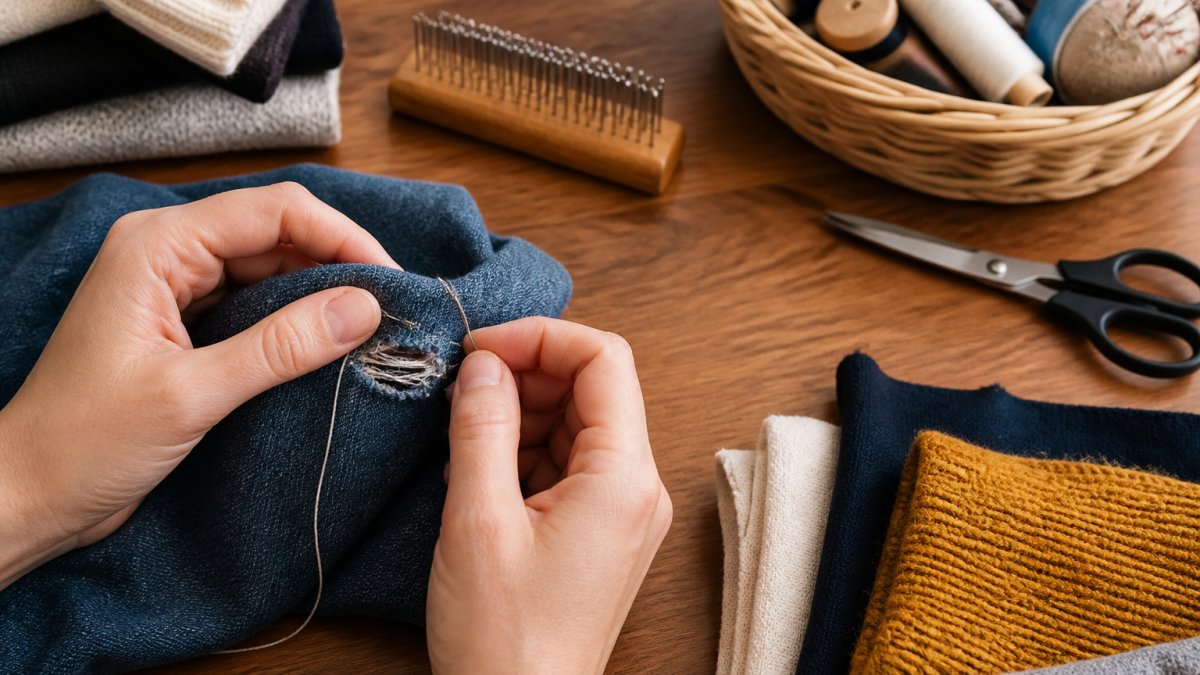
| Thin cotton, shirting | Possible but fussy | Fine needle, light thread | Reinforce edges first; keep tension very light |
| Linen | Moderate | Fine-to-medium needle, matching thread | Pre-wash the patch yarn to avoid shrinkage |
| Silk and satin | Not recommended for beginners | , | Slippery weave shifts under the loom; practice on scraps first |
| Stretch athletic wear | Not recommended | , | Elastane recovers after weaving and puckers the patch |
| Felted wool | No | , | No weave structure to anchor into; the patch pulls out |
| Leather and suede | No | , | Holes do not close around thread; use a leather patch instead |
Knitwear and sweaters are the easiest place to start because the loops give the needle room to move and the fabric has natural stretch, so a slightly uneven weave still sits flat. Denim is sturdier and needs heavier yarn plus a frame that can hold tension without bowing; a metal speed loom handles this better than a lightweight plastic one. Thin cotton tears easily, so work gently, reinforce the edges with a running stitch before you weave, and choose a thread weight close to the fabric's own.
The fabrics to avoid are the ones where the weave itself won't cooperate: silk and satin slip, stretch athletic wear recovers and puckers, felted wool has no grid to anchor into, and leather simply doesn't accept a woven patch. If your garment is one of these, a sewn patch or a professional repair is the better route.
A quick test before you commit: stretch a scrap of the fabric gently in both directions. If it springs back hard, expect the patch to fight it. If it holds its shape, the loom will do its job.
Common Beginner Mistakes and How to Fix Them
The most common beginner mistakes are pulling the weft too tight, skipping the warp setup, and using yarn that's too thick for the fabric. Each one is easy to fix once you know what to look for. But the mistakes that quietly end a darning habit are the ones nobody writes about: tool care, storage, and hand strain. This section covers both sets.
Weave and tension mistakes
If the patch puckers, loosen your tension on the next row and let the weave settle before you pack it. If gaps show, check that the warp threads are spaced evenly before you weave, uneven spacing is almost always the cause. If the yarn fights you, switch to a lighter weight;
Tool maintenance and storage
A darning loom is a small investment, and it lasts longer when you keep it clean and dry.
- Metal speed looms: wipe the pegs and frame with a dry cloth after each project to remove yarn fuzz and skin oils. A tiny drop of light machine oil on the hinge or tension screw every few months keeps it moving freely. Store it dry, a closed plastic bag traps moisture and encourages rust on the steel pegs.
- Wooden looms and mushrooms: keep them away from radiators, sunny windowsills, and damp basements. Wood warps and cracks when humidity swings, and a warped frame throws off warp spacing. A cloth drawstring bag in a normal room is ideal.
- Needles: keep blunt tapestry needles in a small tin or a felt needle book so they don't dull against each other or get lost in a sofa cushion.
- Yarn: store leftovers wound into small balls in a zip bag to keep moths and dust out; moth larvae are the most common reason a stored wool yarn snaps mid-project.
Ergonomics and hand fatigue
Darning is small-muscle work, and beginners often grip the loom and needle far harder than needed. A few adjustments make long sessions comfortable:
- Rest the loom on a table or in your lap rather than holding it in the air; let the surface carry the weight.
- Keep your wrists neutral and your elbows close to your body rather than winged out.
- Take a short break every 20-30 minutes and open and close your hands a few times.
- Use a needle with a slightly larger eye so you're not squinting and hunching to thread it.
- Work under bright, direct light, poor light is the most common cause of neck strain during handwork.
Watch out: if your fingers tingle or go numb, stop and shake out your hands; that's a sign you're gripping too hard or holding an awkward angle, not a sign you need to push through.
A loom that's clean, dry, and stored flat will outlast most of the garments you mend with it, and a comfortable posture is what turns darning from a chore into a habit.
Your First Repair: Choosing a Project and Starting Today
Start with one small hole on a garment you wear often but don't mind practicing on. Set up the warp, weave the weft, and lock the edges. Then wear it, wash it, and see how it holds up.
Funalya designs its darning kits and speed looms to make repair simple and practical, so you can extend the life of the clothes you already own. Browse our products to find a kit that fits your first project.
Frequently Asked Questions
Is darning difficult for beginners?
Darning is manageable for most beginners, especially with a loom, because the frame holds the warp threads evenly and the weaving motion is repetitive. Most people get a neat result after a few small practice patches. The first attempts are often uneven in tension, and that improves quickly. Start on a small hole in a forgiving fabric such as a cotton t-shirt rather than your favourite cashmere, and expect to redo one or two patches before the rhythm feels natural.
What is included in a basic darning kit?
A basic darning kit usually includes a darning loom or mushroom, a tapestry needle, and a selection of yarn or thread in several colours. Better kits add a hook or pick for lifting warp threads and sometimes a set of fabric patches. Check whether the yarn weight suits your fabric, since mismatched weight is a common reason repairs look bulky. Before buying, confirm what each item does, as some kits bundle accessories you may not need for your first repair.
Do I need a darning loom to start mending clothes?
No. Hand darning with a darning egg or even a flat piece of cardboard works for small holes, and many traditional repairs were made this way. A loom mainly helps beginners keep the warp threads evenly spaced, which makes the woven patch look more consistent. If you mend only occasionally, hand darning is a reasonable place to start. A loom becomes more useful once you repair larger areas or want faster, more uniform results.
Can you use darning kits on all types of fabric?
Darning kits work best on knitwear and sturdy woven fabrics such as denim, but they are less suited to very thin or stretchy materials. On delicate fabric, the tension of the warp threads can pucker or tear the surrounding area. Choose yarn that matches the fabric weight, and test the tension on a scrap first. For thin cotton or synthetic blends, a lighter yarn and a smaller loom usually give cleaner results.