 how-to
How to Darn a Sweater by Hand: Beginner's Guide
Table of Contents
- What You'll Need: Tools for Darning a Sweater
- Preparing Your Sweater Before You Start
- Assessing the Damage: Holes vs. Thinning Areas
- Matching Yarn to Your Sweater
- How to Fix a Hole in a Knitted Sweater Using Running Stitch
- Swiss Darning a Sweater: The Duplicate Stitch Method
- How to Repair a Thinning Sweater Elbow
- Common Mistakes to Avoid When Darning
- Frequently Asked Questions
Last Updated: October 12, 2026
What You'll Need: Tools for Darning a Sweater
Learning to darn a sweater by hand requires few supplies, most of which you probably already own. The key is matching the needle and yarn to your sweater.
Essential darning supplies
You need four items:
- A needle, Use a blunt-tip tapestry or embroidery needle that fits through your sweater's stitches without forcing. Sharp needles split yarn.
- Yarn, This must match your sweater's original yarn as closely as possible. We'll cover matching in detail later.
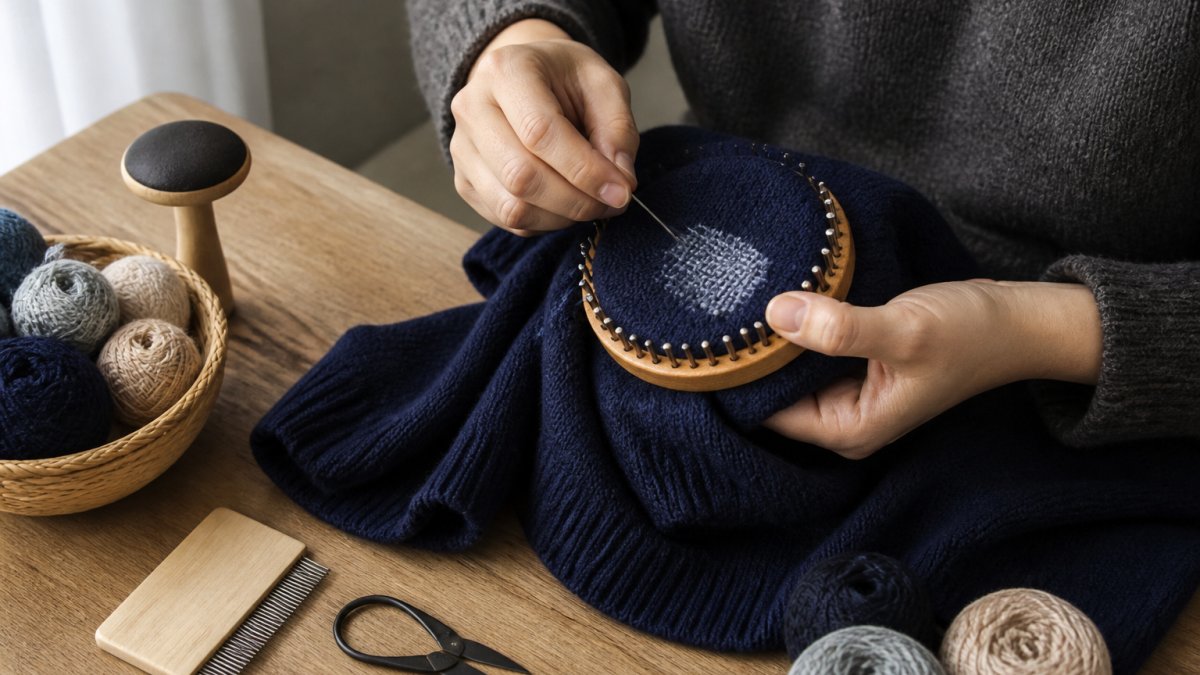
- An embroidery hoop or darning aid, This holds fabric taut, keeping tension even and preventing puckering. A 4-6 inch hoop works best.
- Scissors, Small, sharp scissors trim yarn cleanly without fraying.
That's it. These four items repair most holes.
Optional accessories for easier repairs
A few extras make mending smoother, especially for beginners. These include:
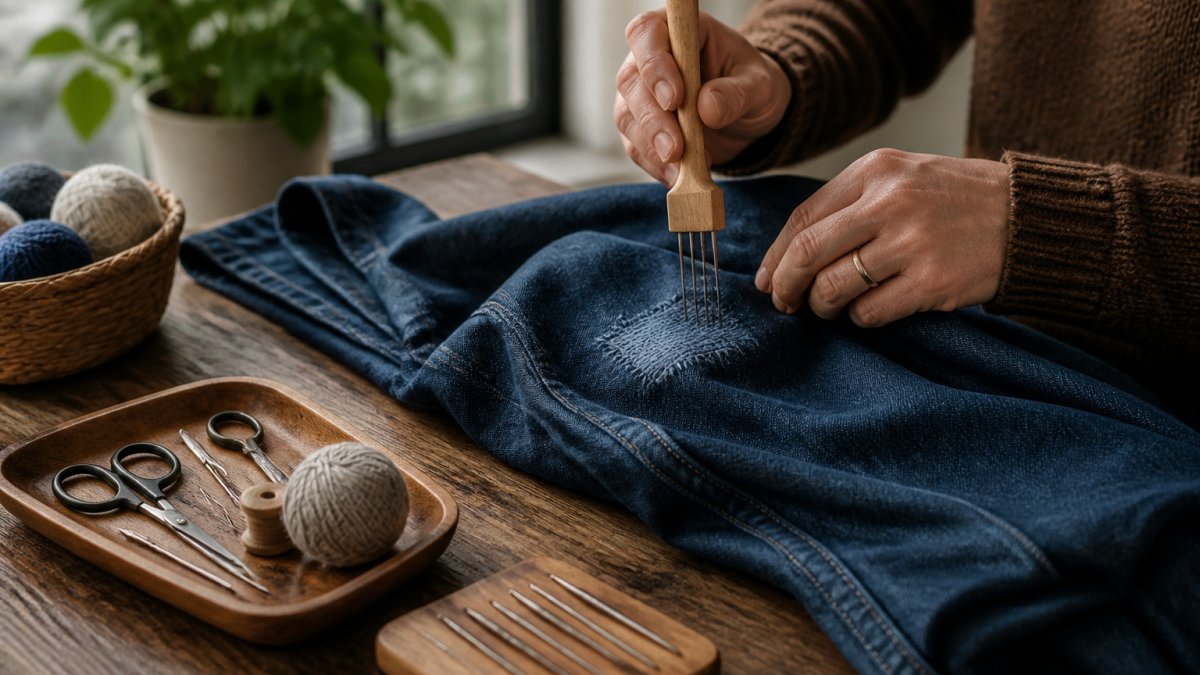
- Darning aid or fishhook tool, Hooks yarn and pulls it through stitches faster than a needle, reducing hand fatigue on larger repairs.
- Needle threader, Saves time and eyestrain when threading small needles.
- Stitch markers, Small clips or rings mark your starting point and help you count rows.
- Magnifying glass, Reduces eye strain and reveals stitch structure on fine-knit sweaters.
These aren't required, but good tools make people more likely to attempt repairs instead of letting damaged sweaters pile up.
Preparing Your Sweater Before You Start
Proper preparation determines whether your repair looks intentional or accidental.
Lay your sweater flat, locate the damage, then turn it inside out to examine the knit structure from the back.
If it's dirty, wash and dry it completely. Dried sweat, oils, or lint make yarn stick and create uneven tension.
Position the damaged area in your hoop, tightening gradually until the fabric feels firm but not stretched. Too much tension warps stitches; too little lets them pucker.
Secure the hoop in your lap or on a table with a stand or pillow so both hands stay free to control needle and yarn.
Assessing the Damage: Holes vs. Thinning Areas
Not all damage is the same. A clean hole needs a different repair than thinning fabric, and identifying which you have determines your method.
A hole is missing yarn entirely, with daylight visible through it. Holes usually come from snags, moth damage, or friction at elbows and cuffs.
Thinning fabric is yarn still present but worn thin, looking faded or lighter than surrounding areas. It happens gradually from rubbing, washing, or normal wear.
The distinction matters: holes need filling (replacing missing yarn), while thinning areas need reinforcing (adding strength without replacing yarn).
Run your finger across the area. If it catches or feels rough, that's thinning. If your finger passes through empty space, it's a hole.
For holes, use running stitch or Swiss darning to weave new yarn across the gap. For thinning areas, add reinforcement stitches parallel to the existing yarn.
Matching Yarn to Your Sweater
This is where most repairs fail. Mismatched yarn is visible from across the room; getting it right makes a repair nearly invisible.
Check inside the sweater for a fiber content label listing yarn weight (like "worsted" or "fingering") and fiber blend (wool, cotton, acrylic, etc.). Write it down.
Next, examine texture and twist in natural light. Sheen and twist tightness affect how your repair blends.
If you still have the original yarn ball, use it.
Test the match on a hidden area first: darn a tiny practice spot near an inside seam, wash and dry it, and check whether it blends. If it stands out, try another option.
A common mistake is buying yarn close in color but different in weight. Thinner or thicker yarn creates visible texture changes and feels different under your fingers. Thickness matters as much as color.
How to Fix a Hole in a Knitted Sweater Using Running Stitch
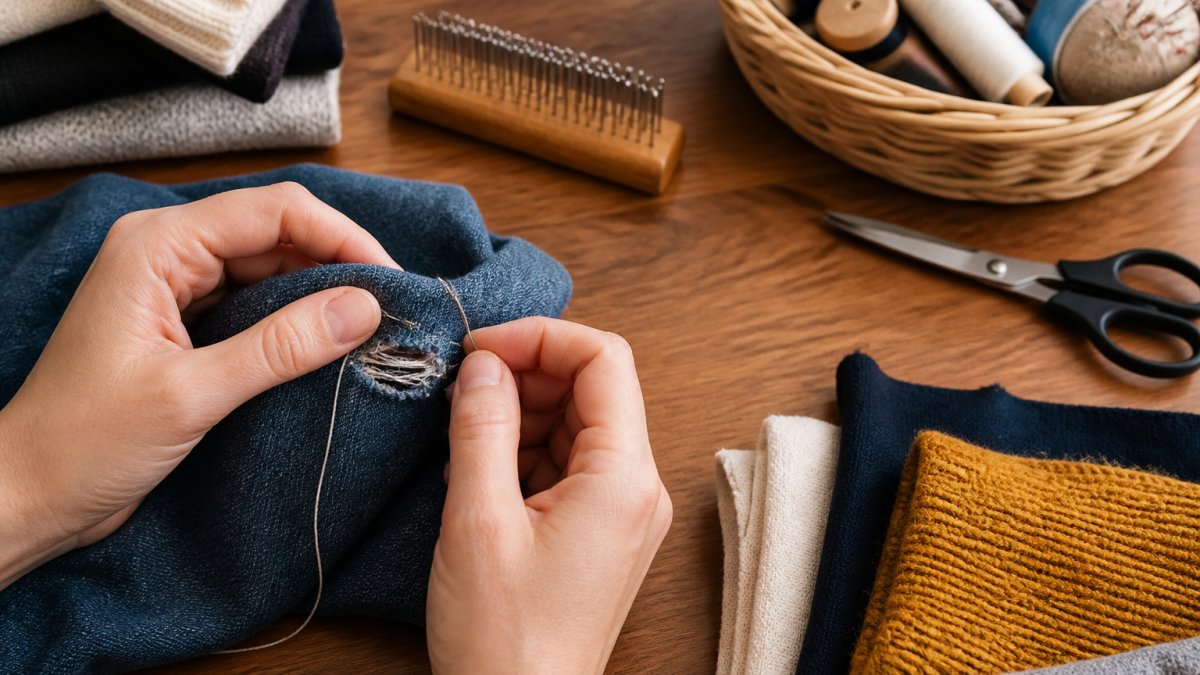
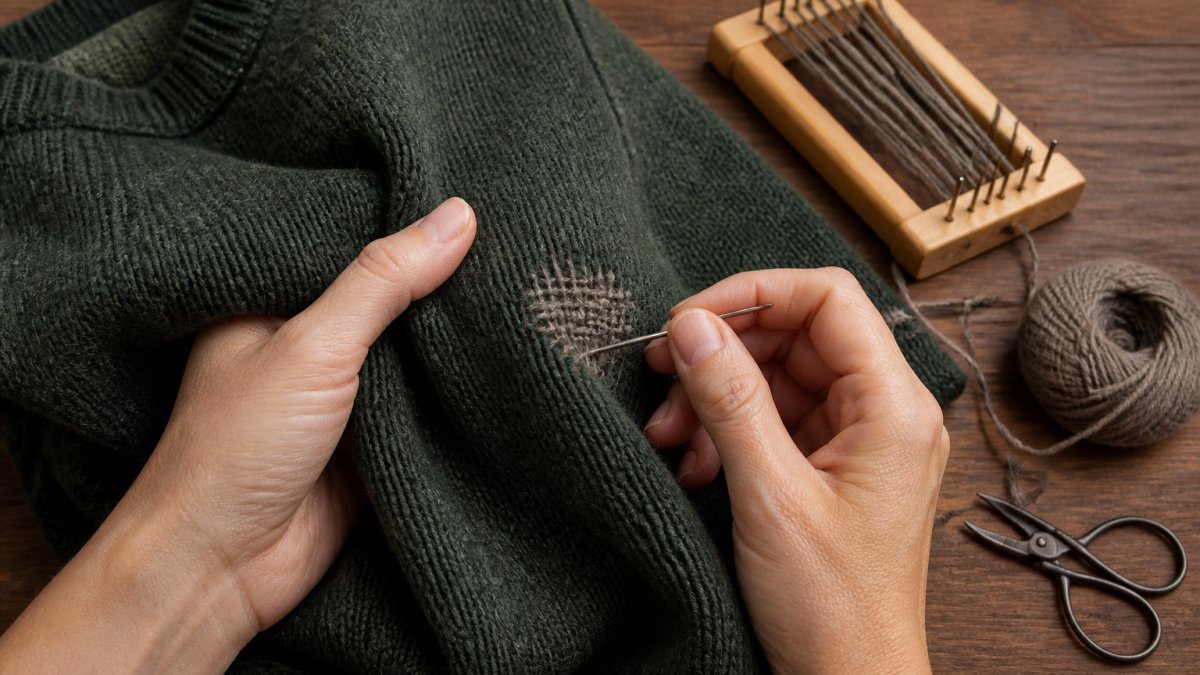
Running stitch is the traditional method to darn a sweater by hand, weaving new yarn across a hole following the original knit structure. It works best for holes under 2 inches across.
Step 1: Secure your yarn and position the needle
Cut about 24 inches of yarn, thread your needle, and tie a small knot at one end. Bring the needle up through the back of the sweater about half an inch below the hole, keeping the knot hidden on the back.
Enter from underneath and come out just below the hole's bottom edge, pulling until the yarn is snug but not tight.
Step 2: Weave in and out across the hole
Bring your needle through the bottom edge of the hole and across to the opposite side. Push it under one loop of existing yarn, then bring it back across.
Repeat: across the hole, under a loop, back across, under a loop. Each pass should be snug but not tight, tight stitches pucker and distort the sweater.
Work up the hole row by row, each new row just above the previous one, following the knit pattern.
Step 3: Work row by row, following the knit structure
Look at the rows of Vs in your sweater's knit. Your running stitch should follow these rows exactly, don't skip rows or jump across the pattern.
Each repair row should align with an original row. If the sweater's rows run horizontally, yours do too, this alignment makes the repair nearly invisible.
The weave gets tighter near the top edges as yarn has less space to move, this is normal.
Step 4: Maintain even tension throughout
Tension is everything: too tight puckers, too loose won't hold. Aim for tension matching your sweater's original knit.
Let the yarn flow naturally between your fingers. If you're pulling hard, relax your grip.
Every few rows, check the front: does it sit flat and blend? If it's bunching or bulging, loosen up.
At the top of the hole, bring your needle to the back, tie off with a small knot, trim close, and weave the tail through a few back stitches to secure it.
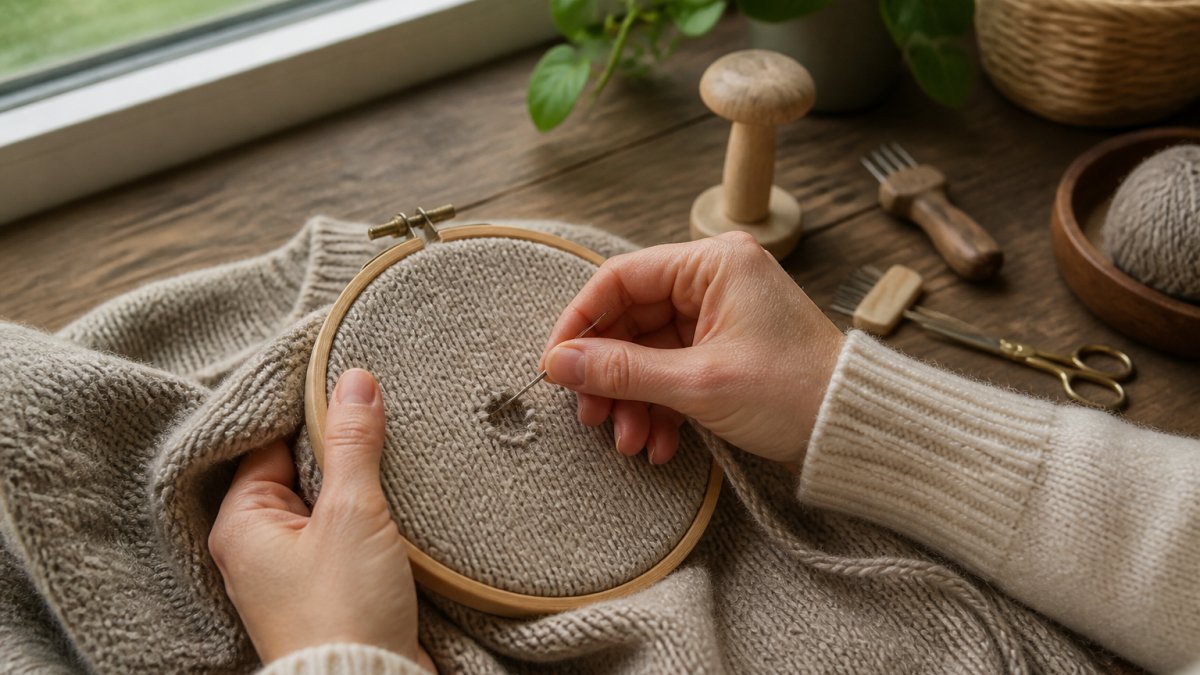
Swiss Darning a Sweater: The Duplicate Stitch Method
Swiss darning, also called duplicate stitch, mimics the sweater's original stitches exactly, creating a repair that looks like part of the original knit pattern.
When to use Swiss darning instead of traditional mending
Use Swiss darning when the hole is small and clean (under 1 inch), the sweater has a visible stitch pattern or texture, you want a completely invisible repair, or the yarn is fine or delicate.
It's slower than running stitch but produces superior results on decorative sweaters, the repair becomes indistinguishable from the original fabric.
Step-by-step Swiss darning technique
Thread your needle with matched yarn and bring it up through the bottom of a V-shaped stitch at the hole's bottom edge.
Pull the needle horizontally through the base of the stitch above, passing under both loops, the key move that makes Swiss darning work.
Bring the needle back down through the original V-stitch. That's one duplicate stitch.
Move to the next stitch to the right and repeat. Work your way across the hole, duplicating each stitch. Then move up to the next row and work back across, filling in the hole row by row.
The motion becomes rhythmic after a few stitches: up through a V, across through the stitch above, down through the original V, move right, repeat.
Tension matters here too. Keep your stitches loose enough that they match the surrounding knit's texture. If your duplicate stitches are tighter than the original, they'll create a visible bump.
How to Repair a Thinning Sweater Elbow
Elbows are the most common place sweaters thin out. Years of resting your arms on desks, tables, and couches wears the yarn. A thinning elbow will eventually hole, so catching it early saves the sweater.
Catching thinning fabric before it tears
Inspect your favorite sweaters regularly. Run your hand over the elbows. If the fabric feels thinner than the rest of the sweater or looks lighter in color, it's starting to wear.
A simple test: hold the sweater up to light. If you can almost see through the elbow but not quite, it's time to reinforce it. Don't wait until it holes.
Reinforcing worn areas with strategic stitching
To reinforce a thinning area, you'll add extra yarn underneath without covering the original. This strengthens the weakened spot.
Position the thinning area in your embroidery hoop. Bring your needle up from the back of the sweater, right at the edge of the thin zone. You're working from the inside out.
Create small running stitches that run parallel to the sweater's rows. Space them about a quarter-inch apart. These reinforcement stitches sit on the back of the sweater, invisible from the front.
Work back and forth across the entire thinning area, building up layers of reinforcement. Three or four passes usually stops further wear. The added yarn strengthens the weakened fibers underneath.
This method adds almost no bulk and keeps the sweater's appearance unchanged. The repair happens on the inside where no one sees it.
Common Mistakes to Avoid When Darning
Even experienced menders make these errors. Knowing them in advance saves your sweater.
Pulling too tight is the most common mistake. Beginners think tighter means stronger.
Skipping rows happens when you rush.
Mismatched yarn is obvious but worth repeating. Even slightly different yarn weight or color ruins a repair.
Working with too much yarn on your needle makes the needle hard to control. You'll miss stitches or create uneven tension.
Not securing your yarn properly means your repair unravels. Always tie a knot on the back side before you start.
Ignoring the knit structure is a beginner trap. Your repair must follow the sweater's existing rows and stitches exactly.
Choosing the wrong method for the damage wastes effort. Use running stitch for larger holes.
Sweater repair extends the life of pieces you love. It saves money compared to replacement and supports a more sustainable wardrobe.
Funalya provides accessible, beginner-friendly tools designed to make garment repair simple and practical for everyone.
Frequently Asked Questions
What's the difference between darning and Swiss darning a sweater?
Traditional darning fills a hole by weaving yarn back and forth across the damaged area, following the rows and stitches of the knit. Swiss darning, also called duplicate stitch, works from the front of the garment and replicates the original stitches exactly, making it nearly invisible. Swiss darning is better for small holes and visible repairs on the front of a sweater, while traditional darning works well for larger holes or areas on the back or underside.
Can you darn a sweater without a darning egg or aid?
Yes, you can darn without specialized tools. A smooth object like a wooden spoon handle, tennis ball, or even a wine glass works as a temporary substitute to support the fabric from behind. However, a proper darning aid or embroidery hoop helps maintain consistent tension and prevents puckering. Funalya provides accessible, beginner-friendly tools designed to make garment repair simple and practical for everyone, making the process easier and producing better results, especially on your first attempts.
How do you keep a sweater hole from getting bigger while repairing it?
Secure the yarn firmly at the start by weaving the needle through the existing stitches around the hole's edge, not through empty space. Use an embroidery hoop or darning aid to hold tension evenly. Work slowly and avoid pulling too tightly, which can distort the surrounding knit structure. Stop if the hole seems to be spreading; this may mean the sweater fiber is too weakened to repair effectively.
How many repairs would I need to do before darning kits pay for themselves?
That depends on what you'd normally spend replacing sweaters. A single quality sweater costs £20-£100+. If you repair just two or three cherished pieces you'd otherwise discard, your kit investment is recovered. Most people find the real value is emotional: keeping favorite sweaters in rotation longer, learning a practical skill, and reducing textile waste. Funalya provides accessible, beginner-friendly tools designed to make garment repair simple and practical for everyone, so the first successful repair feels worthwhile.