 how-to
How to Darn a Hole: Step-by-Step Guide
Last Updated: October 23, 2026
Quick Summary
How to darn a hole involves stitching around the hole's perimeter to create a foundation, then making parallel rows of stitches across the damaged area, and finally weaving thread over and under those foundation rows in an interlocking pattern. This technique works on both woven and knitted fabrics to create a strong, flexible repair.
- Darning works best on small to medium holes in natural fibers like wool, cotton, and linen
- Essential tools include a needle, matching thread, scissors, and a darning aid like an embroidery hoop to hold fabric taut
- The foundation stitch around the hole's perimeter prevents fraying and anchors the repair
- Weaving thread over and under parallel rows creates an interlocking pattern that makes the repair strong and flexible
- Hand wash darned garments in cool water and air dry flat to extend repair durability for years
Table of Contents
- What Is Darning and When to Use It
- Gather Your Tools and Materials
- Choosing the Right Darning Thread
- How to Darn a Hole: The Woven Method
- Swiss Darning for Knitted Fabric
- Using a Darning Loom for Faster Repairs
- Common Mistakes to Avoid
- Care and Durability After Darning
- Frequently Asked Questions
What Is Darning and When to Use It
Darning is a hand-stitching technique that repairs holes and worn areas in fabric by weaving thread across the damaged spot. It's one of the oldest and most effective ways to extend the life of your favorite garments.
The darning stitch works by creating a foundation of parallel threads across the hole, then weaving perpendicular stitches over and under that foundation. This interlocking pattern mimics the original fabric structure and creates a repair that's both strong and flexible.
You should reach for darning when:
- Small to medium holes appear in knitwear, socks, or woven fabrics
- Fabric shows thinning or wear before it tears completely
- You want a visible repair that becomes part of the garment's character
- Cost matters more than speed (darning takes time but costs almost nothing)
- You care about reducing textile waste and keeping clothes in rotation
Darning works best on natural fibers like wool, cotton, and linen. Synthetic fabrics can work too, but they sometimes pucker or fray more easily.
Gather Your Tools and Materials
Successful darning requires just a few basic items. Most of these are inexpensive and last for years. Here's what you need to get started:
Essential tools:
- A needle (long darning needle works best, but any needle sized to your thread works)
- Thread or yarn that matches your garment or contrasts intentionally
- Scissors to trim thread ends
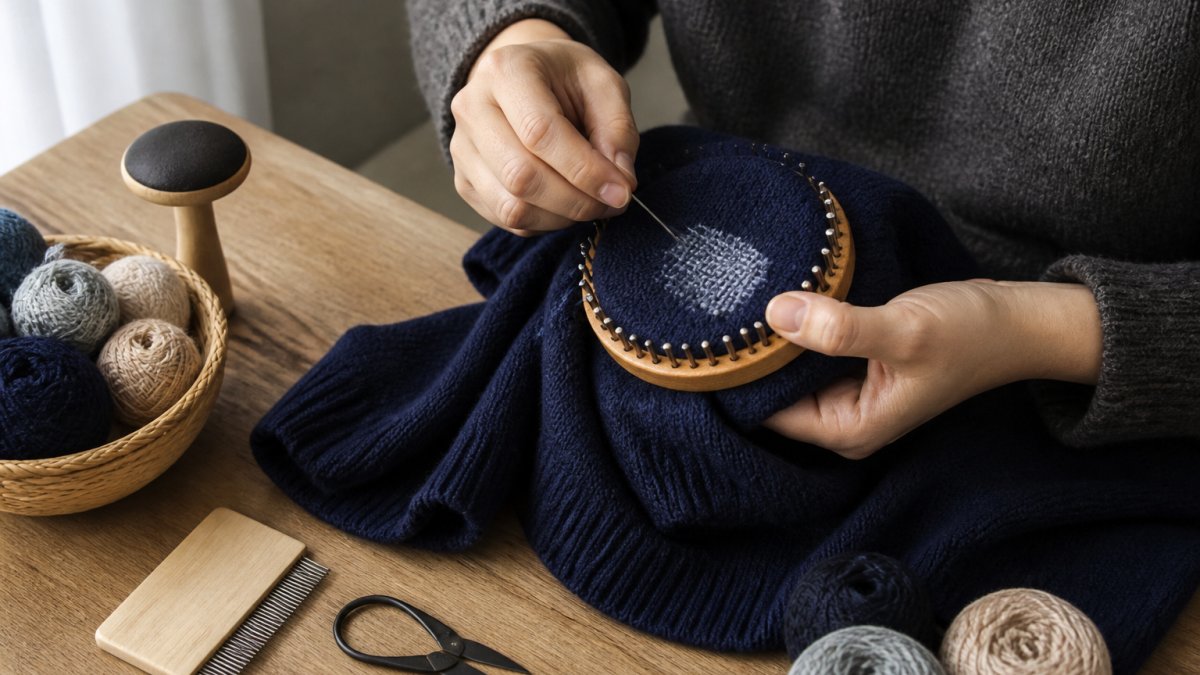
- A darning aid (hoop, loom, or even a lightbulb or wooden spoon to hold tension)
Optional but helpful:
- A thimble to protect your finger when pushing the needle through multiple layers
- A small ruler or measuring tape
- Thread conditioner to reduce tangling on longer repairs
The most important tool is the darning aid. It holds your fabric taut so stitches stay even and the weaving goes smoothly. Without tension, stitches bunch and the repair weakens. A traditional embroidery hoop works perfectly for smaller holes. For larger areas or faster work, a speed loom (also called a darning loom) cuts repair time significantly.
At Funalya, we've designed beginner-friendly repair kits that include useful accessories. Quality tools make the process less frustrating, especially when you're learning.
Choosing the Right Darning Thread
Your thread choice affects how the repair looks and performs. The right thread blends in or stands out depending on your preference.
Match your thread to your fabric weight:
- Fine fabrics (silk, thin cotton): Use embroidery thread or fine yarn
- Medium fabrics (most knitwear, regular cotton): Use regular darning thread, crochet thread, or yarn weight similar to the original garment
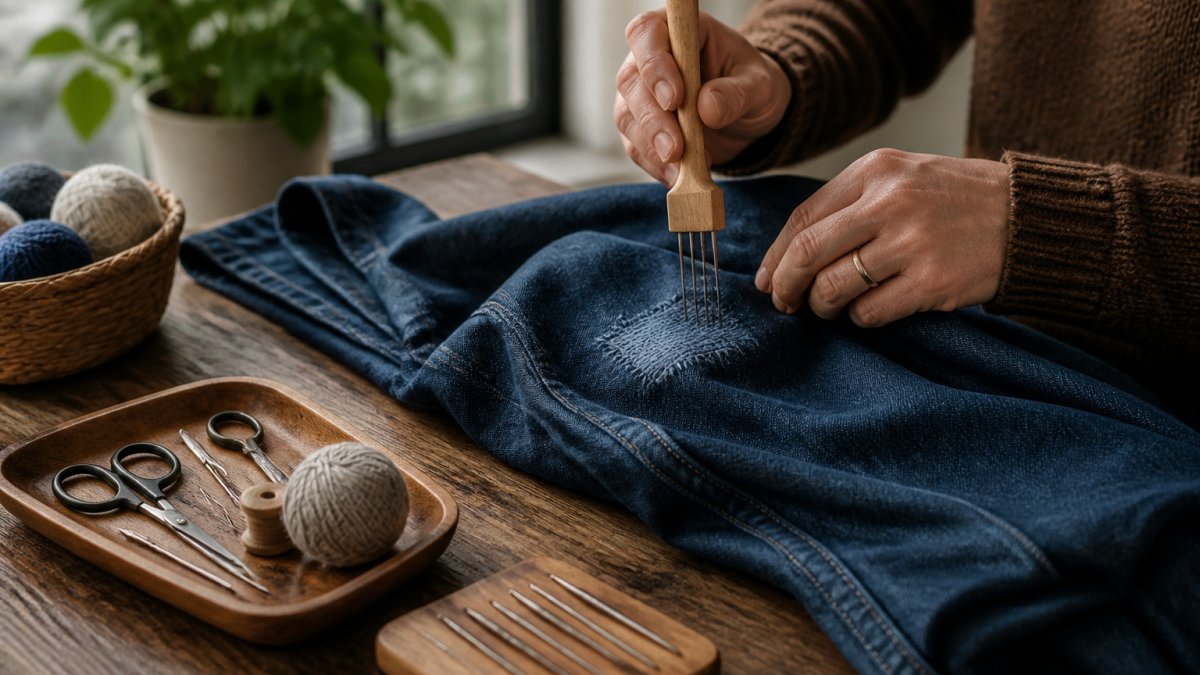
- Heavy fabrics (denim, thick wool): Use yarn or heavy thread that matches the original structure
Color options:
- Matching thread disappears into the repair and creates a near-invisible mend
- Contrasting thread makes the repair visible and becomes a design feature (visible mending aesthetic)
- Variegated or textured thread adds visual interest and hides imperfect stitches
Thread type matters:
Embroidery thread works well for fine repairs but frays easily on larger areas. Crochet thread is thicker and more durable for substantial holes. Yarn designed for knitting creates repairs that flex with the garment instead of staying rigid. Avoid thread that's too thin, it breaks under tension.
The thread you choose should slide through fabric without resistance. If you're struggling to push the needle through, your thread is too thick or your fabric tension is too loose. Test on scrap fabric first if you're unsure.
How to Darn a Hole: The Woven Method
The woven method is the most common darning stitch and works on both woven and knitted fabrics. It creates a strong, flexible repair that moves with your garment. This technique takes practice, but the process is straightforward once you understand the foundation step.
Step 1: Prepare and Secure the Fabric
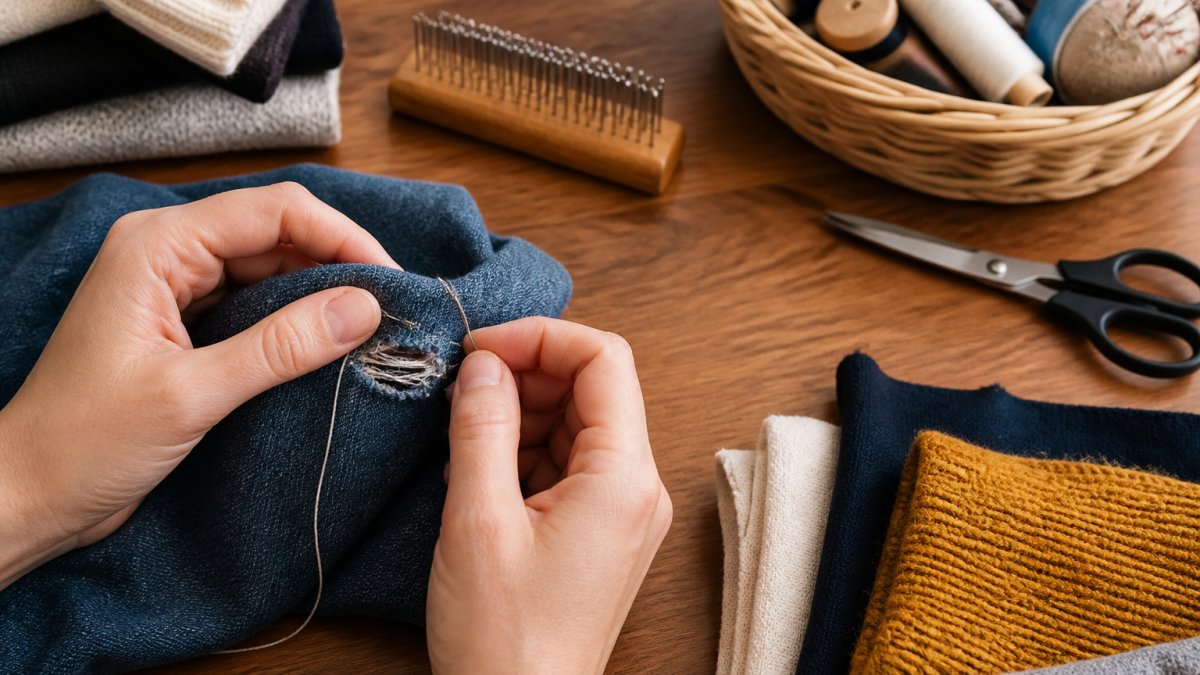
Start by examining your hole. Trim any loose threads around the edges with scissors, don't leave frayed edges that will unravel further. If the hole has irregular edges, trim them into a rough square or circle.
Place your fabric in a darning aid with the hole centered. Pull the fabric taut but not so tight it strains the material. You want firm tension that keeps stitches even without distorting the weave.
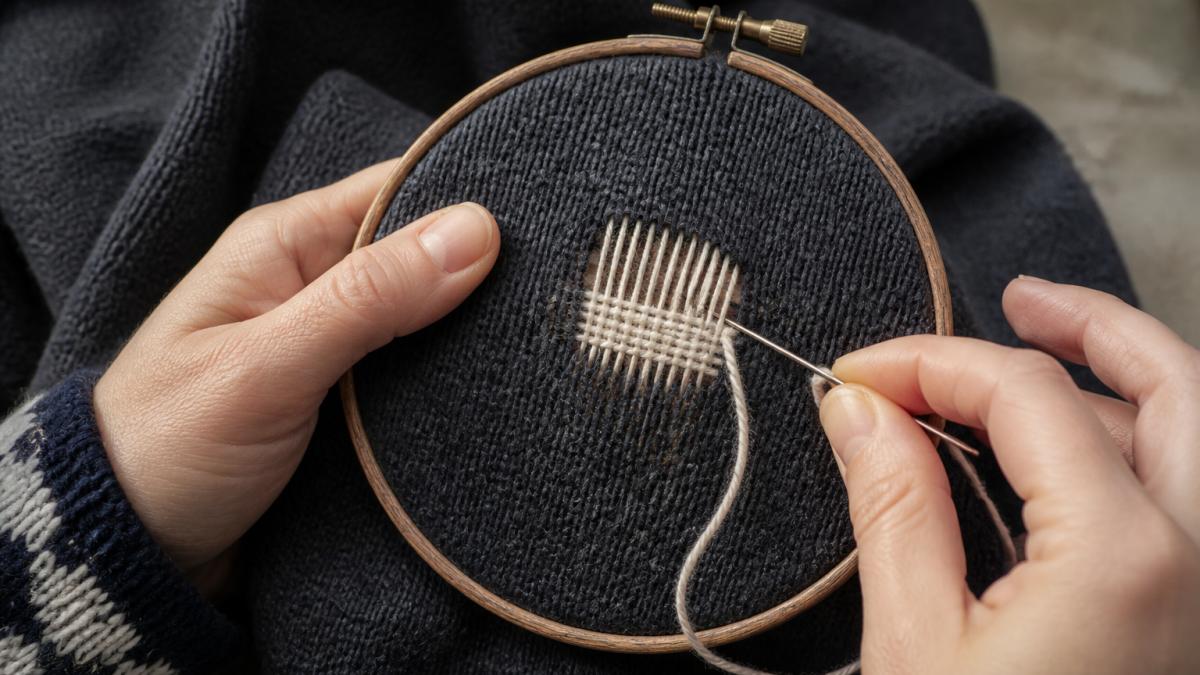
Step 2: Stitch Around the Hole to Create a Foundation
Thread your needle and tie a knot at one end. Start about a quarter-inch away from the hole's edge on one side.
Work your way around the hole's perimeter, creating small stitches that anchor your thread. These stitches stabilize the fabric edges and prevent them from fraying further. Think of this outline as a fence that contains your repair. Space these stitches about a quarter-inch apart.
Once you've circled the hole, your thread should end near where it started. This foundation creates a defined repair area and prevents the weaving from pulling the hole larger.
Step 3: Make Parallel Rows of Stitches
Now create the base layer of your darning stitch. Starting at one edge of your outlined hole, bring the needle through from back to front.
Push the needle back through the fabric at the opposite edge of the hole. Come back through about a quarter-inch away and repeat. Create row after row of parallel stitches across the entire hole. These rows should be close together but not overlapping.
Don't worry about perfect spacing. The goal is coverage. These parallel rows are the structure that holds everything together.
Step 4: Weave Over and Under the Foundation
This is where the repair becomes a true darning stitch. Bring your needle through from the back, then weave it over the first foundation row, under the second, over the third, and so on.
Now weave in the opposite pattern, under where you went over before, over where you went under. This interlocking pattern is what makes darning strong.
Continue weaving back and forth across the hole until it's completely covered. Each pass should overlap slightly with the previous one to prevent gaps.
When you've covered the hole completely, tie off your thread on the back side with a small knot. Trim any excess thread. Your darning stitch is complete.
Swiss Darning for Knitted Fabric
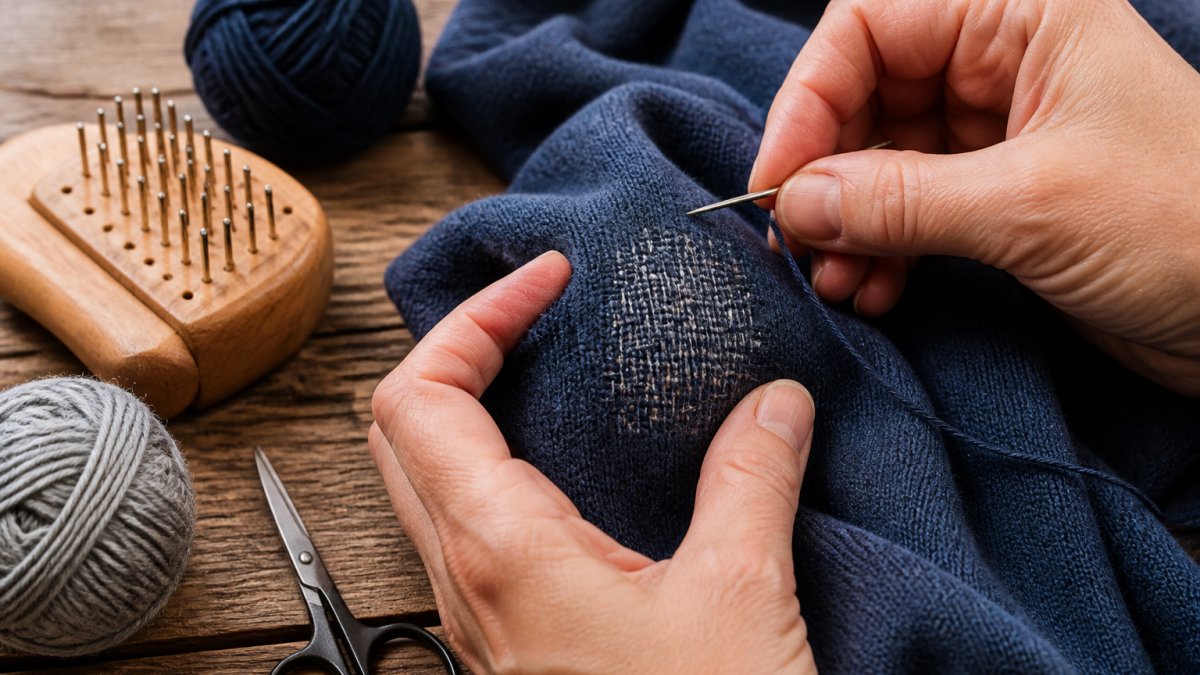
Swiss darning (also called duplicate stitch) is a specialized darning stitch designed specifically for knitted fabric. It works by duplicating the V-shaped stitches that make up the knit pattern.
Swiss darning is ideal for small holes in sweaters, socks, and other knitwear because it creates a repair that's nearly invisible when thread color matches.
To perform Swiss darning, bring your needle up through the base of a V-shaped stitch.
Swiss darning requires patience and precision, but the result is a repair that blends seamlessly into knitwear. It works best on fine-gauge knits where individual stitches are clearly visible.
Using a Darning Loom for Faster Repairs
A darning loom (also called a speed loom) is a frame with multiple parallel threads already set up. Instead of hand-stitching foundation rows, you weave thread through the pre-made warp. This cuts repair time dramatically.
Speed looms work best on holes larger than a quarter-inch and smaller than 3 inches. Position the loom over your hole, secure it with the built-in clamp, and weave your thread through the vertical threads. The loom holds tension automatically, so your stitches stay even without extra effort.
The downside is that loom repairs look more uniform and less hand-crafted than traditional darning. Some people prefer the visible, intentional look of hand-darned repairs. Others value speed and consistency. Both approaches are valid, choose based on your priority.
At Funalya, our speed looms are designed for beginners who want reliable results without the learning curve of hand darning. They're especially helpful if you're repairing multiple garments or working with thicker fabrics.
Common Mistakes to Avoid
Even experienced darners make these mistakes. Learning to spot them early saves time and frustration.
Loose fabric tension is the most common error.
Skipping the foundation stitches around the hole creates repairs that unravel at the edges. Those outline stitches are not optional, they anchor everything.
Threading too thick makes stitches lumpy and hard to push through fabric.
Weaving too loosely leaves gaps where the repair catches. Keep tension consistent and weave snugly so threads lock together.
Not matching fabric grain creates repairs that pucker. On woven fabric, your parallel rows should follow the original weave direction.
Stopping too early is tempting, but incomplete coverage means the hole will grow.
Care and Durability After Darning
A well-executed darning stitch lasts for years if you care for it properly.
Washing: Hand wash darned garments in cool water with mild detergent.
Drying: Lay flat to dry or hang on a line.
Storage: Store darned garments flat or rolled loosely. Hanging heavy knitwear puts stress on repairs.
Reinforcement: If a darned area starts to wear thin again, you can darn over the original repair.
The visible mending approach celebrates repairs as part of the garment's story. Each darn becomes a record of care and intentionality.
Darning is one of the most rewarding repair skills you can learn.
Frequently Asked Questions
What thread do you use for darning?
Choose embroidery thread or crochet thread that matches your fabric color and weight. For woven fabrics, use standard embroidery thread; for knitted garments, use yarn or embroidery thread close to the original garment weight. The thread should be strong enough to withstand repeated wear without breaking, but not so thick it creates visible bumps. Match the fiber content when possible, wool thread for wool sweaters, cotton for cotton garments.
How to darn a hole in fabric?
Secure the damaged fabric in a darning aid or hoop with the hole centered. Stitch around the hole's perimeter to create a foundation. Make parallel rows of running stitches across the hole, then weave your needle over and under these foundation rows perpendicular to create a woven pattern. This interlocking stitch pattern fills the hole and distributes stress evenly. The key is maintaining even tension and consistent stitch length throughout.
Can you darn fabric without a darning mushroom or loom?
Yes, you can darn without specialized tools. Use a wooden spoon, lightbulb, or even a smooth stone to support the fabric from underneath. A regular embroidery hoop works well to hold tension. The darning aid simply prevents puckering and keeps your stitches even, any smooth, rounded object that fits inside the hole or under the fabric will work in a pinch.
What is the main difference between sewing and darning?
Sewing joins two pieces of fabric together with a seam, while darning fills a hole or worn area with interlocking thread to restore the fabric itself. Darning uses a woven stitch pattern (foundation rows crossed by perpendicular rows) rather than a simple running stitch. This weaving technique creates strength and flexibility, making the repair durable for active wear. Darning is ideal for holes; sewing is better for seams, hems, and attaching pieces.