 how-to
How to Use a Darning Loom for Beginners: Step-by-Step
Table of Contents
- What a Darning Loom Is and Why Beginners Love It
- Tools and Materials You Need Before You Start
- How to Set Up a Darning Loom on a Garment
- Weaving the Weft: Working the Hook and Needle Across the Repair
- Darning Loom Tension: Getting Even Stitches Every Time
- How to Finish Darning with a Loom and Secure the Patch
- Darning Loom vs Darning Needle: Which Repair Method to Choose
- Common Beginner Mistakes and How to Avoid Them
- Frequently Asked Questions
Last Updated: October 19, 2026
What a Darning Loom Is and Why Beginners Love It
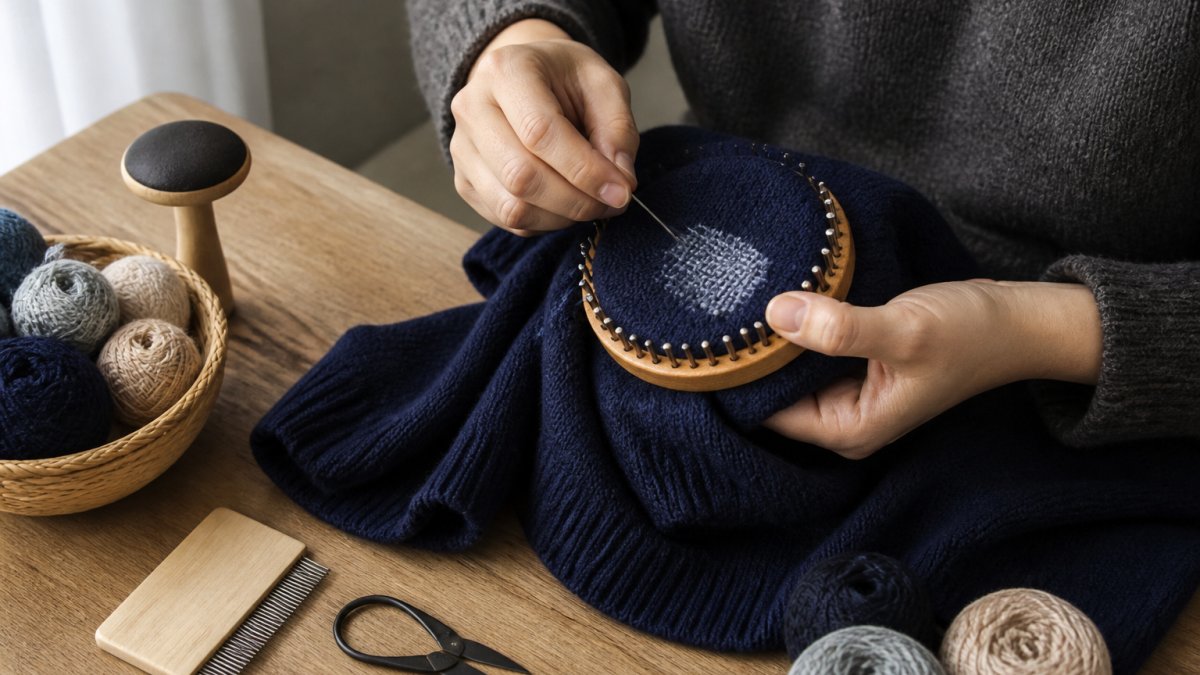
A darning loom is a small handheld tool that holds fabric taut while you weave a patch across a hole or worn area.
If you have never mended anything before, start here. It removes the hardest part of repair: keeping fabric flat and stitches even.
Stretch the worn area over the base, load loops of yarn across the gap, then weave a needle back and forth through them for a patch that looks deliberate, not messy.
At Funalya, our darning kits are designed to make garment repair simple and practical for everyone.
Tools and Materials You Need Before You Start
Gather everything first, stopping mid-repair to hunt for a needle kills momentum.
You will need:
- A darning loom with a base and hook track
- A darning needle with a blunt tip and a large eye
- Repair yarn or thread close in weight to the garment
- Small scissors for trimming
- A hook or lifter to catch and pull loops
- A practice scrap of similar fabric
One common mistake is yarn that is too thick: bulky yarn on thin knitwear pulls the fabric out of shape. Match the yarn to the garment, not the hole.
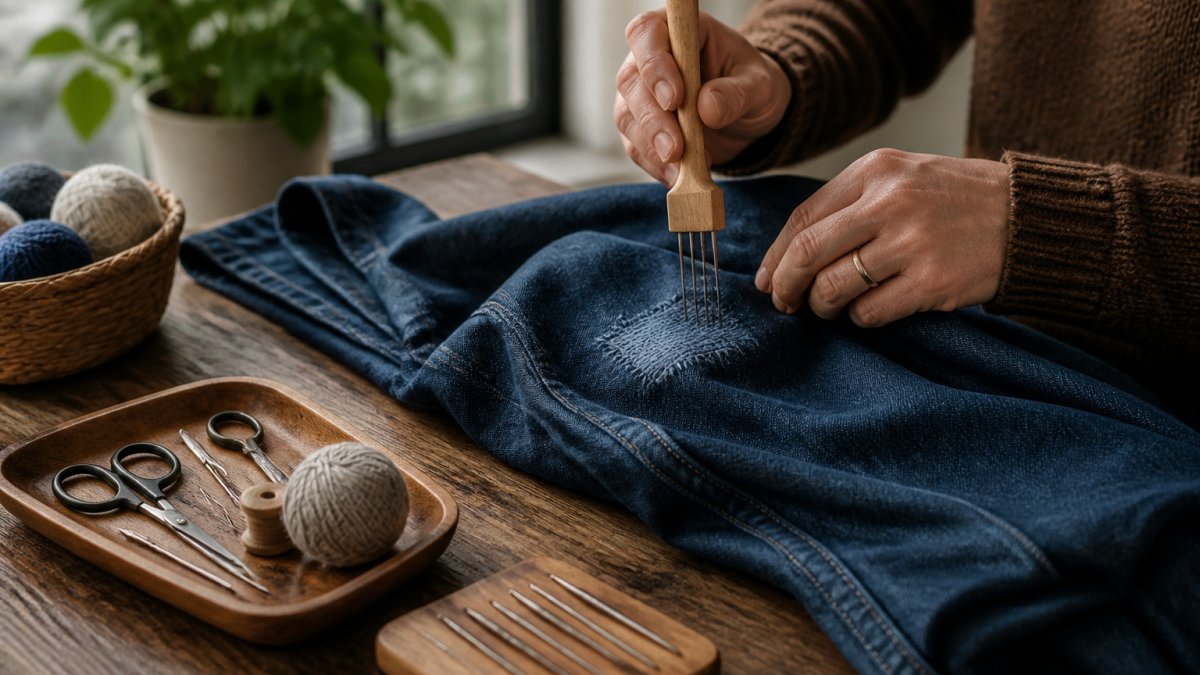
For a first attempt, use a sock or plain cotton t-shirt. Skip delicate knits and heavy denim until you have done one or two practice runs.
How to Set Up a Darning Loom on a Garment
Setup decides whether the repair sits flat or bunches, and darning looms are not one standard design. Before you seat the fabric, identify what you are holding.
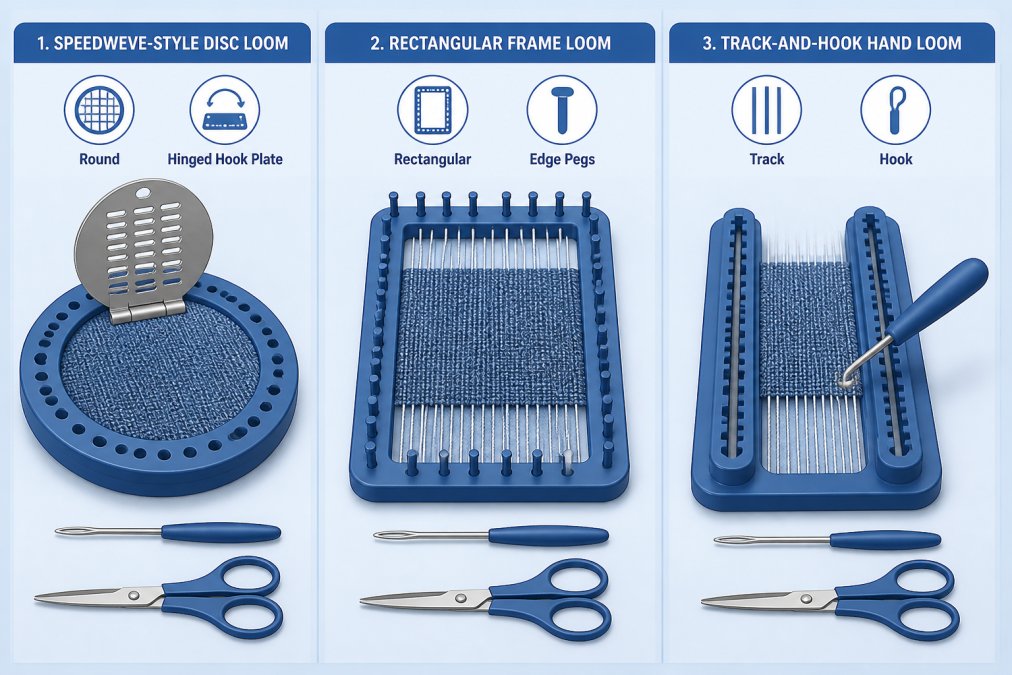
Know Your Loom Before You Load a Single Loop
Most beginner looms fall into three families. The steps below work for all of them, but the hardware differs.
- Speedweve-style (the classic small disc loom). A round or oval base with a hinged metal plate of spring hooks. The plate flips up to expose the hooks, you load the warp, then flip it down to lock the loops. Usually 10 or 14 hooks. Best for sock heels and small holes.
- Rectangular frame loom. A flat frame with a row of hooks or pegs along two opposite edges and a slot or track for the fabric. Larger working area, better for sweater elbows and longer tears. Tension is usually set with a band, clip, or wing nut.
- Track-and-hook hand loom. A base with a sliding track that carries a single hook or a small comb. You move the hook along the track to place each warp loop instead of catching a fixed hook. Fewer parts to lose, but slower to load.
Count your hooks before you start: the count sets your maximum warp width and weave rhythm.
If your loom has a metal plate, check that the hinge moves freely and no hook is bent. One bent hook throws off spacing for the whole patch, straighten it gently with pliers or skip it and work one hook narrower.
Positioning the Loom Over the Hole or Worn Area
Turn the garment inside out and slide the loom base under the hole so the damage sits centered over the opening.
Push the fabric flat against the base, hole fully inside the frame, leaving at least two warp loops' width of solid fabric beyond the hole on every side, less and the patch has nothing sound to grip.
If the hole is near a seam or sock heel edge, shift the loom for room to work.
For a hole larger than your loom's working area, do not force it.
Securing the Loom and Loading the First Warp Loops
Lock the loom in place. On a frame loom, tighten the tension band until the fabric is drum-taut but still gives slightly when pressed.
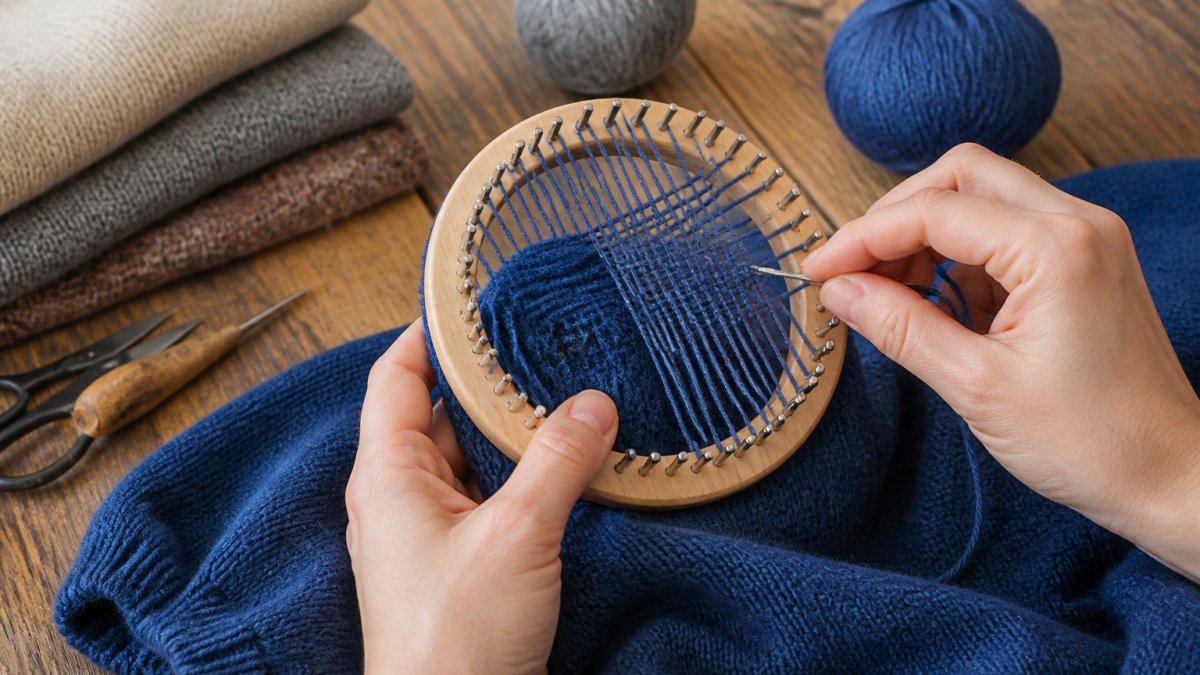
Now load the warp. These are the vertical loops that run across the hole.
- Anchor your yarn on a hook at one edge. A simple slip loop or a half hitch holds fine; you will secure it properly at the end.
- Pull the yarn straight across the hole to the opposite hook.
- Catch the yarn on the hook and bring it back.
- Repeat until the whole opening is covered with parallel loops.
Keep loops snug but not tight; if the fabric puckers, you pulled too hard. On a speedweve-style loom, load every hook even if the hole does not reach the last one, the extra loops give the patch a clean edge.
Weaving the Weft: Working the Hook and Needle Across the Repair
The weft is the yarn you weave horizontally through the warp loops. This is where the patch takes shape.
On the next pass, reverse the pattern: go over the loops you went under last time. This creates the woven, checkerboard look.
Push each row up against the previous one as you go. Gaps between rows weaken the patch.
A blunt needle is the right choice here, a sharp one catches and splits the warp threads, making the weave uneven.
Darning Loom Tension: Getting Even Stitches Every Time
Tension is the difference between a patch that lies flat and one that ripples, and the skill beginners struggle with most.
Aim for loops that sit straight and firm, with no sag. Test by pressing a finger on the warp. It should give slightly, not collapse.
Signs your tension is off:
- Too tight: fabric puckers around the loom, patch feels stiff
- Too loose: loops sag, weave looks baggy, holes show through
- Uneven: some rows sit high, others low
Fix tight tension by loosening the fabric in the loom and reloading the warp.
Your first patch will not be perfect, that is normal. Practice on a scrap sock before working on something you love.
How to Finish Darning with a Loom and Secure the Patch
Finishing well keeps the repair in place through washing and wear, and it is where beginners either gain confidence or lose a patch in the first laundry cycle.
When the weave covers the hole, stop. Do not keep adding rows past the edge of the damage. Extra rows add bulk, stiffen the garment, and make the patch more visible than the hole was.
Now secure the ends:
- Slide the needle under several woven rows on the back.
- Pull the yarn through without tightening.
- Repeat two or three times to lock it, changing direction each time so the tail is trapped in more than one line of weave.
- Trim the yarn close to the fabric, leaving about a quarter inch so it does not work free.
Release the loom and turn the garment right side out.
Check the edges: re-anchor any loose warp loop with a needle and thread from the back.
How Durable Is a Loom Patch, Really?
A woven loom patch is strong along the weave and weaker at its edges. A well-anchored sock-heel patch usually holds through many wash cycles, but the first wash is the real test.
Wash inside out on a gentle cycle or by hand, and skip the dryer for the first few cycles, heat and tumbling work loose tails free.
Inspect the patch after the first wash and re-anchor any lifted loop, then check every few washes. A loom patch is a repair, not a permanent fix, and a two-minute touch-up saves a re-do later.
When a Loom Is the Wrong Choice
A loom is not right for every repair. Skip it, or choose another method, when:
- The fabric around the hole is thin and tearing. A woven patch will pull through weak fabric. Reinforce the area first with a patch or a few rows of stitching, or choose another repair method.
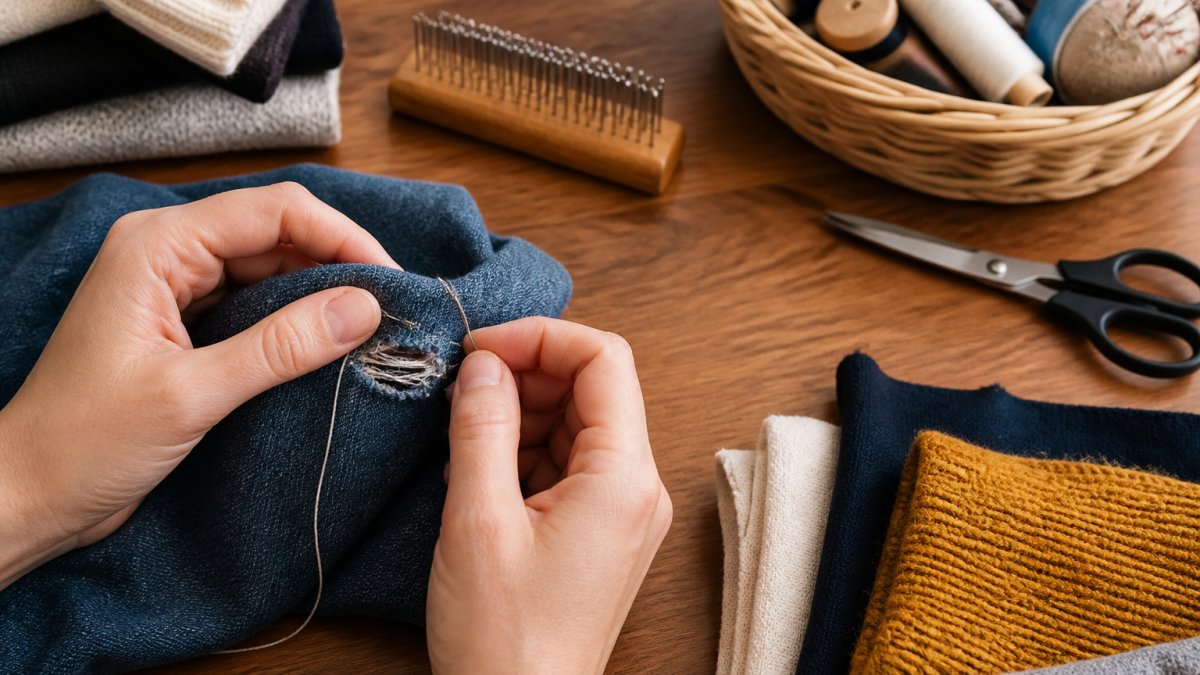
- The hole is in a high-flex, curved area the loom cannot hold flat. Fingertips of gloves, the crook of an elbow, and tight underarm seams are hard to seat. Hand darning with a needle follows the curve better.
- The garment is delicate or the yarn is slippery. Fine merino, silk blends, and smooth synthetic knits can slip out of the warp loops. A needle-woven darn with a matching fine yarn is more controllable.
- You need a repair that disappears. A loom patch is visible by design. If the goal is an invisible mend, hand darning with matching yarn blends in better.
For everything else, sock heels and toes, sweater elbows, cotton tees, and any repair where you want the patch to look intentional, the loom is the better starting point.
That is the whole process. Setup, warp, weave, tension, finish. Our darning kits are built to make each of those steps approachable for someone who has never mended before, and our speed looms handle everything from thin knitwear to heavier cotton. If you want to keep your favorite pieces in rotation instead of replacing them, view our products and start with one small repair.
Darning Loom vs Darning Needle: Which Repair Method to Choose
Both methods work. The right choice depends on the hole and your experience level.
A darning needle alone is the traditional approach: you weave freehand across the hole, row by row.
A darning loom adds structure. The frame holds the fabric flat and the hooks keep the warp even.
| Factor | Darning Loom | Darning Needle Only |
|---|---|---|
| Skill needed | Low | Moderate to high |
| Setup time | A few minutes | None |
| Even tension | Built in | Learned by feel |
| Best for | Socks, knits, small holes | Quick fixes, odd shapes |
| Portability | Packable but bulky | Fits in a pocket |
| Visible mending look | Neat, woven, decorative | Varies widely |
Choose the loom for sock heels, sweater elbows, and any repair where you want the patch to look intentional.
For most beginners, the loom is the better starting point. You will finish more repairs, and finished repairs are what save clothing.
Common Beginner Mistakes and How to Avoid Them
Most first patches fail for the same handful of reasons.
Loading the warp too tight. This puckers the garment and stiffens the patch.
Skipping the practice run. One scrap sock teaches you more than any guide.
Weaving past the damage. Extra rows add bulk and look messy.
Not securing the ends. Loose tails work free in the wash.
One more thing worth knowing: a loom patch is a repair, not a permanent fix.
That is the whole process. Setup, warp, weave, tension, finish.
Frequently Asked Questions
Do you have to use all the hooks on a darning loom?
No. The hooks along the loom track are there to hold warp loops, and you only need to use the ones that span the width of your repair. For a small hole in a sock heel, you might use just four or five hooks. For a larger worn section on a sweater elbow, spread the loops across more hooks so the woven patch covers the whole area. Leaving unused hooks empty is normal and does not affect the repair.
How tight should the yarn be when using a darning loom?
Aim for even darning loom tension rather than maximum tightness. Each warp loop should sit snug against the base without pulling the fabric out of shape. If the garment puckers around the loom, your loops are too tight. If the yarn sags between hooks, they are too loose. Practice on an old sock first, since your first attempts may not be perfect, and adjust until the weave looks flat and the fabric lies naturally.
Can you use a darning loom on any type of fabric?
Darning looms work best on stretchy or medium-weight fabrics such as knit socks, sweaters, jersey, and cotton knits. Thick denim can also be repaired. Very delicate fabrics like fine merino or silk need a light touch and thin repair yarn so the loom does not distort the weave. Always test on a scrap piece first.
What is the difference between a darning loom and a darning needle?
A darning needle is a single hand tool used to weave stitches back and forth across a hole freehand. A darning loom holds those warp threads for you on a frame, so you only work the weft across the top. Looms give more even, faster results and suit beginners, while a needle is more portable and better for tiny or awkward spots. Many menders keep both in their kit.