 how-to
How to Darn a Sock: Complete Beginner Guide
Table of Contents
- What Is Sock Darning and When to Use It
- Essential Sock Darning Tools and Materials
- How to Repair Socks with Holes: Step-by-Step
- How to Darn a Thin Spot in a Sock
- Choosing Yarn by Fiber, Weight, and Stretch
- Common Mistakes to Avoid When Darning Socks
- Preventing Recurring Holes and Extending Sock Life
- Frequently Asked Questions
Last Updated: October 11, 2026
What Is Sock Darning and When to Use It
Sock darning is the process of hand-stitching a repair across a hole or worn area in a knitted sock. It's one of the most practical and rewarding textile repairs you can learn. The technique works by weaving new yarn through the damaged area to restore structure and durability to your favorite socks.
You'll want to darn a sock when you notice small holes in the heel, toe, or sole. Darning is perfect for socks that are otherwise in great condition but have developed a weak spot or small tear. Many people find that learning how to darn a sock transforms their relationship with their wardrobe, instead of tossing worn socks, you extend their life by months or even years.
Darning makes sense for socks you actually wear regularly. If a sock is falling apart or has multiple large holes, replacement might be more practical. But for a single hole in a beloved pair? Darning is the sustainable choice. It's also deeply satisfying, there's something rewarding about restoring something you use every day.
Essential Sock Darning Tools and Materials
You don't need much to get started with sock darning tools. The essentials are simple: a darning needle, yarn, and something to support the sock while you work.
The right tools make the process easier and produce better results. A quality darning kit keeps everything organized and accessible. At Funalya, we've designed beginner-friendly darning kits that include all the basics in one place, so you're not hunting through your sewing drawer for supplies.
Choosing the Right Darning Needle and Yarn
A darning needle is thicker and sturdier than a regular sewing needle. It has a blunt tip rather than a sharp point, which prevents you from splitting the existing yarn fibers in your sock. The eye is also larger, making it easier to thread yarn through.
For needle size, look for one labeled as a darning needle or tapestry needle in size 18-22. These sizes work well for most sock weights. A blunt needle is essential, it slides between existing threads rather than piercing through them.
Matching your yarn to the sock is crucial for a repair that looks good and holds up. Choose yarn that matches the fiber content of your sock:
- Merino or wool socks: Use wool or wool-blend darning yarn
- Cotton or bamboo socks: Match with cotton or cotton-blend yarn
- Synthetic blend socks: Look for acrylic or nylon-blend options
The yarn weight matters too. Your darning yarn should be similar in thickness to the yarn used in the original sock. If it's too thin, the repair won't be strong. If it's too thick, it creates bulk and discomfort. Hold your yarn alongside the sock, they should look proportional.
Stretch is another consideration. Socks need flexibility. Choose yarn with enough give to move with your foot. Sock-specific yarns are engineered for this.
Understanding Your Darning Mushroom or Support
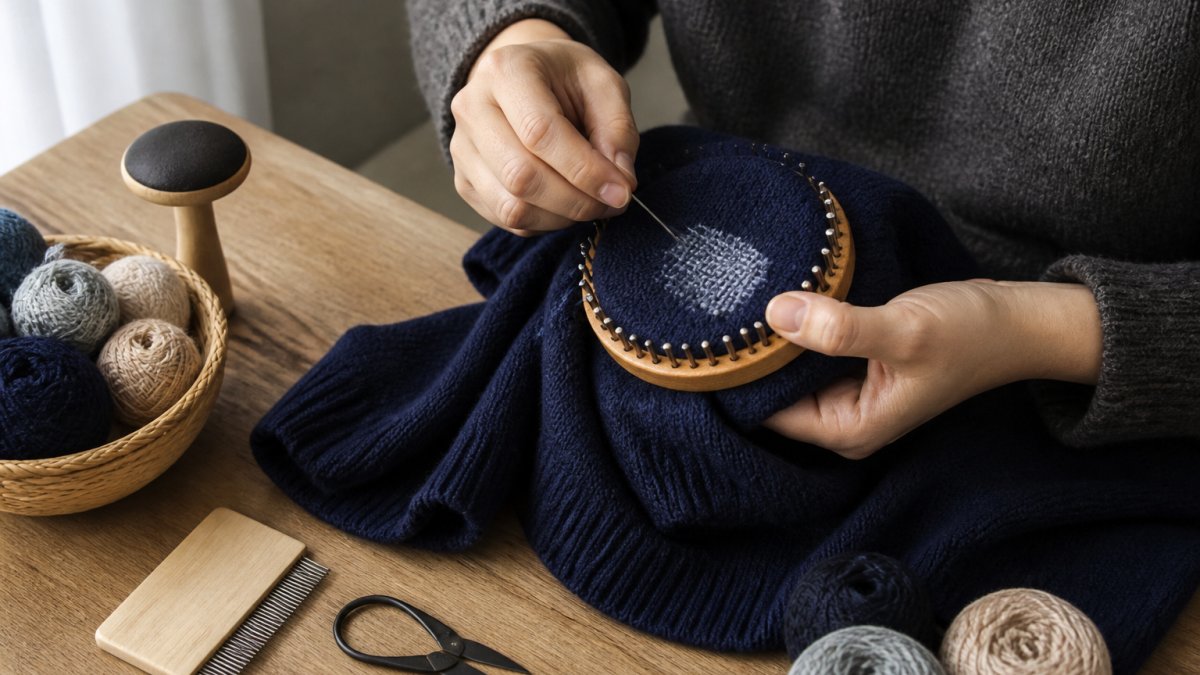
A darning mushroom is a wooden or plastic tool shaped like a mushroom head on a handle. You slip the sock over the rounded part, which stretches the fabric and creates a smooth surface to work on. This prevents wrinkles and keeps the hole flat and accessible.
The mushroom holds the sock steady while you stitch. Without it, your fabric bunches up and your stitches become uneven. Some people use alternatives like a light bulb, a wooden egg, or even a smooth stone, anything that stretches the fabric and keeps it taut.
If you don't have a mushroom, you can hold the sock with your hand and work more slowly. It's harder to keep tension even, but it's possible. Most people find the mushroom worth having once they try it.
How to Repair Socks with Holes: Step-by-Step
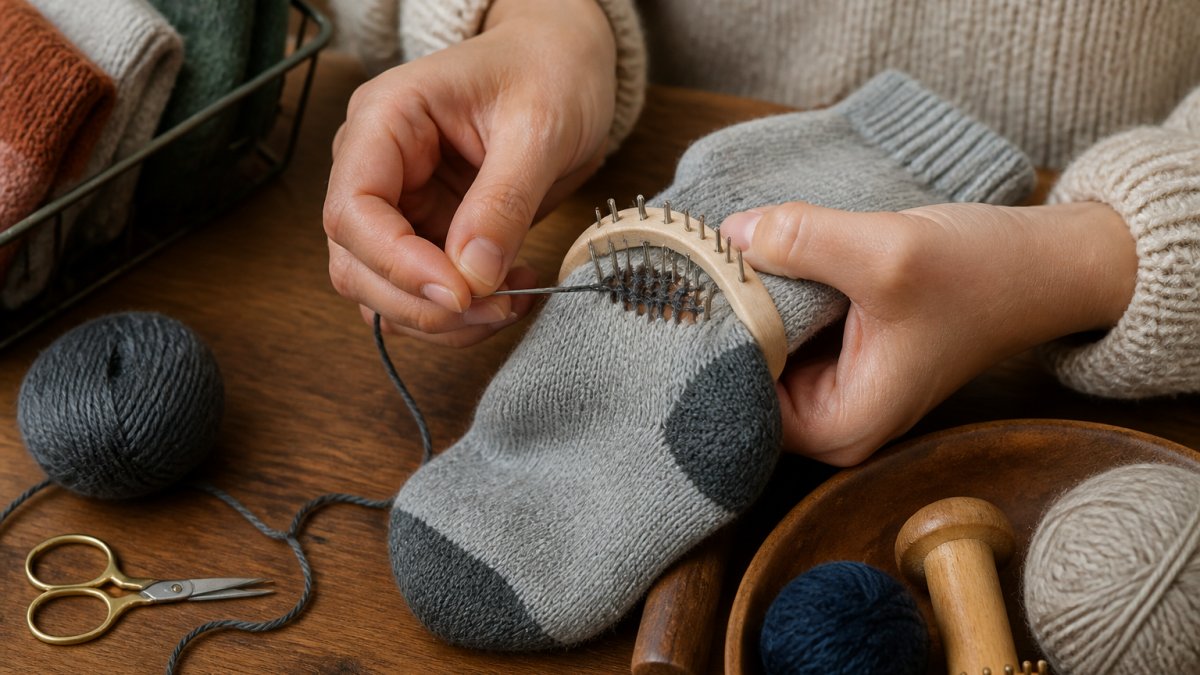
How to repair socks with holes involves five main steps: preparing the sock, securing your yarn, creating vertical stitches, weaving horizontal stitches, and finishing the repair.
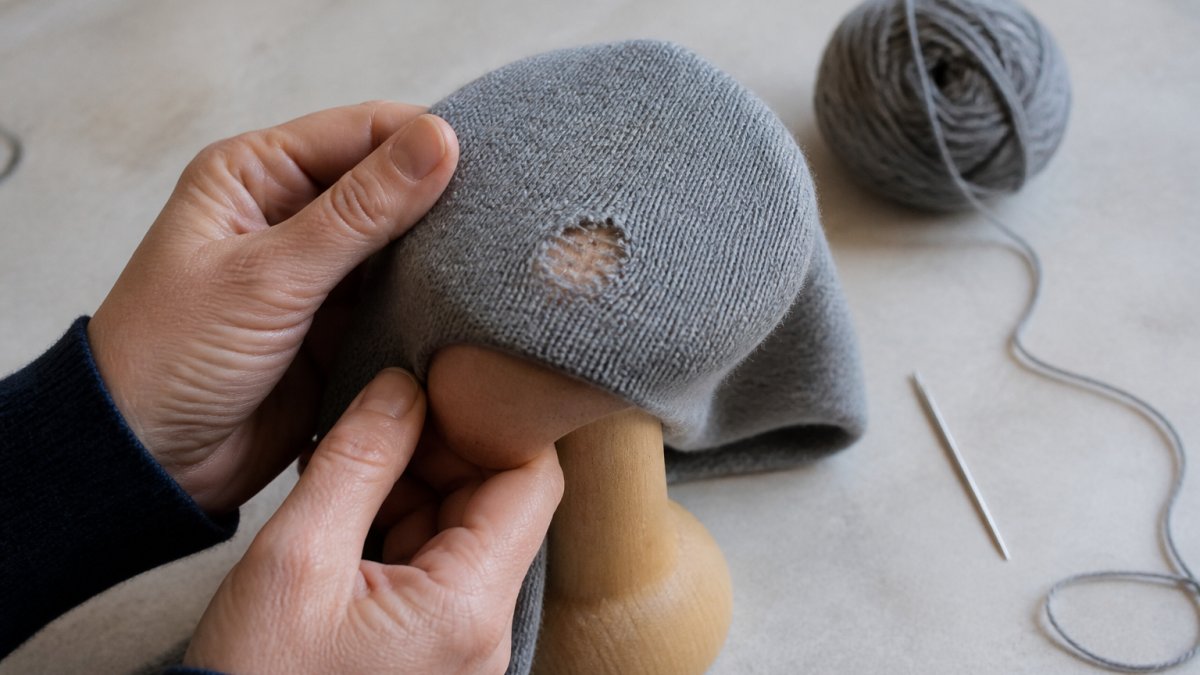
Prepare Your Sock and Position the Hole
Start by examining the hole from both sides of the sock. Trim any loose threads with small scissors. This prevents them from getting caught in your new stitches.
Place the sock over your darning mushroom so the hole sits directly on the rounded part. The fabric should be smooth and tight, with no wrinkles around the damaged area. Position the hole so you can see it clearly and reach it comfortably with your needle.
If you're working without a mushroom, hold the sock in one hand and stretch the fabric around the hole as tightly as you can. Have good lighting so you can see exactly what you're doing.
Secure Your Yarn and Create Vertical Stitches
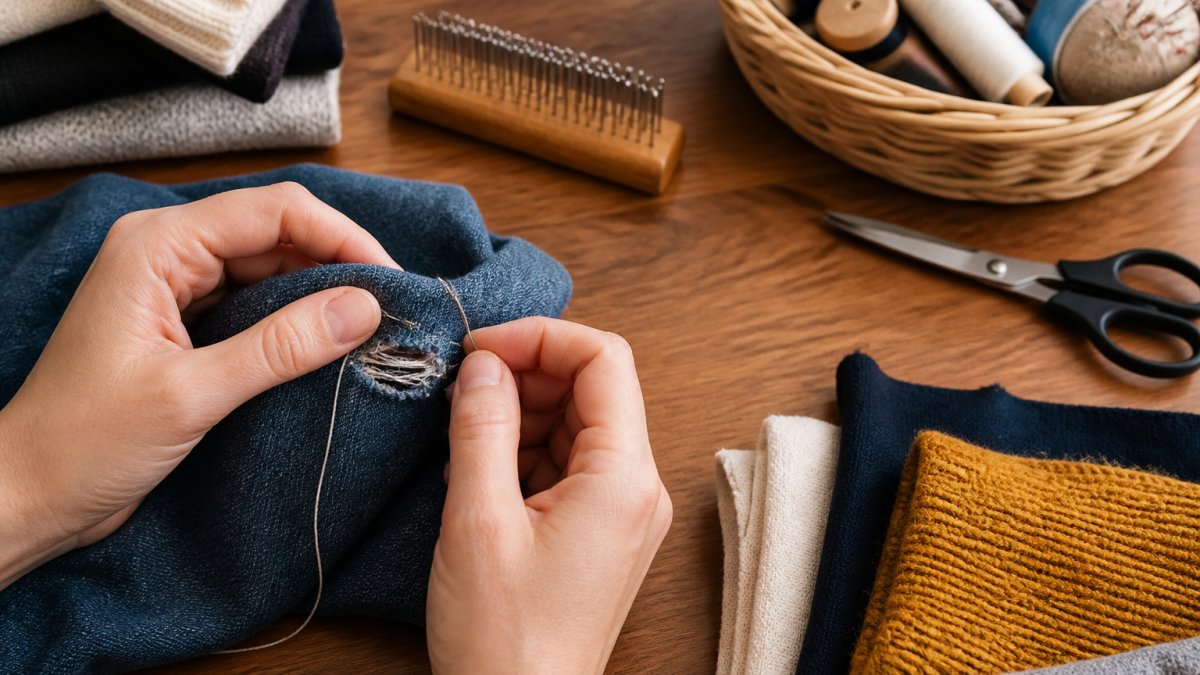
Thread your needle and pull about 12 inches of yarn through. Tie a small knot at the end. On the underside of the sock, push your needle through the fabric about half an inch away from the hole. Bring it back out on the other side of the hole, creating a small anchor stitch.
Now you'll create vertical stitches across the hole. These form the foundation of your repair. Start at one edge of the hole and make straight stitches that run parallel to each other, spaced about 1/8 inch apart. Each stitch should go from just above the hole to just below it.
Work from left to right across the entire hole. Your stitches don't need to be perfect, they just need to be consistent. Aim for even spacing and tension. If a stitch feels too tight, loosen it slightly. Too loose and it won't support the fabric.
Weave Horizontal Stitches Through the Warp
Once your vertical stitches are complete, you'll weave horizontal stitches through them. This creates the woven patch that actually repairs the hole.
Start at the top edge of your vertical stitches. Weave your needle over and under each vertical thread, working from left to right. When you reach the right edge, move down one stitch and weave back from right to left, reversing your over-under pattern.
Continue this weaving pattern until you've filled the entire hole. The pattern should look like a woven fabric, over, under, over, under. This interlocking pattern creates strength and durability.
Keep your tension even throughout. The repair should feel like part of the original sock, not stiff or loose. When you reach the bottom of the hole, make a final anchor stitch on the underside and trim your yarn.
How to Darn a Thin Spot in a Sock
A thin spot is different from a hole. The fabric is still intact but worn down and weak. Darning a thin spot prevents a hole from forming and extends the sock's life significantly.
The process is similar to repairing a hole, but you work on top of the existing fabric rather than filling a gap. Use the same vertical and horizontal stitch pattern, but work more gently. You're reinforcing, not replacing.
Start your vertical stitches slightly to the left of the thin area and work across it. Keep your stitches closer together, about 1/16 inch apart instead of 1/8 inch. The denser stitching provides more reinforcement to the weakened area.
Weave your horizontal stitches the same way. The repair will be visible. Many people appreciate the look of visible mending, it tells the story of a well-loved garment that's being cared for properly.
Choosing Yarn by Fiber, Weight, and Stretch
The yarn you choose affects how long your repair lasts and how comfortable it feels. Understanding fiber, weight, and stretch helps you make the right choice.
Fiber content is the most important factor. Wool is durable and elastic, making it ideal for sock repairs. Merino wool is soft and breathable. Nylon-blend yarns add strength. Cotton is breathable but less elastic. Bamboo is soft and sustainable but less durable than wool.
Match the fiber to your sock type. A wool sock needs wool or wool-blend repair yarn. A cotton sock needs cotton. Mixing fibers creates repairs that feel different from the rest of the sock, less stretch, different texture, potential durability mismatch.
Weight refers to yarn thickness. Sock yarn is typically labeled as fingering weight or sport weight. Darning yarn should match this thickness. Thicker yarn creates bulk; thinner yarn won't provide enough strength.
Stretch and recovery matter for comfort. Sock yarn is engineered to return to its original shape after stretching. Regular yarn doesn't have this property.
Check the yarn label for these details. Look for yarn specifically labeled as sock yarn or darning yarn. These are formulated for exactly this purpose.
Common Mistakes to Avoid When Darning Socks
Most darning mistakes happen early and are easy to prevent once you know what to watch for.
Tension that's too tight is the most common problem. Beginners pull their yarn hard, thinking it creates a stronger repair. Instead, it bunches the fabric and creates discomfort. Your stitches should be snug but not strained.
Stitches that are too far apart leave gaps in the repair. These gaps let the fabric separate again. Keep your vertical stitches close together, about 1/8 inch apart. Your weaving should be dense enough that you can't see daylight through it.
Using the wrong yarn causes repairs that don't last. A thick yarn in a thin sock creates bulk. A stretchy yarn in a non-stretch sock feels odd. Yarn that doesn't match the fiber content wears differently and can wear through faster.
Not anchoring your yarn properly means your repair unravels. Always make a small anchor stitch on the underside before starting and after finishing. This keeps the entire repair from coming loose if one thread breaks.
Skipping the darning mushroom makes everything harder. Without support, the fabric wrinkles and your stitches become uneven.
Preventing Recurring Holes and Extending Sock Life
Once you've repaired a sock, you want that repair to last. The same spots that develop holes once tend to develop them again if you don't take precautions.
Rotate your socks regularly. Wearing the same pair every day puts repeated stress on the same areas. If you have multiple pairs, alternate between them.
Wash your socks in cold water and dry them on low heat or air dry. High heat weakens the fibers.
Trim your toenails regularly. Sharp nails are a major cause of holes in the toe area. Smooth nails reduce friction inside the shoe.
Consider reinforcing vulnerable areas before holes develop. If you notice thin spots on your heels or toes, darn them preventatively.
Store socks carefully. Avoid stuffing them into tight drawers or bunching them in knots. Roll them loosely or use a sock organizer. This reduces stress on the fibers.
Replace worn elastic at the cuff if it's stretched out. A sock with loose elastic gets more friction inside the shoe, which accelerates wear.
Learning how to darn a sock is one of the most practical skills for anyone committed to sustainable fashion. View Our Products and start your darning journey today.
Frequently Asked Questions
Can torn socks be repaired with darning?
Yes, most torn socks can be repaired through hand darning. Small holes in the heel, toe, or sole are ideal candidates for this repair method. The process involves creating interlocking vertical and horizontal stitches across the damaged area to reinforce the knit fabric. Machine-knit socks respond well to darning.
What yarn should you use to darn socks?
Choose sock yarn that matches your original sock in fiber content, weight, and color as closely as possible. Merino wool, nylon blends, and cotton are common sock fibers that work well for darning. The yarn weight should be similar to the original so your stitches integrate smoothly with the surrounding knit. If exact matching is difficult, slightly thicker yarn creates more durable reinforcement. Test the yarn's stretch and elasticity before committing to a full repair.
Can you darn a sock without a darning mushroom?
Yes, you can darn without a darning mushroom using alternatives like a wooden egg, smooth stone, or even a light bulb to support the fabric from underneath. The key is having a smooth, rounded surface that stretches the hole flat and prevents puckering as you stitch. Beginners often find a darning mushroom easier to control, but improvised supports work if you're careful to keep consistent tension. Some people prefer hand-holding the sock for smaller repairs, though this requires practice.
How long does a darned sock repair last?
A well-executed darning repair can extend a sock's life. Regular inspection and prompt re-darning of any new weak spots maintains longevity.