 how-to
Reinforce Worn Fabric: A Beginner's Guide to Repair
Table of Contents
- Why Reinforce Worn Fabric Before a Hole Forms
- Assessing Damage: Holes, Tears, and Thinning Areas
- How to Reinforce Thinning Fabric with Stabilization
- Sewing Supplies for Clothing Repair: What You Actually Need
- Darning Worn Fabric: Hand-Sewing Techniques That Work
- Reinforce High-Stress Seams and Wear Points
- Care and Washing After Repair: Making Your Fix Last
- When to Repair, Reinforce, or Seek Specialist Help
- Frequently Asked Questions
Last Updated: October 16, 2026
Why Reinforce Worn Fabric Before a Hole Forms
Worn fabric doesn't fail all at once. It breaks down gradually. First comes thinning. Then comes a small tear. Finally comes a hole you can't ignore.
The best time to reinforce worn fabric is before that hole appears. Most people wait too long. They spot a thin patch, think "I'll deal with it later," and then suddenly the fabric gives way during a wash or wear.
Reinforcing thinning fabric extends garment life. It saves money. It keeps your favorite pieces in rotation instead of in the donation pile. At Funalya, we empower you to restore worn clothing, reinforce thinning fabric, and extend the life of your favorite pieces.
This guide walks you through everything you need to know about reinforcing worn or thinning areas for sewing supplies. You'll learn how to spot damage early, choose the right repair method, and actually execute the fix.
Assessing Damage: Holes, Tears, and Thinning Areas
Before you reinforce anything, you need to know what you're dealing with. Damage comes in three main forms, and each one requires a slightly different approach.
Thinning fabric is the earliest stage. The cloth looks faded or pale in one spot. It feels thinner than the rest of the garment. Grab the fabric gently and hold it to the light.
Minor tears and small holes are the next step. A tear might be a quarter-inch long. A hole might be the size of a pencil point.
Larger holes and worn seams require more aggressive reinforcement. If the hole is bigger than a dime, or if a seam is splitting, you need a patch or a reinforcement technique that covers more ground.
Here's how to assess what you have:
- Hold the garment to natural light and look for translucent spots
- Feel the fabric with your fingers, worn areas feel thinner and weaker
- Check high-stress areas: underarms, inner thighs, elbows, and collar edges
- Examine seams for fraying or separation
The sooner you catch thinning, the easier the repair. A thin patch takes 10 minutes to reinforce. A full hole takes 30 minutes to repair properly.
How to Reinforce Thinning Fabric with Stabilization
Stabilization is the first line of defense against thinning fabric. It stops the damage from spreading and reinforces the weak area before a hole forms.
Stabilization means adding support to the reverse side of the fabric. You're not patching yet. You're reinforcing the cloth itself so it can handle normal wear and washing.
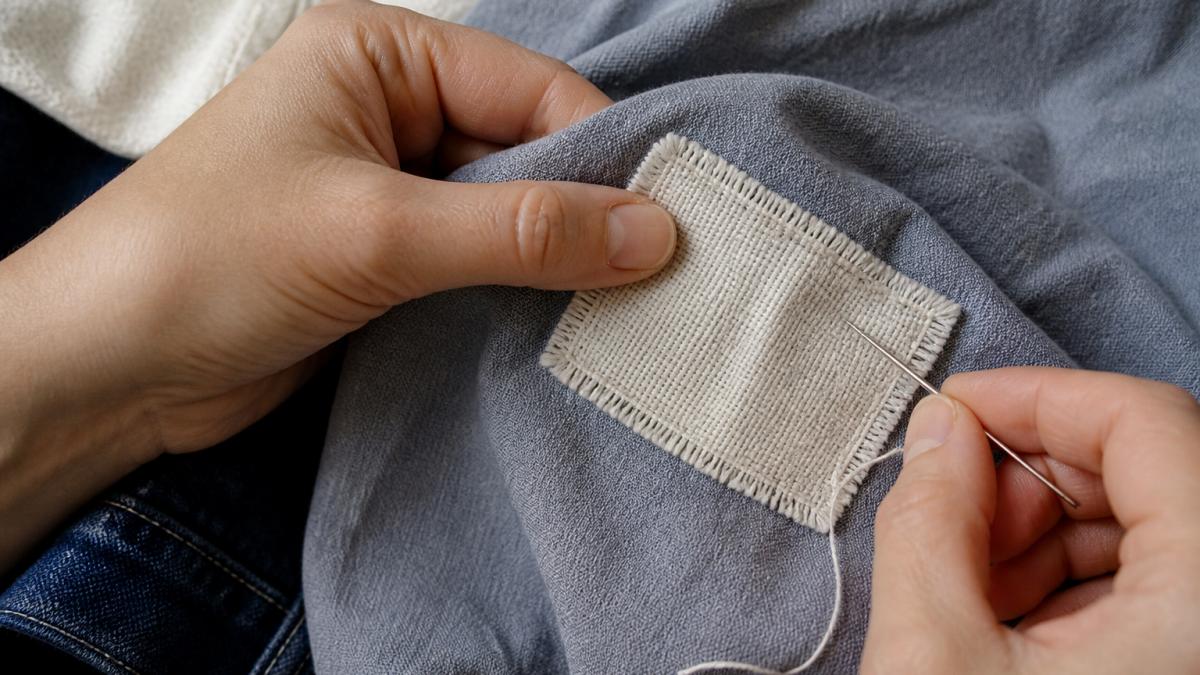
The most effective stabilization method is hand-stitching a reinforcement patch to the back of the worn area. Here's the process:
-
Prepare the fabric. Flip the garment inside out. Locate the thinning area from the reverse side. Mark the area with a pencil or fabric pen if it's hard to see.
-
Cut a patch. Use fabric from a similar weight and fiber content. Cotton patches work on cotton. Wool patches work on wool. Cut the patch at least one inch larger than the thinning area on all sides.
-
Position the patch. Place the patch over the thinning area on the reverse side. The patch should cover the weak spot completely and extend into strong fabric around it.
-
Stitch the patch down. Use small, tight stitches. Stitch around the perimeter of the patch first. Then add stitches across the middle in a grid pattern. Small stitches create a stronger bond than large ones.
-
Check your work. Flip the garment right-side out. The thinning area should feel thicker now. The reinforcement should be invisible from the front.
This method works best on cotton fabric, linen, and wool. It's less effective on stretchy fabrics like spandex blends, which need a different approach.
The goal is to distribute stress across a larger area. Instead of all the strain falling on one thin spot, the patch spreads the load. This prevents the thin fabric from tearing during normal wear.
Sewing Supplies for Clothing Repair: What You Actually Need
You don't need a closet full of tools to repair clothes. You need the right ones.
Here's what actually matters:
Needle and thread. A good needle won't bend or break. It should match your fabric weight. Use a thin needle on delicate fabric and a thicker needle on denim. Match your thread color to the garment, or use a contrasting color if you're doing visible mending.
Stabilizer or patch material. This is fabric you use to reinforce or patch the damaged area. Cotton muslin works for most repairs.
Small scissors. You need sharp scissors that cut fabric cleanly. Dull scissors fray the edges and make your work harder.
A thimble. This protects your finger when you push the needle through thick fabric. Beginners skip this and regret it.
Measuring tape or ruler. You need this to mark patch size and stitch spacing.
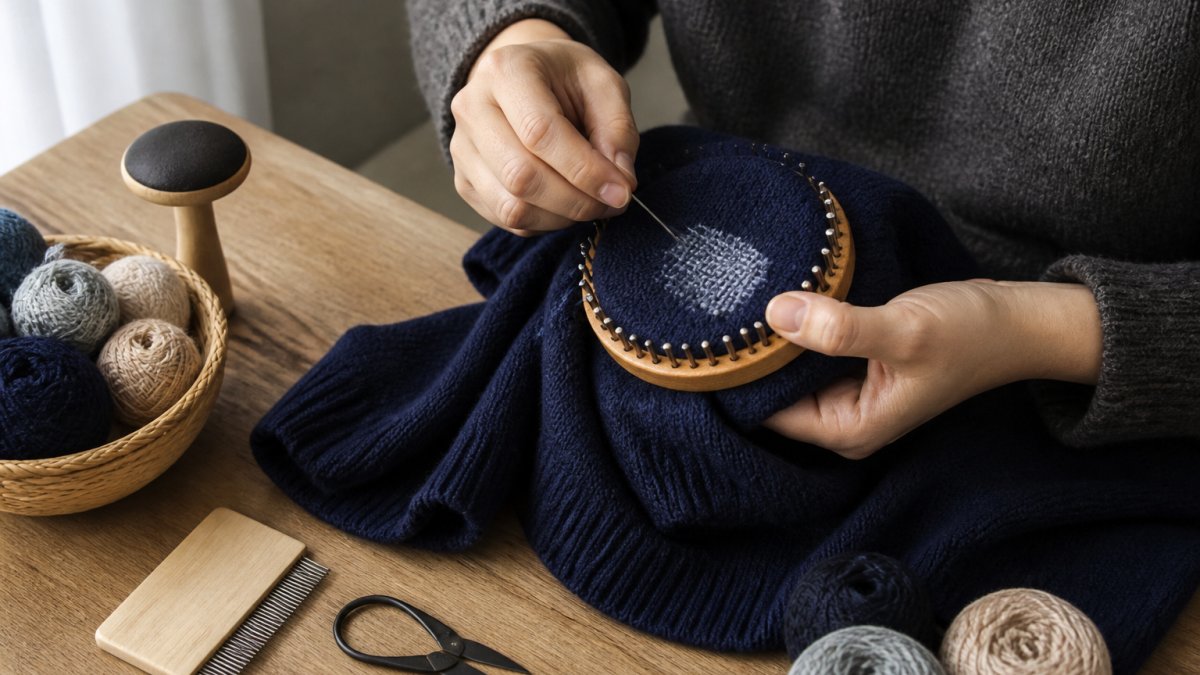
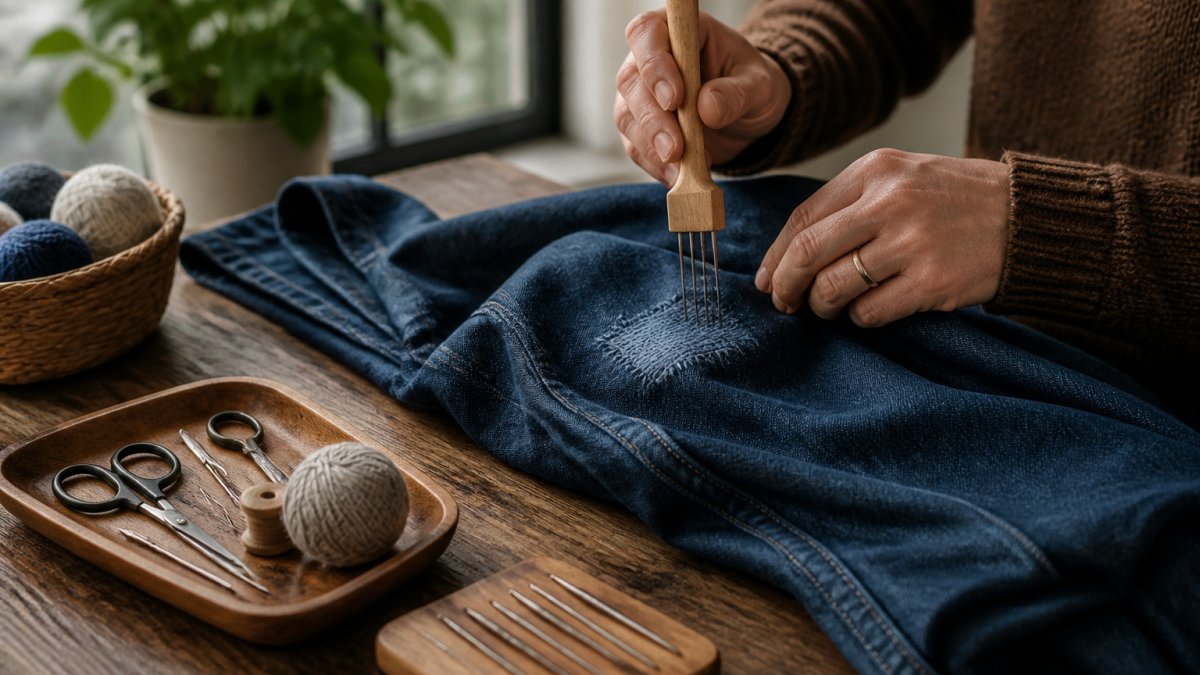
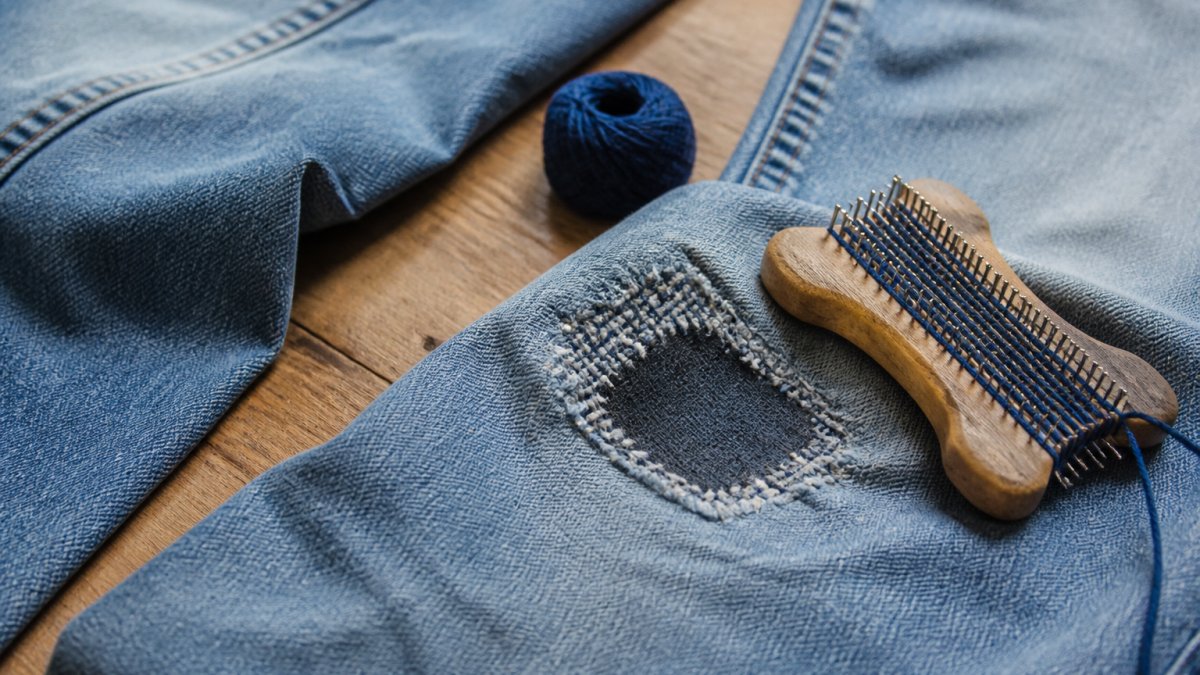
Funalya provides accessible, beginner-friendly tools designed to make garment repair simple and practical for everyone. Our darning kits and speed looms include useful accessories.
The real value isn't in the cost of supplies, it's in the time you save by having everything ready when you need it.
Darning Worn Fabric: Hand-Sewing Techniques That Work
Darning is an old technique that still works better than most modern alternatives. It's not complicated, but it does require patience.
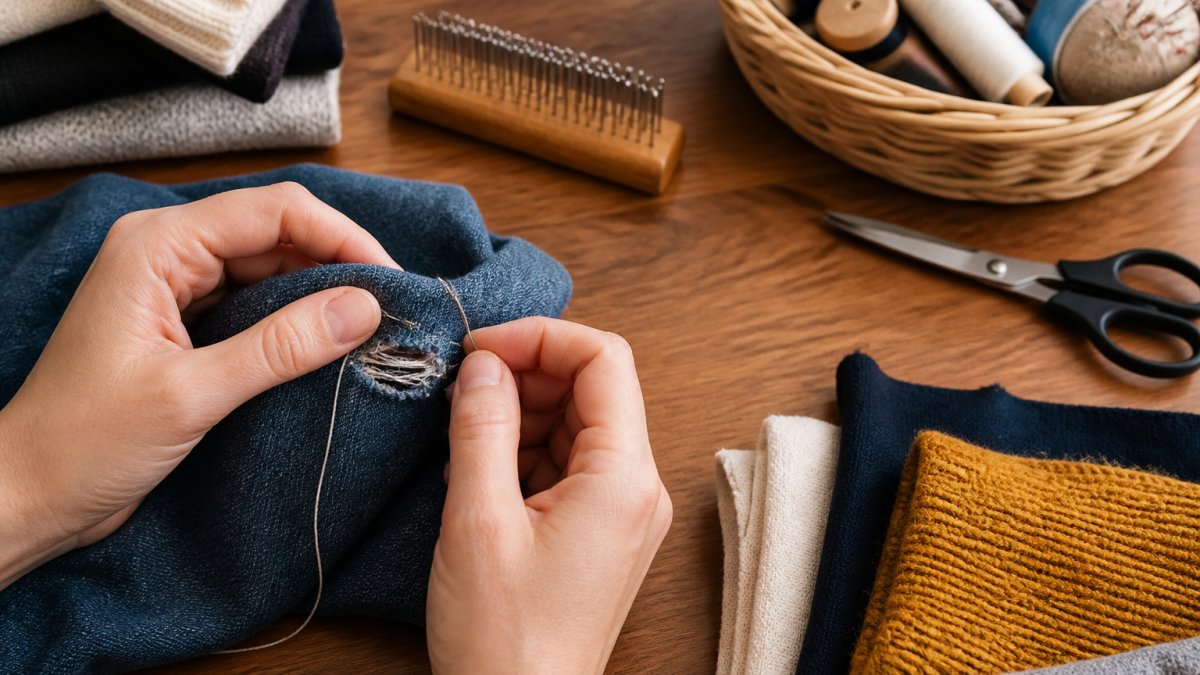
Darning means weaving thread back and forth across a hole or thin area to rebuild the fabric structure. You're not patching. You're recreating the fabric itself using needle and thread.
Darning works best on small holes and worn areas in woven fabric. It's less effective on knits or stretchy materials.
Here's how to darn:
-
Stabilize the area. Place the garment over a smooth surface or hold it taut. Some people use a darning egg, a wooden or plastic ball you hold under the hole to keep it tight and round.
-
Thread your needle. Use thread that matches the garment color. Make a knot at the end.
-
Start outside the hole. Bring your needle up through the fabric about half an inch away from the hole. This anchors your thread in strong fabric.
-
Weave horizontally. Push the needle through the hole and back out the other side, about half an inch past the hole. Move down slightly and repeat. Create parallel lines of thread across the hole, going back and forth.
-
Weave vertically. Once you've filled the hole with horizontal threads, weave vertical threads over and under the horizontal ones. This creates a woven pattern that mimics the original fabric.
-
Finish outside the hole. End your thread in strong fabric, not in the repaired area. Make a small knot on the reverse side.
The result is a repair that's stronger than the original fabric around it. The darned area will be visible, but it's clean and intentional, not a sloppy patch.
Darning takes practice. Your first attempt might look rough. Keep practicing. By your third or fourth darn, you'll develop a rhythm and your repairs will look professional.
Reinforce High-Stress Seams and Wear Points
Seams fail before fabric does. This is especially true in high-stress areas like underarms, crotch seams, and shoulder seams.
Reinforcing a seam means adding stitches to strengthen it before it splits completely. You're not replacing the seam. You're backing it up.
Common wear points on garments:
- Underarm seams on shirts and sweaters
- Inner thigh seams on pants
- Shoulder seams where backpack straps sit
- Collar seams on frequently worn shirts
- Button attachment points where stress concentrates
To reinforce a seam:
-
Locate the weak spot. Look for fraying, separation, or loose threads along the seam line.
-
Flip the garment inside out. You'll work from the reverse side so your stitches are hidden.
-
Stitch parallel to the original seam. Use small stitches. Run your needle along the seam line, staying close to the original stitches. Add a second line of stitches about a quarter-inch away from the first one.
-
Use strong thread. Upholstery thread or heavy-duty thread holds better than regular thread on high-stress seams.
-
Backstitch for strength. Push your needle forward, then push it backward through the fabric slightly. This creates overlapping stitches that are much stronger than running stitches.
Reinforcing a seam before it fails saves the entire garment. Once a seam splits completely, repairing it is much harder.
Care and Washing After Repair: Making Your Fix Last
A repair is only as good as how you treat it afterward.
Wash repaired garments gently. Use cold water and a gentle cycle. Hot water weakens thread and can shrink fabric.
Turn the garment inside out before washing. This protects the repair from direct friction and agitation.
Air dry when possible. Machine drying creates heat and tumbling that stresses repairs. Hang the garment or lay it flat to dry.
Avoid bleach and harsh chemicals. These can weaken thread and fade fabric around the repair.
Don't iron over the repair immediately. Wait at least a week after repair before applying heat.
Check the repair after the first wash. Look for loose threads or stitches that came undone. If you spot a problem, fix it right away.
Most repairs last for years if you treat them properly. The key is gentle care.
When to Repair, Reinforce, or Seek Specialist Help
Not every damaged garment is worth repairing. Sometimes replacement makes more sense. Sometimes the damage is beyond DIY repair.
Repair makes sense when:
- The garment fits well and you wear it regularly
- The damage is small (under an inch)
- The fabric is in good condition otherwise
- The garment has sentimental value
- You want to reduce textile waste
Reinforcement makes sense when:
- You see early signs of wear but no holes yet
- The garment is high-quality and worth protecting
- You want to extend its life by years
- The damage is in a predictable spot you can reinforce before failure
Seek specialist help when:
- The damage is large (bigger than a quarter)
- Multiple seams are failing
- The fabric is delicate (silk, lace, vintage)
- The garment is expensive or irreplaceable
- You've tried DIY repair and it didn't work
A professional tailor or repair specialist has tools and experience you might not. They can handle complex repairs like replacing a zipper, repairing a collar, or fixing a seam that runs the length of a garment.
For most worn fabric and small holes, DIY repair works fine. You save money and you learn a skill. For anything complicated, professional help is worth the cost.
Worn fabric doesn't have to mean the end of a garment you love. Catching damage early and reinforcing it stops the problem from spreading.
Funalya's repair kits give you everything you need to get started. Whether you're reinforcing thinning areas, darning small holes, or strengthening seams, the right tools make the work easier and faster. Your clothes will thank you, and so will your wallet.
Frequently Asked Questions
How do I know if fabric is thinning before it tears?
Check for faded color, areas that feel thinner to the touch, and spots where light passes through when held up. Common thinning areas appear on elbows, knees, seat seams, and cuffs. If you can see light through the fabric or it feels noticeably softer than surrounding areas, reinforcement now prevents holes later. Run your fingers across the garment, worn fabric feels smoother and less structured than intact areas.
What sewing supplies do I need to reinforce worn fabric?
Start with a needle suited to your fabric weight, thread that matches your garment color, fabric stabilizer or a reinforcement patch, and small scissors. For thinning areas, consider a darning kit or speed loom to speed up the process. Beginner kits from Funalya are designed to make garment repair approachable, making it easier to choose correctly without prior experience. You may also want a thimble to protect your finger.
Is visible mending acceptable, or should repairs be hidden?
Both approaches work. Visible mending, using contrasting thread or intentional stitching patterns, has become a respected craft and shows care for your garment. Hidden repairs use matching thread and stitching on the reverse side. Choose based on your garment's style and your preference. Visible mending often looks intentional and attractive on denim, knitwear, and casual pieces, while hidden repairs suit formal or delicate garments better.
How do I wash a garment after reinforcing worn fabric?
Wait 24 hours after completing repairs before washing. Turn the garment inside out and use cold water on a gentle cycle to protect your stitching. Avoid the dryer for the first wash, air-dry instead to let the repair set. For subsequent washes, continue turning the garment inside out and use gentle cycles. This practice extends the life of both the original garment and your repair work significantly.