 how-to
How to Darn a Sweater Hole by Hand and Save Your Knitwear
Last Updated: November 7, 2026
Quick Summary
To darn a sweater hole by hand, turn the sweater inside out, secure the hole edges with small stitches so the knit stops unraveling, then weave running stitches across the gap in rows that follow the knit and weave back the other way. A small hole takes about 20 minutes with a blunt needle, matching yarn, and a darning mushroom.
- Use a blunt darning needle, because a sharp tip splits stitches and makes the hole worse.
- Anchor your yarn on solid fabric beside the hole, not in the hole itself.
- For holes wider than a few centimeters, build a loose support bridge of threads before weaving.
- Space support threads about 5-8 mm apart and anchor them about 1 cm from the hole edge.
- For holes wider than about 4-5 cm or at elbows and cuffs, a woven patch is often more durable.
Table of Contents
- How to Darn a Sweater Hole by Hand: The Full Method
- How to Darn a Sweater Hole for Beginners: Your First Repair
- How to Darn a Large Hole in a Sweater Without Making It Worse
- How to Fix a Hole in a Sweater With Thread (When You Have No Yarn)
- Creative Ways to Fix a Hole in a Sweater
- Matching Yarn by Fiber, Weight, Color, and Stretch
- What to Do Next: Build a Repair Kit That Works
- Frequently Asked Questions
How to Darn a Sweater Hole by Hand: The Full Method
Darning a sweater hole by hand is the process of weaving new yarn across a damaged area to rebuild the knitted fabric, and it is one of the most useful repair skills you can learn. This method suits total beginners because it needs no machine and no experience. A small hole takes about 20 minutes and a needle, yarn, and patience.
Here is the short version before we walk through it:
- Small holes get woven rows
- Thin, worn areas get reinforced before they tear
- Larger gaps get a support thread first
Most guides skip the step that decides whether your repair holds: securing the hole edges before you weave. We'll cover that below, along with the mistakes that make holes grow.
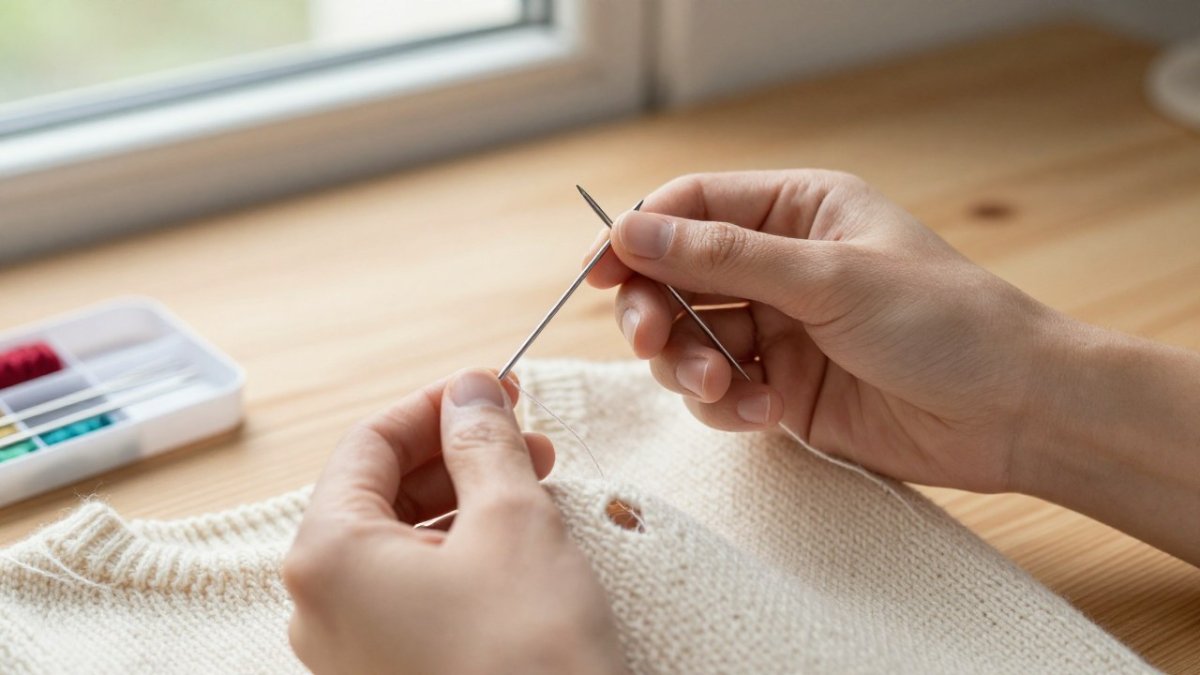
What You'll Need Before You Start
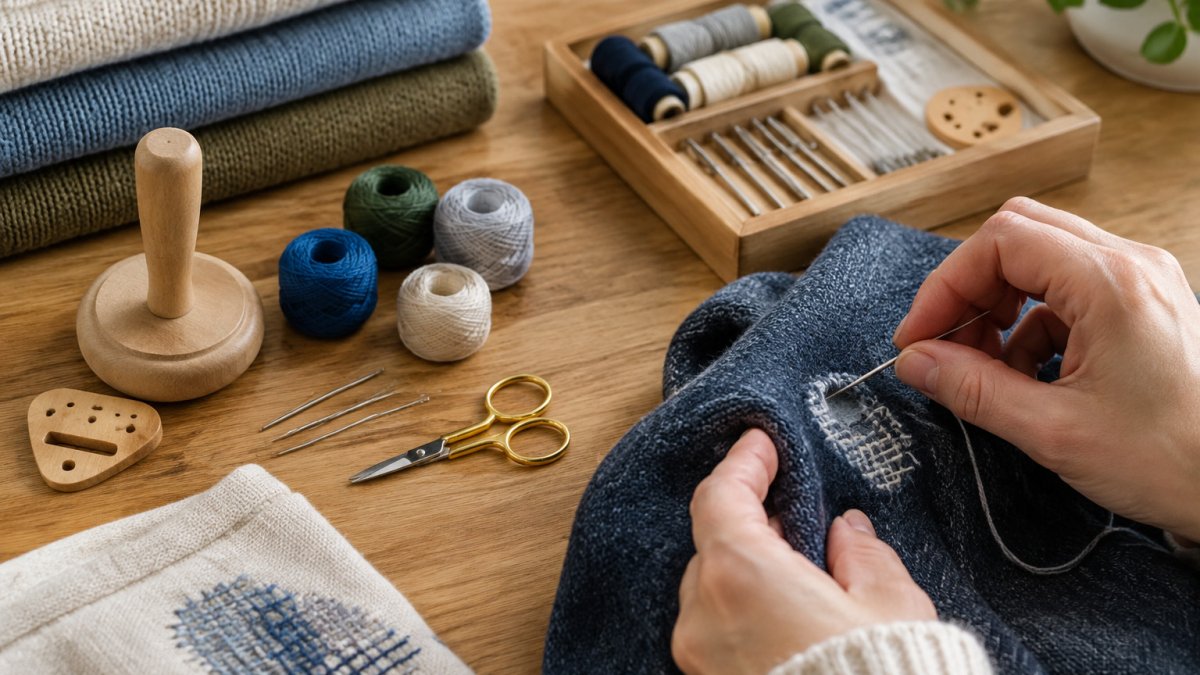
Gather your supplies first so you are not hunting for a needle mid-repair. A basic darning kit covers everything here. If you are new to the tools, our guide on how to use a darning kit as a beginner walks through each piece.
Your list:
- A darning needle with a blunt tip and large eye
- Yarn close to your sweater's fiber and weight
- Small sharp scissors
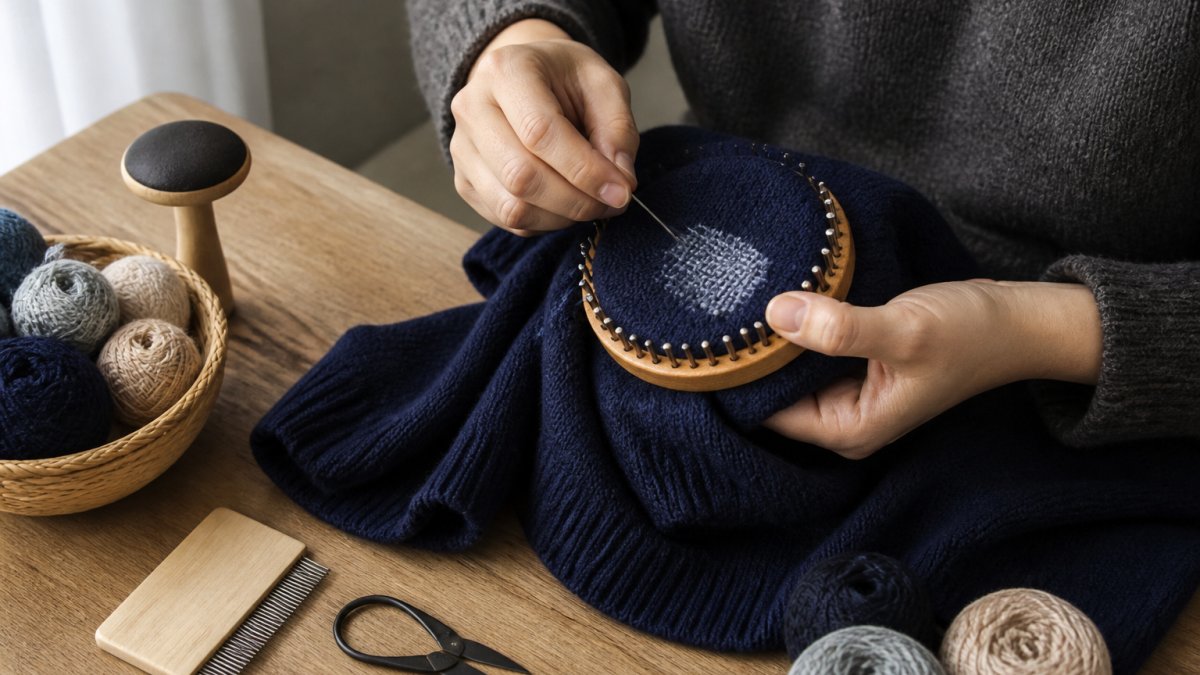
- A darning mushroom or a smooth rounded object
- Pins or a small clip
Watch out: a sharp-tipped needle splits the knit stitches and makes the hole worse. Use a blunt darning needle.
Step-by-Step: Stabilize, Weave, and Finish
The full method has one rule above all others: follow the knit. Your woven rows should run in the same direction as the stitches around the hole, so the repair moves and stretches with the garment instead of fighting it.
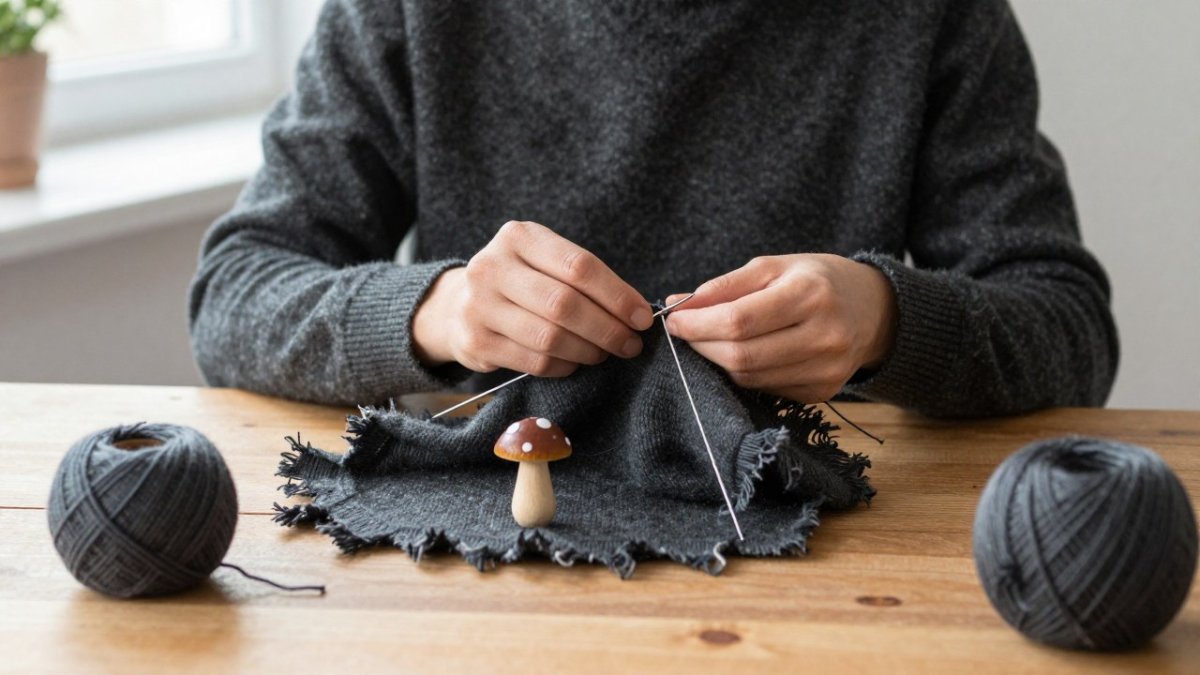
- Turn the sweater inside out and lay the hole flat over your darning mushroom.
- Trim loose threads carefully, but leave enough to anchor.
- Secure the hole edges with a few small stitches so the knit stops unraveling.
- Anchor your yarn on the solid fabric beside the hole, not in the hole itself.
- Work running stitches across the gap in rows, keeping tension loose.
- Weave back the other way to build a woven patch over the gap.
- Clip yarn tails and press the repair gently flat.
For a deeper walkthrough of the hand technique, see our beginner's guide on how to darn a sweater by hand.
How to Darn a Sweater Hole for Beginners: Your First Repair
Your first repair will not be perfect, and that is fine. The goal is a stable hole that stops growing. One customer put it well: "My first attempts weren't perfect, but I enjoyed using it and will keep practicing."
Start with a small hole on a low-stakes garment, like a sock or an old scarf, before you touch your favorite sweater. Beginner mistakes we see most often:
- Pulling yarn too tight, which puckers the fabric
- Skipping the edge-securing step
- Using yarn much thicker than the sweater's own
Keep your first repair small and simple. Confidence comes from finishing one, not from reading ten guides.
How to Darn a Large Hole in a Sweater Without Making It Worse
A large hole needs a support layer before you weave. Without one, the weight of the repair pulls the hole wider every time the sweater moves. The fix is to build a bridge of long, loose threads across the gap first, then weave over that bridge so the strain spreads across solid fabric on both sides.
Here is the sequence that works for holes wider than a few centimeters:
- Stabilize the edges first. Work a line of small running stitches just inside the raw edge all the way around the hole, using a blunt needle and a single strand of matching yarn. This stops the knit from unraveling further while you handle the sweater.
- Build the support bridge. Thread your needle with a length of yarn and anchor it on solid fabric about 1 cm from the hole edge. Run long, parallel stitches straight across the gap, spacing them about 5-8 mm apart, and anchor each one on solid fabric on the far side. Keep these threads slightly loose, they are scaffolding, not tension. Work in the same direction as the knit stitches around the hole.
- Weave over the bridge. Now work your darning rows perpendicular to the support threads, passing over and under them in a simple woven pattern. This locks the bridge in place and rebuilds the fabric surface. Keep the weave loose enough that the sweater can still stretch.
- Check the stretch before you finish. Gently pull the repaired area in both directions. If it feels stiff or puckered, you have pulled the weave too tight; loosen the last few rows before securing the tails.
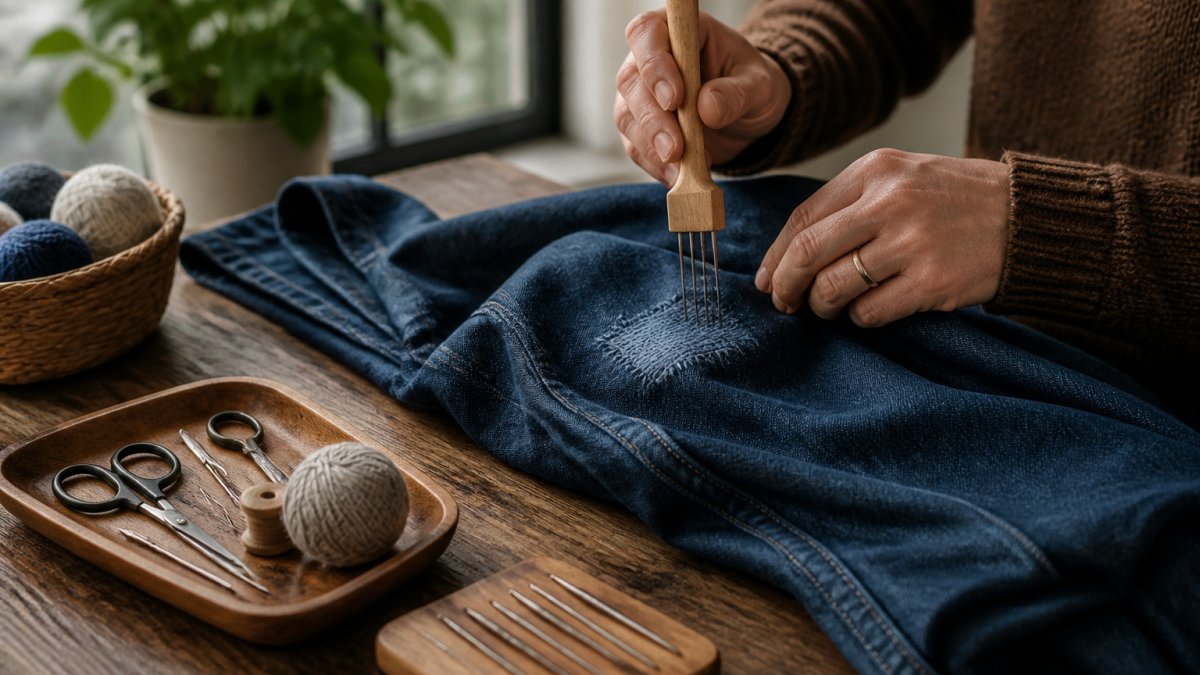
For holes wider than about 4-5 cm, or holes at high-stress spots like elbows, underarms, and cuffs, pure darning may not hold long-term. A woven patch, a piece of similar-weight fabric stitched over the stabilized hole, spreads strain across a larger area and is often the more durable choice.
Watch out: never stretch a large hole tight over the mushroom or your hand while you work. Tension is what turns a small tear into a big one, and it also distorts the weave so the repair never lies flat again.
How to Fix a Hole in a Sweater With Thread (When You Have No Yarn)
Sewing thread works for small holes, but it behaves differently from yarn in ways that decide whether the repair lasts. Thread is thin, has almost no stretch, and is strong in a way that can actually cut into soft knit fibers over time. Use it for tiny gaps in low-movement areas, not for elbows, cuffs, or anywhere the sweater flexes.
The method, with the adjustments that make thread behave:
- Double the thread for strength. A single strand is too weak for even a small gap; fold it double and knot the ends.
- Secure the hole edge first. Work small stitches around the raw edge to stop unraveling, just as you would with yarn. This step matters more with thread because the thin strand offers less friction to hold loose stitches.
- Weave in fine, close rows. Thread is thin, so rows need to sit closer together than yarn rows to cover the gap. Space them about 2-3 mm apart.
- Keep the tension deliberately slack. This is the key difference from yarn. Thread will not stretch with the knit, so any tightness will pucker the fabric or tear the surrounding stitches when the sweater moves. Leave a visible bit of slack in every pass.
- Anchor on solid fabric, not in the hole. Bury the starting and ending tails in the intact knit beside the repair, not in the damaged area.
The honest trade-off: thread repairs are less invisible and less durable than yarn repairs, and they are best treated as a stopgap until you can get matching yarn. For a hole in a high-stress spot, thread is likely to fail, choose a patch or wait for yarn instead.
Watch out: polyester or nylon thread can saw through soft wool fibers over months of wear. If the sweater is a delicate natural fiber, use cotton thread or hold off until you have yarn.
Creative Ways to Fix a Hole in a Sweater
Not every repair needs to hide. Visible mending turns a hole into a design feature, and it is a growing trend among people who want to keep clothes in rotation rather than replace them. Options include:
- Contrasting yarn darning in a bold color
- A woven patch in a complementary fabric
- A decorative pin or brooch over a small hole
- Sashiko-style stitching for a textured, patterned repair
If decorative repair appeals to you, our sashiko mending beginner's guide shows the basic stitch patterns.
Matching Yarn by Fiber, Weight, Color, and Stretch
The right yarn makes a repair nearly invisible. The wrong yarn makes it lumpy or stiff. Match on four things:
| Match on | Why it matters | Quick check |
|---|---|---|
| Fiber | Wool, cotton, and acrylic behave differently | Check the care label |
| Weight | Thick yarn bulges in fine knit | Compare thickness side by side |
| Color | Close match hides the repair | Check in daylight |
| Stretch | Low-stretch yarn puckers knits | Gently pull both |
A common mistake is choosing yarn by color alone. A perfect color match in the wrong weight will still show. For a deeper look at fiber and yarn choice, our guide on darning techniques for wool sweaters covers it in detail.
What to Do Next: Build a Repair Kit That Works
A good repair kit lives where you can grab it, so you actually use it. Funalya tools are designed to make garment repair approachable, with useful accessories for both small holes and larger worn sections.
Your kit checklist:
- Blunt darning needles in two sizes
- A darning mushroom or speed loom
- Small sharp scissors
- A few yarn colors close to your wardrobe
- Pins or clips
Ready to assemble yours? Our clothing repair kit buyer's guide covers what to look for. Then browse the Funalya range and start with one small repair this week.
The real test of any repair skill is the second hole, not the first. Once you have fixed one, you will spot thinning areas before they tear and reach for a needle instead of a shopping cart. Funalya builds beginner-friendly darning kits and speed looms with useful accessories and support for visible mending, so you can keep your favorite knits in rotation. Get started with Funalya and make your next repair a simple one.
Frequently Asked Questions
How do you darn a hole in a sweater by hand?
Turn the sweater inside out and pin the hole flat. Thread a darning needle with matching yarn, anchor it on one edge, then weave running stitches across the hole in one direction and back in the other to form a grid. Work gently so you follow the knit structure, clip the yarn tails, and press the repair flat. A small hole typically takes 10 to 20 minutes.
Can you fix a sweater hole with thread?
Yes, but thread works best on small holes and fine knits. Use a double strand of polyester or cotton thread and a fine needle, then sew a loose running stitch grid across the opening. Thread has less stretch than yarn, so keep stitches slack to avoid pulling. For larger holes or thick knits, yarn gives a more durable and comfortable repair.
How do you stop a hole in a sweater from getting bigger?
Stabilize the edges before you weave. Pin the hole flat on a padded surface and run a line of small stitches around the rim to lock loose stitches in place. Then darn across the gap. If the surrounding knit is thinning, reinforce that area too, since worn fibers around the hole are what let it spread.
How do you make a sweater repair look invisible?
Match yarn by fiber, weight, color, and stretch, and work from the inside so the grid sits flat against the fabric. Follow the direction of the knit stitches rather than laying a straight grid over them. For very fine knits, duplicate stitch over the damaged stitches blends the repair into the original pattern.