 how-to
How to Darn Socks: Meaning, Steps, and Tools
Last Updated: October 25, 2026
Quick Summary
Darn socks meaning refers to mending a hole or worn area in a sock by weaving new yarn across the damaged section, rebuilding the fabric structure rather than covering it with a patch. The term can also informally mean expressing frustration, but the repair technique is the meaning relevant to extending garment life.
- Darning fills holes by interlacing new yarn with existing knit loops, creating a repair that mimics the original texture and stretches with the sock.
- A darning egg provides support inside the sock and keeps stitches even during the repair process.
- The repair process involves three phases: preparing the sock, weaving horizontally then vertically to create an interlocking pattern, and finishing with secure stitches.
- Darning takes about 15-20 minutes once you understand the technique.
- Match yarn weight and fiber to your sock for the most invisible and durable repair.
Table of Contents
- What Does Darn Socks Mean
- Why Socks Develop Holes and Worn Areas
- Darning vs Sewing: Key Differences
- Sock Darning Tools You'll Need
- How to Darn a Hole in a Sock: Step-by-Step
- How to Repair Wool Socks and Delicate Fabrics
- Common Mistakes to Avoid When Darning
- Start Your First Repair Today
- Frequently Asked Questions
What Does Darn Socks Mean
If you searched for "darn socks meaning," you may mean repairing a sock or expressing frustration. Here's how to tell which applies.
Darn as a verb (the repair meaning). To darn a sock means to mend a hole or worn area by weaving new yarn across the damaged section, rebuilding the fabric structure rather than covering it with a patch.
How to tell which meaning applies. Context makes it clear. Words like repair, mend, hole, needle, yarn, or worn signal the repair technique; an exclamation or intensifier ("darn socks," "darn it," "that darn sock") signals the informal expression.
The practice has deep roots: for generations, people extended the life of clothing by darning socks, sweaters, and other knits rather than discarding them.
When you darn a sock, you keep a favorite garment in rotation instead of contributing to landfill waste.
Why Socks Develop Holes and Worn Areas
Socks wear out in predictable places. The heel and toe experience the most friction and pressure during daily wear, compressing and stretching with every step until the knit structure breaks down and the fibers separate into a hole.
Worn areas develop differently: instead of a sudden hole, you might notice thinning, translucent, or fragile fabric in high-stress zones. Wool socks and delicate knits are especially prone because their finer fibers pill and break more easily.
Material affects durability. Cotton wears faster than wool or synthetic blends, thinner socks fail sooner than thicker ones, and hot-water washing or high-heat drying speeds deterioration.
Understanding why holes develop helps you decide when to darn. A small hole caught early is easier to repair. A worn area can be reinforced before it becomes a hole. Waiting until the damage is severe makes the repair larger and more noticeable.
Darning vs Sewing: Key Differences
Darning and sewing are distinct repair techniques suited to different problems. Knowing when to use each prevents wasted effort and poor results.
Sewing joins two pieces of fabric with a line of stitches. It's ideal for split seams, tears in non-knit fabric, or attaching a patch, and its stitch runs in one direction.
Darning fills a hole by weaving thread back and forth to rebuild the fabric structure itself.
The practical difference: a pencil-eraser-sized hole calls for darning, a split side seam calls for sewing, a large worn area calls for darning reinforcement, and fabric torn away completely may require patching.
Many beginners confuse the two: sewing a hole in a sock creates a stiff, uncomfortable seam, while darning a split seam leaves it weak. Matching the method to the damage is what makes a repair last.
Sock Darning Tools You'll Need
Successful darning requires just a few simple tools, but choosing the right versions makes the difference between a repair that lasts and one that fails. Learn what tools and supplies you'll need before starting your first repair.
Needle. Match the needle to your yarn weight: thick wool needs a larger needle with a bigger eye, fine thread a smaller one. Blunt-tipped tapestry needles are ideal because they won't split the existing yarn as you weave. A starting point:
- Fingering-weight sock yarn (common for wool socks): size 13-15 tapestry needle.
- Sport or DK-weight yarn: size 13-14 tapestry needle.
- Fine cotton or silk thread: size 11-12 tapestry needle.
- Very thick yarn (bulky sweaters): size 13-15 with a large eye, or a darning needle with a bent tip for easier maneuvering.
If unsure, choose a needle slightly smaller than you think you need: a too-large needle leaves visible holes, while a too-small one is merely slower.
Yarn or thread. Match the weight and fiber to your sock: wool socks repair best with wool yarn, cotton socks with cotton thread.
| Sock fiber | Recommended repair yarn | Needle size (tapestry) | Notes |
|---|---|---|---|
| Wool or merino | Wool yarn of similar weight (fingering for thin socks, DK for thicker) | 13-15 | Avoid synthetic thread; it won't stretch with the wool and can feel stiff. |
| Cotton | Cotton thread or fine cotton yarn | 11-13 | Cotton has little stretch; weave slightly looser to avoid puckering. |
| Synthetic blend (nylon, polyester) | Synthetic or blended yarn | 12-14 | Match the stretchiness; all-wool yarn on a synthetic sock may pull away. |
| Bamboo or silk | Fine silk or bamboo thread | 11-12 | These fibers are delicate; use a blunt needle and light tension. |
Scissors. Small, sharp scissors cut yarn cleanly without fraying; dull scissors crush fibers and create messy edges.
Thimble (optional). A thimble protects your finger when pushing the needle through multiple layers, especially helpful for sensitive skin or multiple repairs in one session.
Small container or bag. A tin or pouch keeps your tools together so you can darn while watching television or traveling, and prevents needles from getting lost in the sofa.
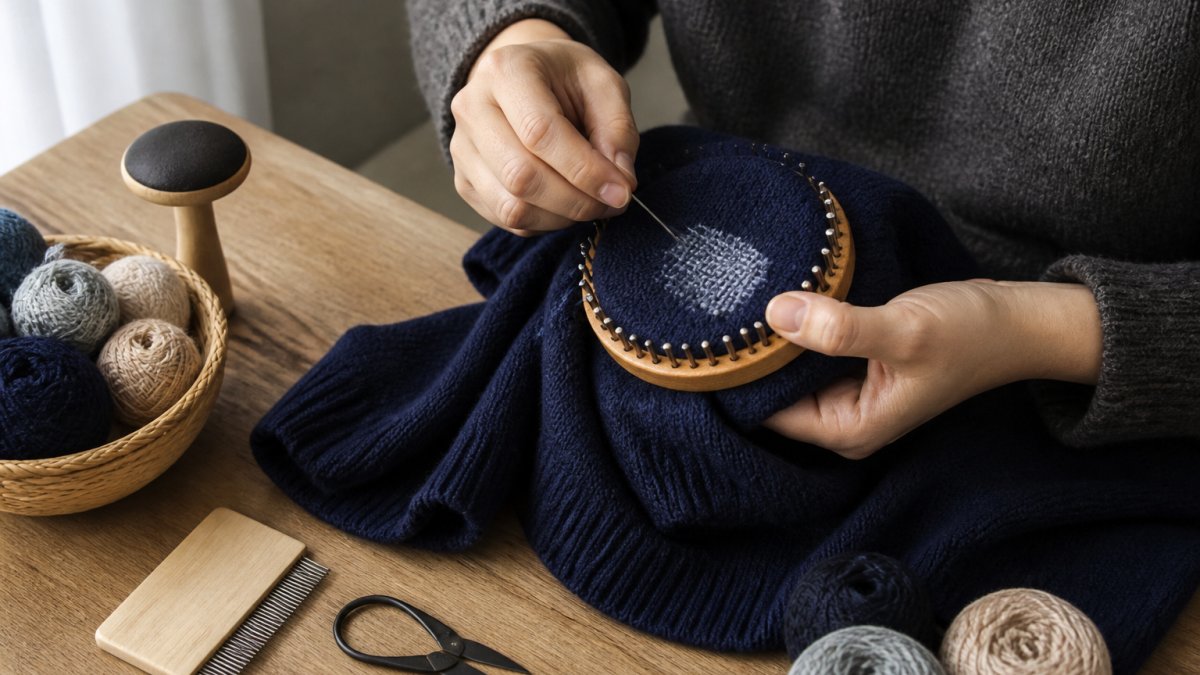
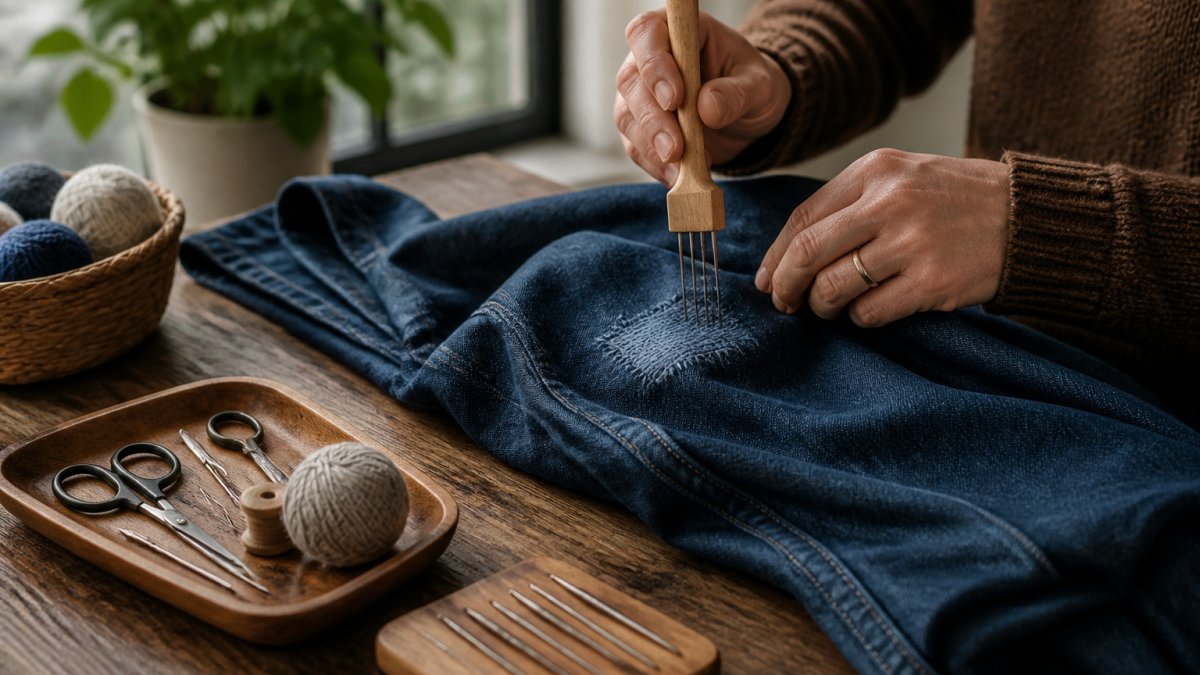
Funalya's darning kits bundle these essentials with multiple yarn colors and needle sizes, designed for beginners. For specialized equipment, see our guidance on how to use a darning loom for beginners, which speeds up the process once you've mastered basic hand darning.
How to Darn a Hole in a Sock: Step-by-Step
Darning a hole takes about 15-20 minutes once you understand the technique. The process has three phases: preparing the sock, weaving the repair, and finishing securely.
Preparing Your Sock
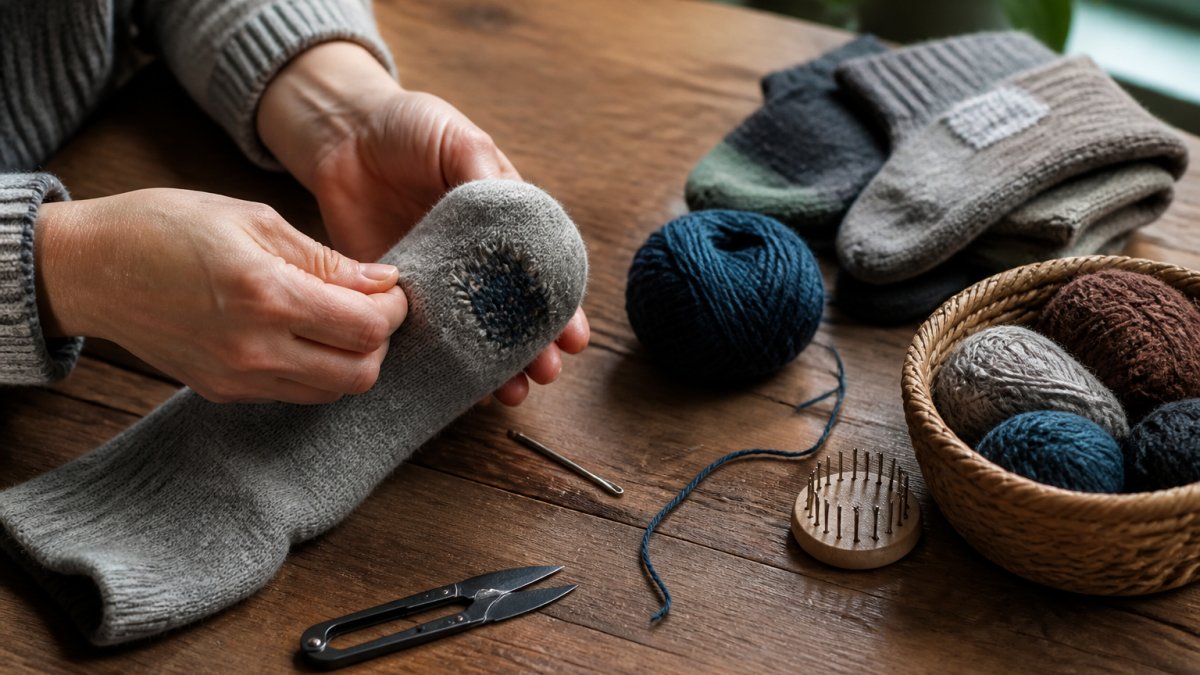
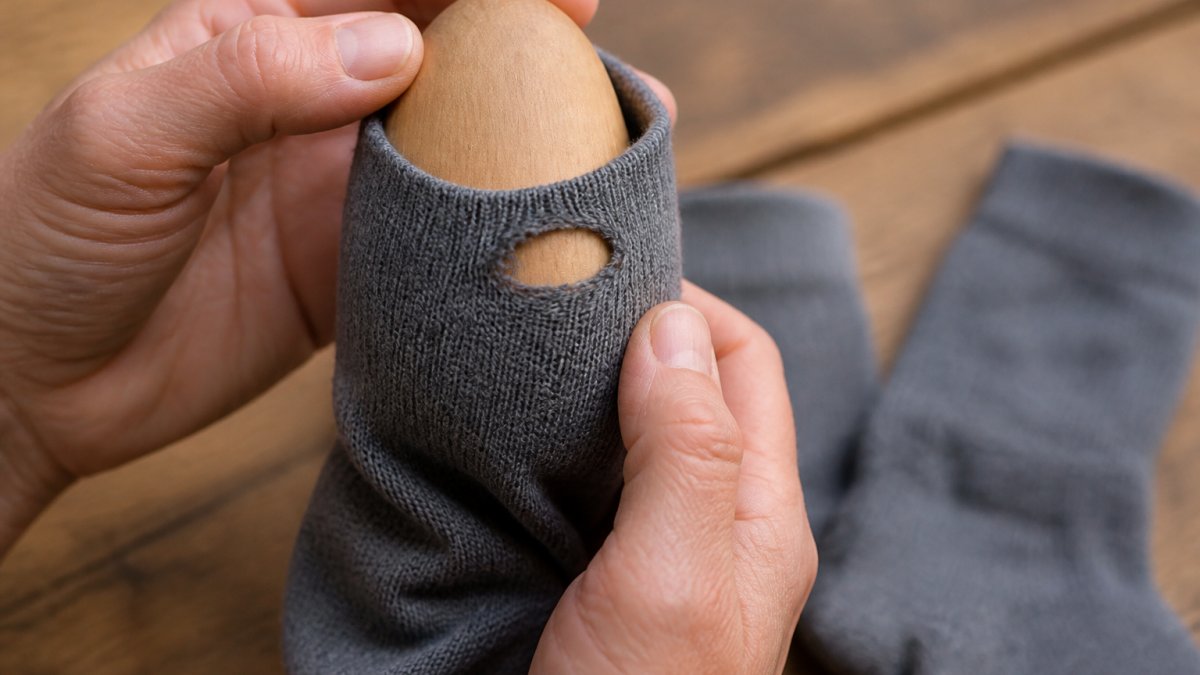
Insert the darning egg inside the sock so the hole sits on top of the rounded surface. The egg should be snug enough to hold the fabric taut but not so tight that it stretches the sock out of shape. Smooth the fabric around the egg so there are no wrinkles.
Trim any loose threads around the hole with scissors. Don't cut into the intact fabric, just remove frayed edges. This prevents the hole from spreading and makes your repair cleaner.
Weaving the Repair
Thread your needle with a length of yarn about 18 inches long. Knot one end.
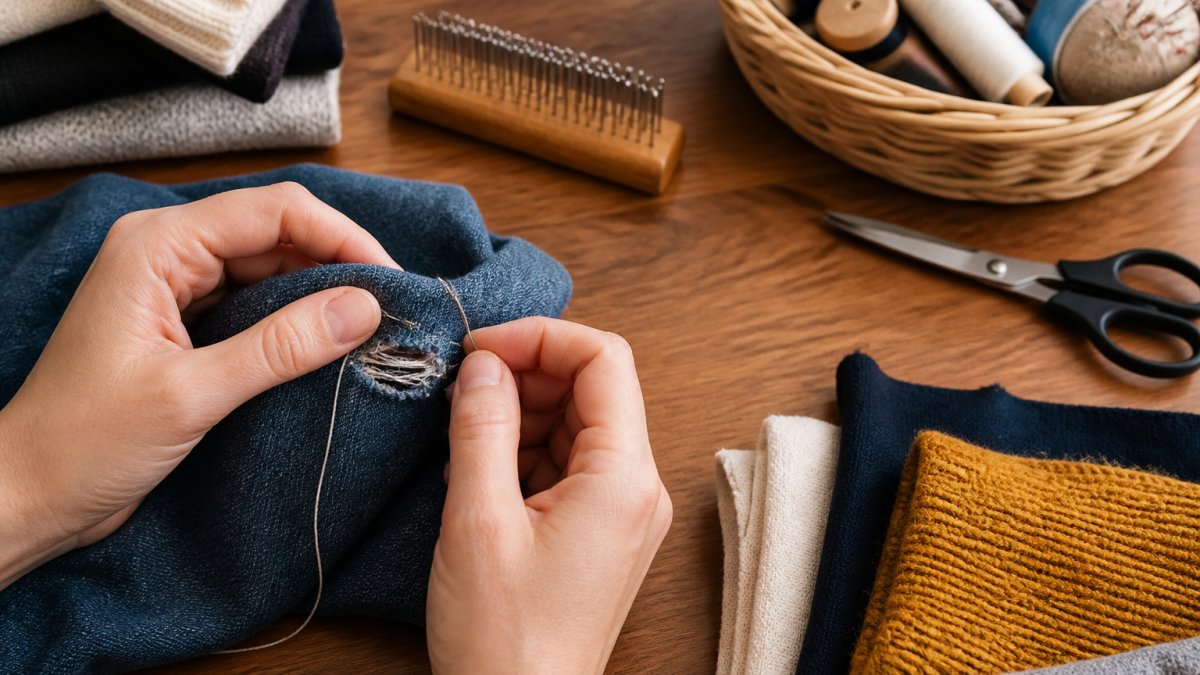
Step 1: Create the foundation. Push the needle through the fabric just outside the hole, about a quarter-inch from the edge. Bring it up on the other side of the hole. This anchors your repair.
Step 2: Weave horizontally. Pull the needle across the hole and push it back through the fabric on the far side. Come back up about a quarter-inch away and repeat.
Step 3: Weave vertically. Once you've covered the hole horizontally, thread a fresh length of yarn. This time, weave perpendicular to your first set of lines, going over and under each horizontal strand.
Step 4: Extend beyond the hole. Weave your pattern slightly past the hole's edges into the intact fabric. This reinforces the area around the damage and prevents the repair from pulling away.
Finishing Your Repair
When you've filled the entire hole with woven yarn, push your needle to the back of the sock. Make several small stitches in place to secure the yarn, then knot it and trim the excess.
Remove the darning egg and examine your repair from both sides. The front should show an even, woven pattern. The back should be relatively flat. If you see loose spots or gaps, add a few more passes of yarn to fill them.
How to Repair Wool Socks and Delicate Fabrics
Wool and other delicate fibers require a gentler approach than standard cotton socks. Discover specific techniques for darning delicate materials like wool beyond basic sock repair.
Choose matching yarn carefully. Wool socks need wool yarn of similar weight. Merino wool socks call for merino yarn.
Use a finer needle. Delicate fabrics demand a smaller needle that won't split existing fibers. A blunt tapestry needle in a smaller size prevents damage to the fine knit structure.
Weave more densely. Fine fabrics show repairs more easily. Weave your pattern tightly with closely spaced lines to create a repair that blends in visually. This takes longer but results in a less noticeable fix.
Consider the location. A repair on the heel of a wool sock bears constant pressure and friction. Reinforce this area extra thoroughly. A repair on the calf or ankle area experiences less stress and can be less dense.
Common Mistakes to Avoid When Darning
Pulling thread too tight. This is the most common error. Tight stitches pucker the fabric and make the repair stiff and uncomfortable.
Skipping the darning egg. Working without support creates uneven stitches and allows the hole to distort. The egg keeps everything in place and ensures consistent tension.
Using mismatched yarn. Synthetic thread on wool, thick yarn on thin socks, or contrasting colors all signal a repair.
Weaving only in one direction. Horizontal lines alone won't hold. You need the perpendicular weave to create the interlocking structure that mimics the original knit.
Starting too close to the hole. Begin your weaving about a quarter-inch outside the hole's edge.
Repairing a sock that's too far gone. A hole larger than a dime becomes difficult to repair invisibly.
Not securing the thread properly. A few small stitches and a knot at the end prevent your repair from unraveling during washing. Don't skip this step.
Start Your First Repair Today
Darning is a skill anyone can learn. Your first repair might not be perfect, but it will work. Each sock you repair teaches you something about tension, weaving pattern, and material matching.
The environmental case for darning is clear: keeping a sock in use for an extra year or two prevents it from becoming textile waste. The financial case is equally strong. The satisfaction of wearing a garment you've fixed yourself is something you can't buy.
Funalya's beginner-friendly darning kits include everything you need to start: multiple needle sizes, yarn colors for different sock types, and a quality darning egg. Our tools are designed to make your first repair comfortable and successful. View Our Products to find the kit that matches your needs, and begin extending the life of your favorite socks today.
Frequently Asked Questions
What does it mean to darn socks?
Darning socks means repairing holes or worn areas in fabric by weaving new thread or yarn in a grid pattern to rebuild the damaged section. Unlike patching, which adds a separate piece of fabric on top, darning integrates new thread directly into the existing knit structure, creating an invisible repair that restores the sock's integrity and extends its life.
What is the difference between darning and sewing?
Darning and sewing serve different purposes. Sewing joins two pieces of fabric together or closes seams using a continuous line of stitches. Darning, by contrast, fills a hole or worn area by weaving thread back and forth in a grid pattern to rebuild the fabric itself. Darning is ideal for holes in knitwear and socks, while sewing is better for seams and attaching patches.
What tools do you need to darn a sock?
The essentials for sock darning tools include a darning needle, thread or yarn matched to your sock's fiber, a darning egg or mushroom to support the fabric, and scissors. A darning kit designed for beginners bundles these items together. Some people also use a speed loom for larger worn areas. Beginner-friendly kits make it easy to start without hunting for individual supplies.
Is it worth darning a hole in a sock?
Yes, darning is worth it if the sock is otherwise in good condition and made from quality material. A single repair costs far less than replacing a pair of socks and keeps a favorite garment in rotation. Darning also reduces textile waste and supports sustainable fashion practices. For socks with multiple holes or severe damage, replacement may be more practical.
Darning transforms a worn sock from trash into a wearable garment again. It's a practical skill that aligns with sustainable living and saves money. With the right tools and a little practice, anyone can master this traditional craft and keep their wardrobe in rotation longer.